Bonjour
Slow progress report.....
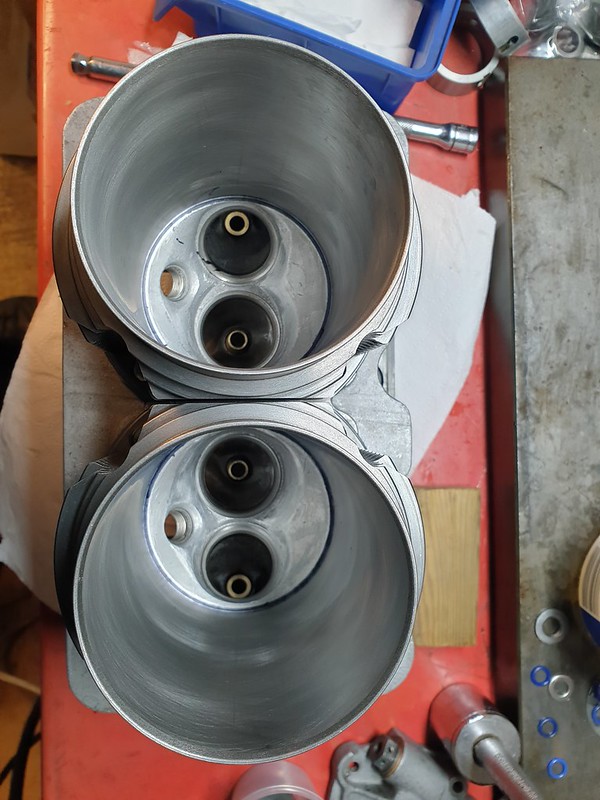
I rematched the combustion chambers so they are all now 61.2ml
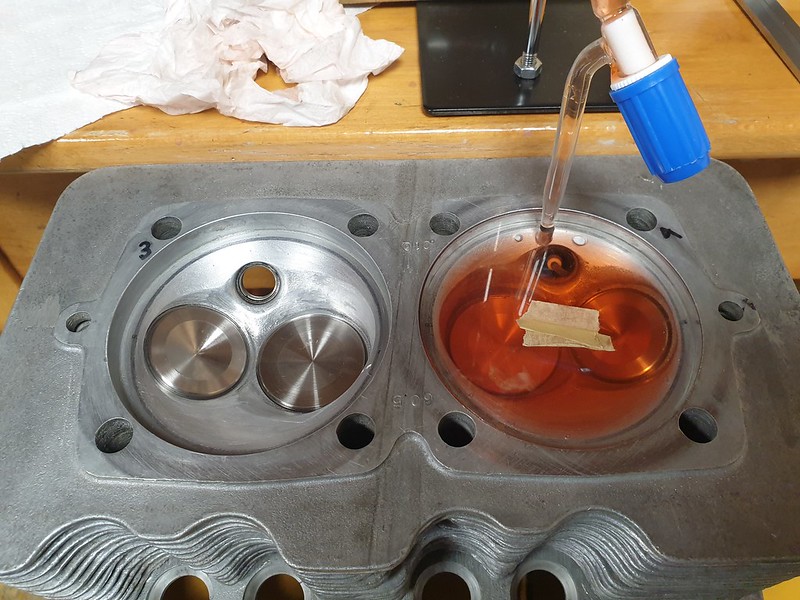 20240204_172041
 by
karlhash, on Flickr
Measured all the barrel heights...OK.
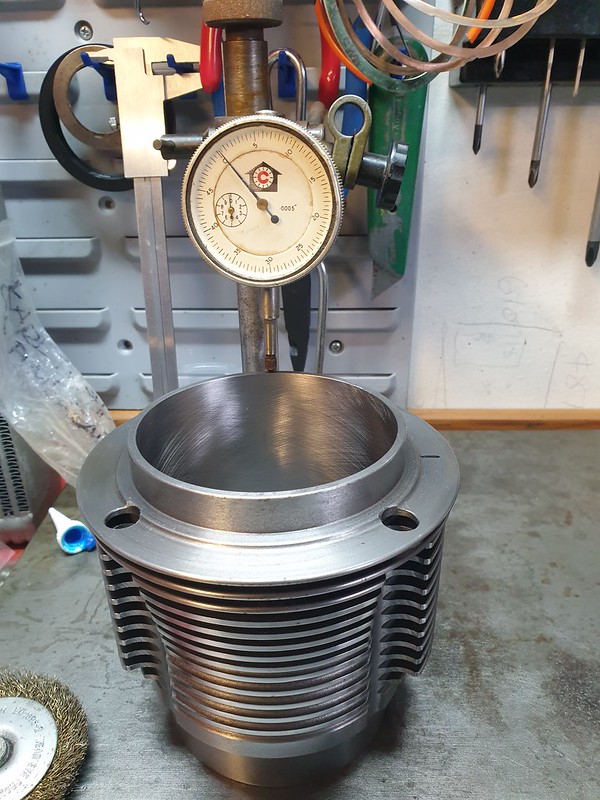 20240215_143159
 by
karlhash, on Flickr
Cleaned all the brand new rocker arms from Porsche....disgusting, although they looked clean.
 20240213_151531
 by
karlhash, on Flickr
Put the pistons on the con rods making sure the snap ring is oriented correctly and put paper towel over the openings of the case , just in case the snap ring decided to jump out in the installation process.
 20240219_174031
 by
karlhash, on Flickr
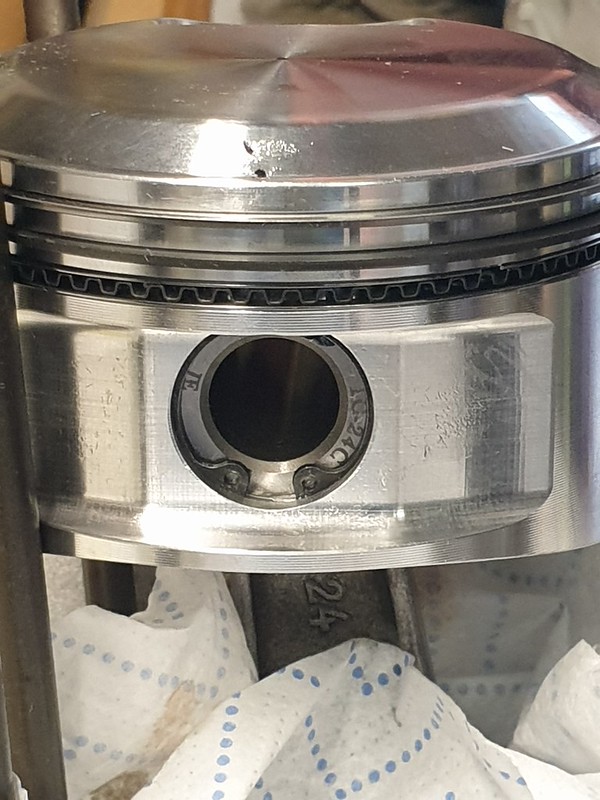 20240219_174114
 by
karlhash, on Flickr
I measured the deck height with solder and the valve to piston gap with Plastacine.
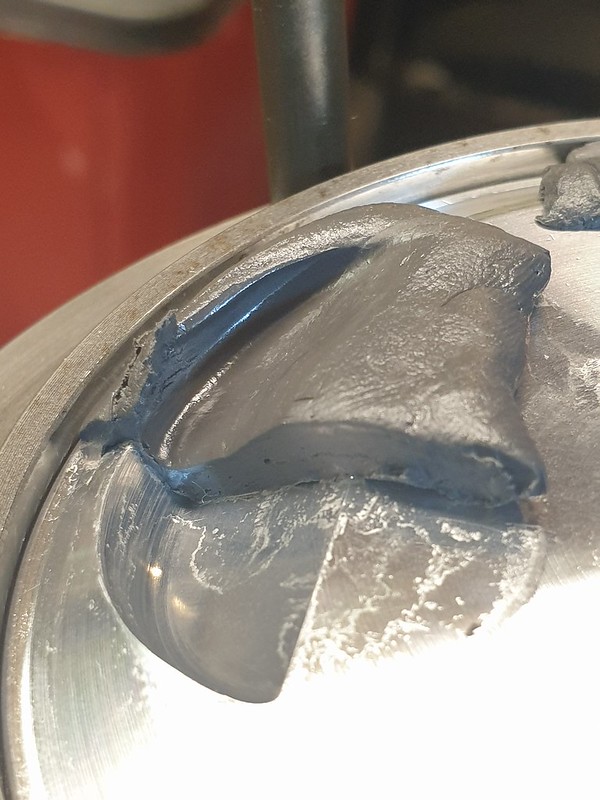 20240224_182019
 by
karlhash, on Flickr
I put the barrels on with 0.25mm copper gaskets......I had been toying with the idea of going with out the copper gaskets to up the compression ratio and have a tight quench, but reasoned that for the slight performance gain, I think I would rather go with bigger spaces and a more reliable street driven engine.
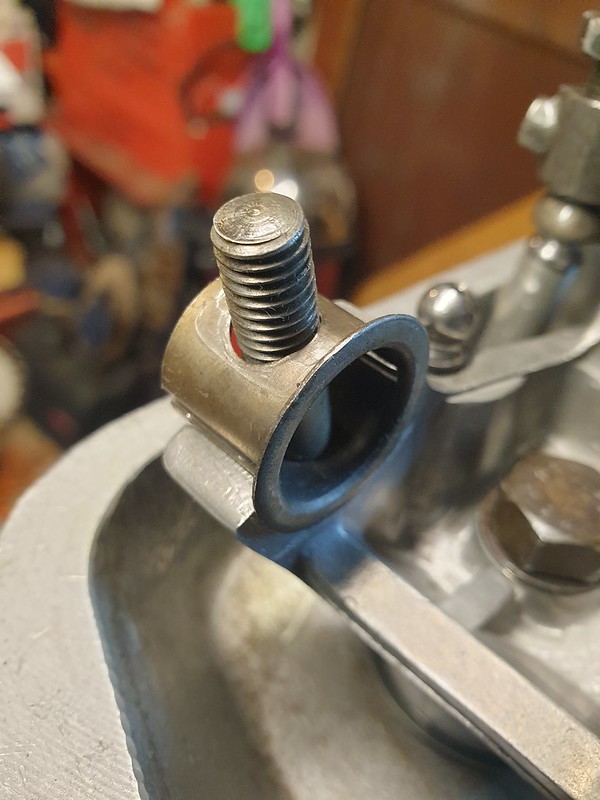
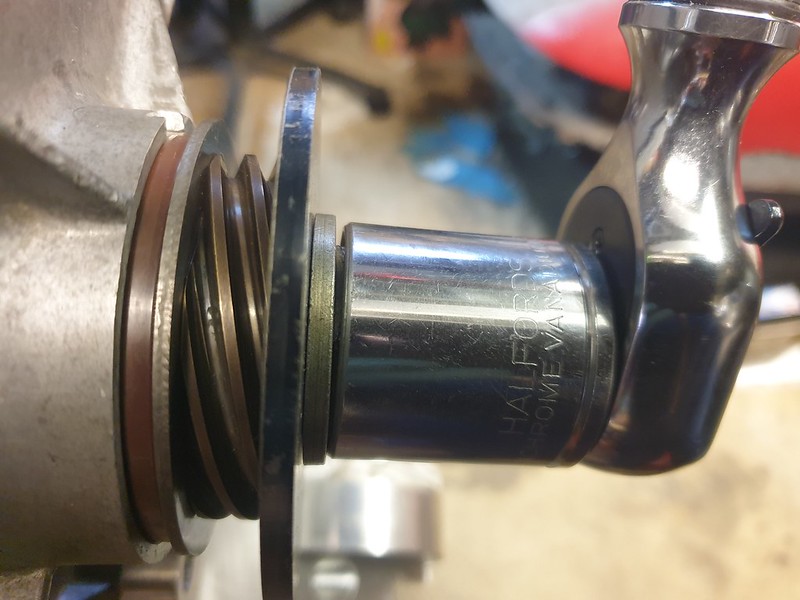
So then I put the lovely new spring loaded pushrod tubes from PRS Services in and the heads on, but that became problematic. The pushrod tubes would not compress to allow the studs to protrude through the head enough for the nuts to catch a thread.......Aargh!
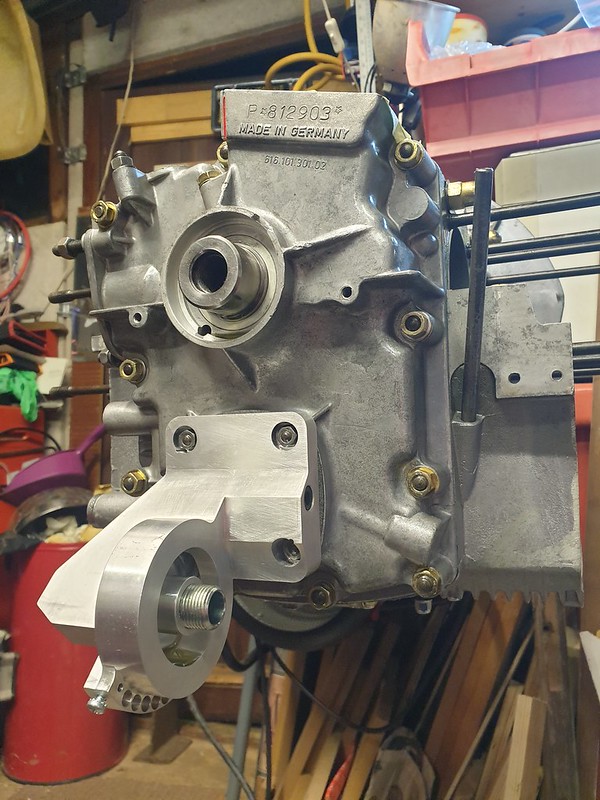
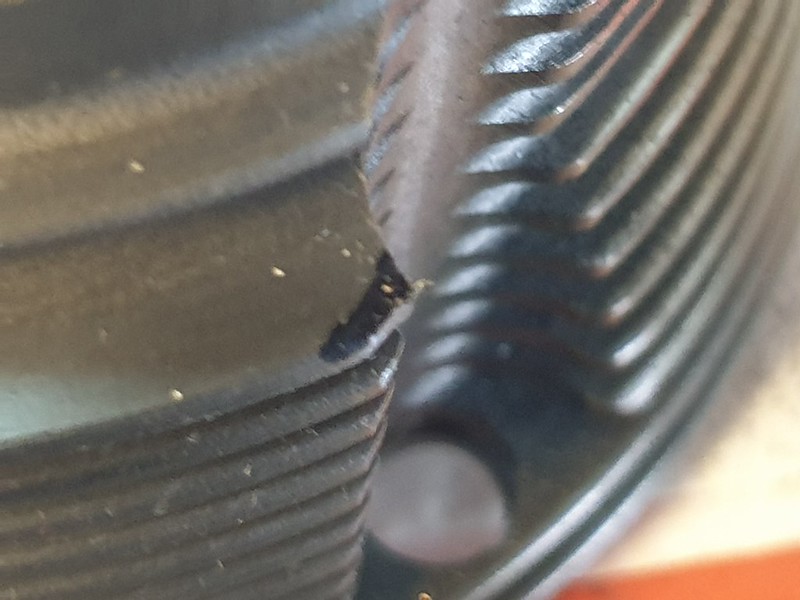
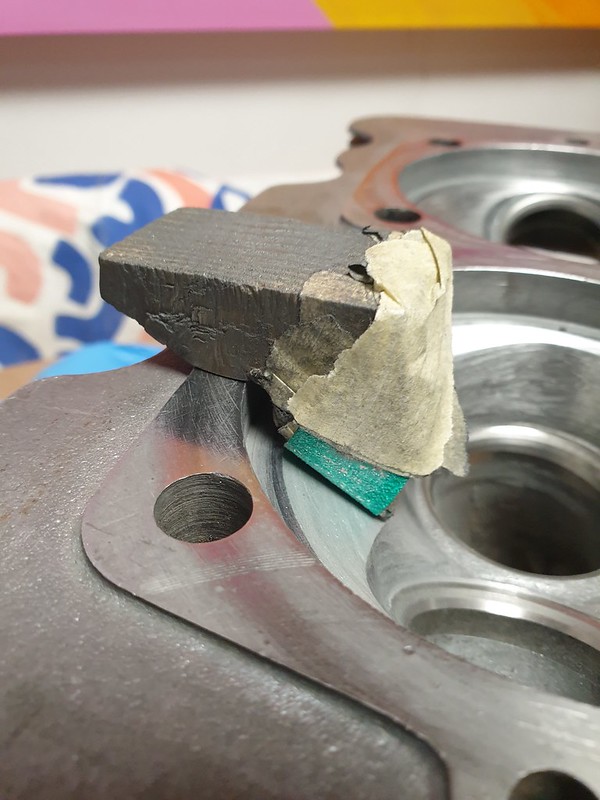
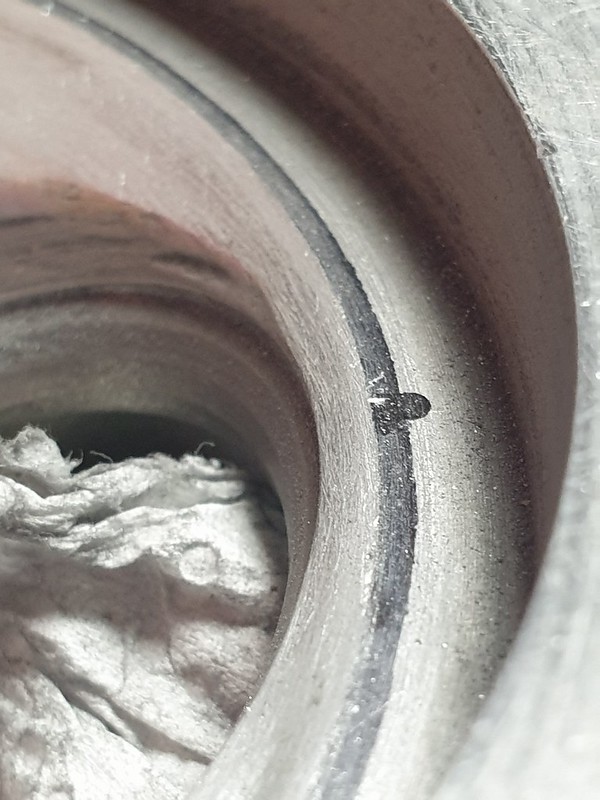
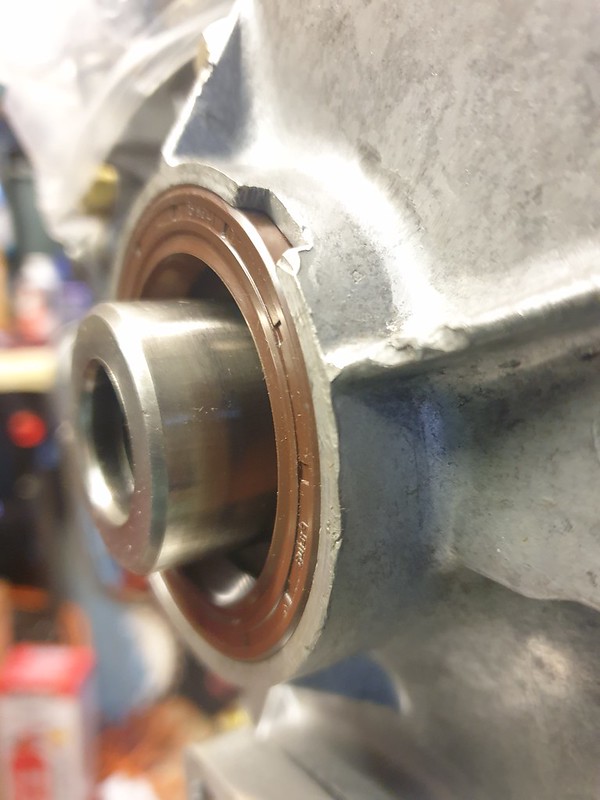
After a bit of thinking and looking and removing I could see the problem was the holes in the case for the tubes to sit in had casting burrs.
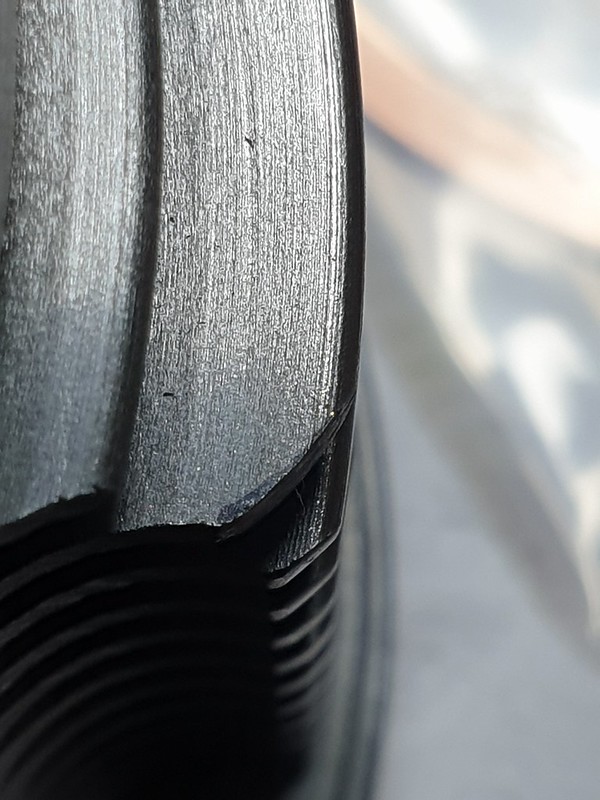
So after trying to think away round this , I decided to bite the bullet and file them down leaving filings in my brand new case with brand new bearings.
I cleaned the filings away as diligently as I could, and cleaned and cleaned and....you get the picture.
burr under red line
 20240314_174831
 by
karlhash, on Flickr
filed down
 20240301_183627
 by
karlhash, on Flickr
This wasn't a problem with the original pushrod tubes because they are much thinner walled compared the PRS tubes.
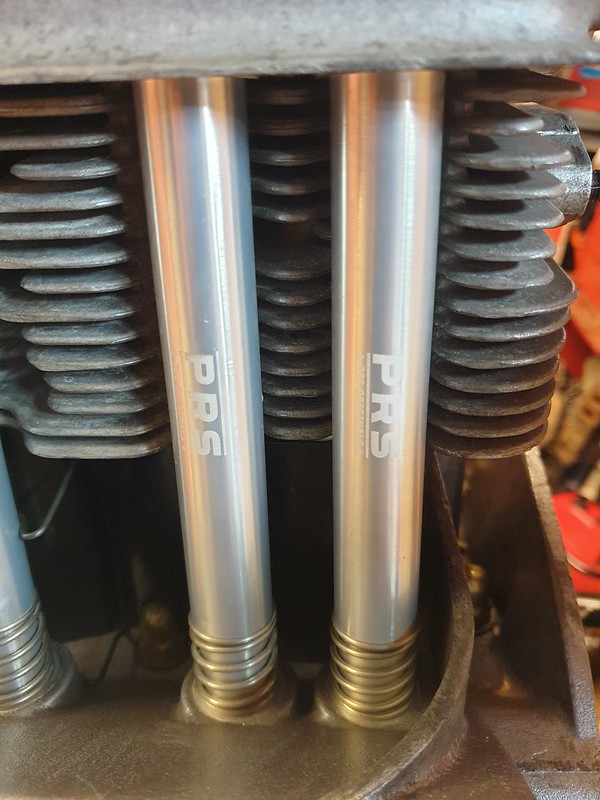 20240302_155745
 by
karlhash, on Flickr
I didn't forget the air deflectors
The picture shows the spring clip not sitting correctly , i did correct that.
 20240301_153248
 by
karlhash, on Flickr
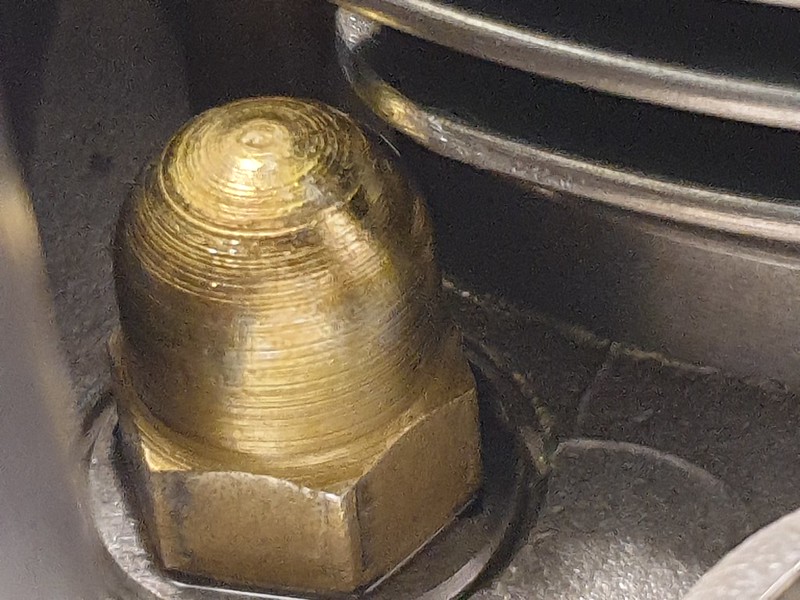
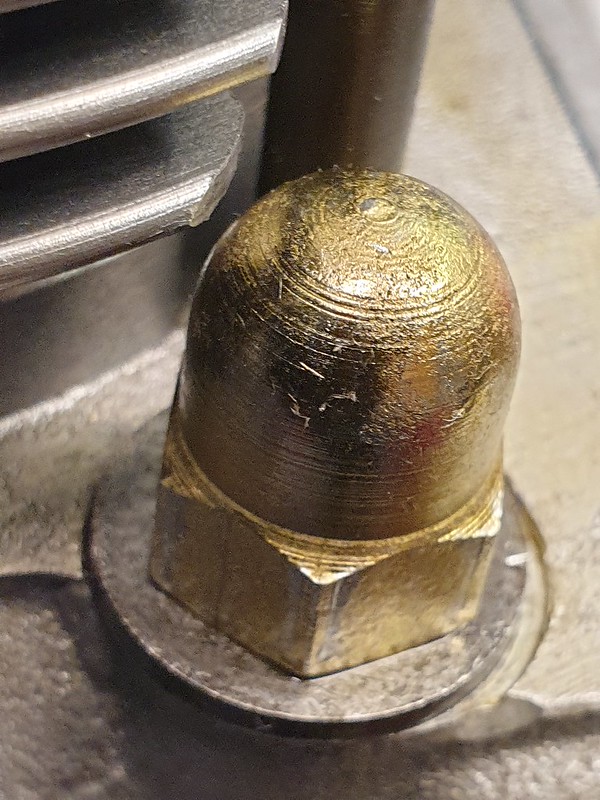
I tightened up the heads incrementally on both sides and not one head then the other, as has been described by those who know better than I. I also
left them over night and rechecked the torque values and I did find a couple of nuts went a bit more.
I put one shim under the the rocker stand to help with the valve adjustment, as I noted on disassembly that the adjusting screws were sticking too far out the top of the rocker arms.
 20240303_115449
 by
karlhash, on Flickr
I used VW link pin shims 0.5mm thickness for that and the best price I found was from Alan Scholfield.
you need to have two threads of the adjuster sticking out the bottom of the rocker and I still didnt have it so I used another shim.
 20240305_153900
 by
karlhash, on Flickr
two shims
 20240306_151453
 by
karlhash, on Flickr
I have enough threads out the bottom now to allow the oil ways to line up and let oil pass to the rocker shafts.
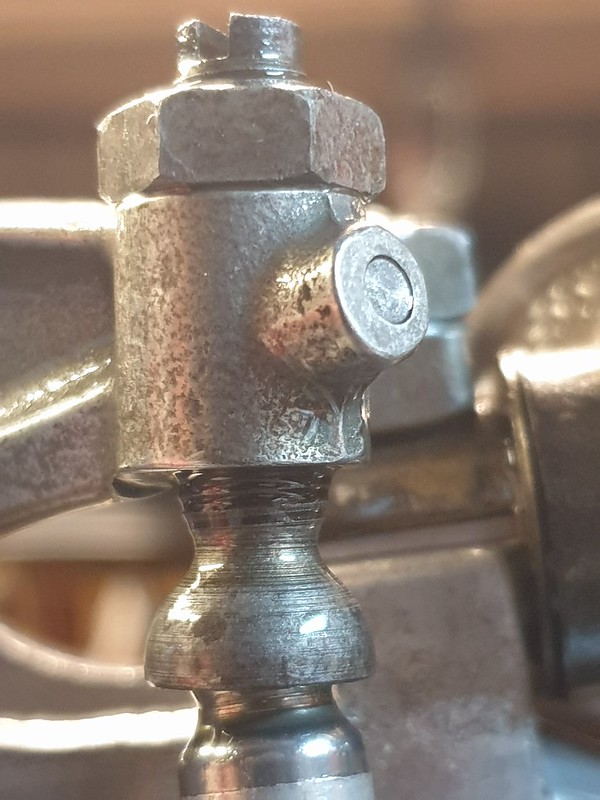 20240305_194024
 by
karlhash, on Flickr
I also glued in some metal lined rocker cover gaskets also from PRS Services.
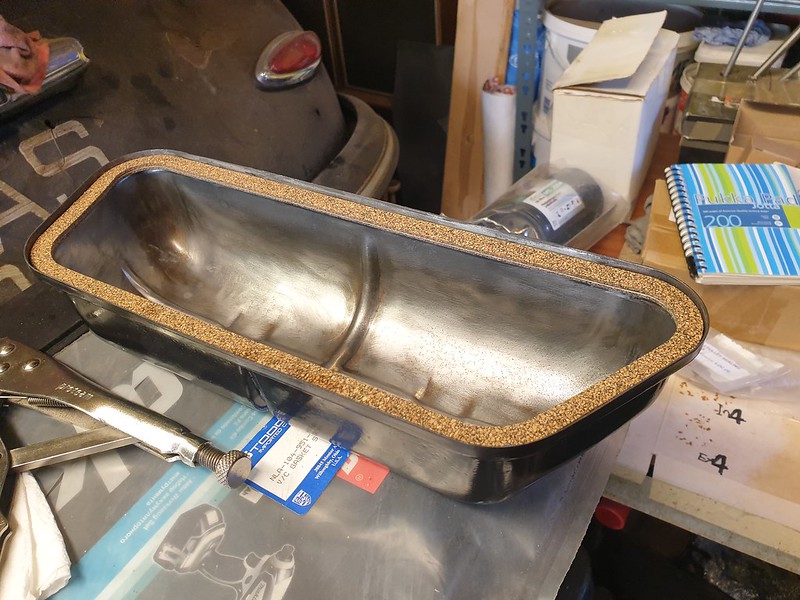 20240305_153841
 by
karlhash, on Flickr
I went to install all the rocker arms and just one of the wavy washers that fits in that lot went and cracked so now I'm waiting on some washers to arrive.
Once again a little thing holding me up, but I dont mind it that way round.
Thanks for reading folks. Hopefully I'll get it running this year. I have missed not driving it since lock down.
Karl




 20230929_180632 by karlhash, on Flickr
 20230930_200055 by karlhash, on Flickr
 20231001_184738 by karlhash, on Flickr
 20231003_183354 by karlhash, on Flickr
 20231003_191737 by karlhash, on Flickr