Time to crack on a bit with this engine.
Have all the bits, the tools and with my head clear, time for the rod installation.
Never done this before, so a bit new, but quite straightforward save for a few things...
The Carrillo bolts are pre-assembled to the rods, so they all needed cracking loose and one by one removed. I weighed the rods.
They are all within 0.5 gram of each other.
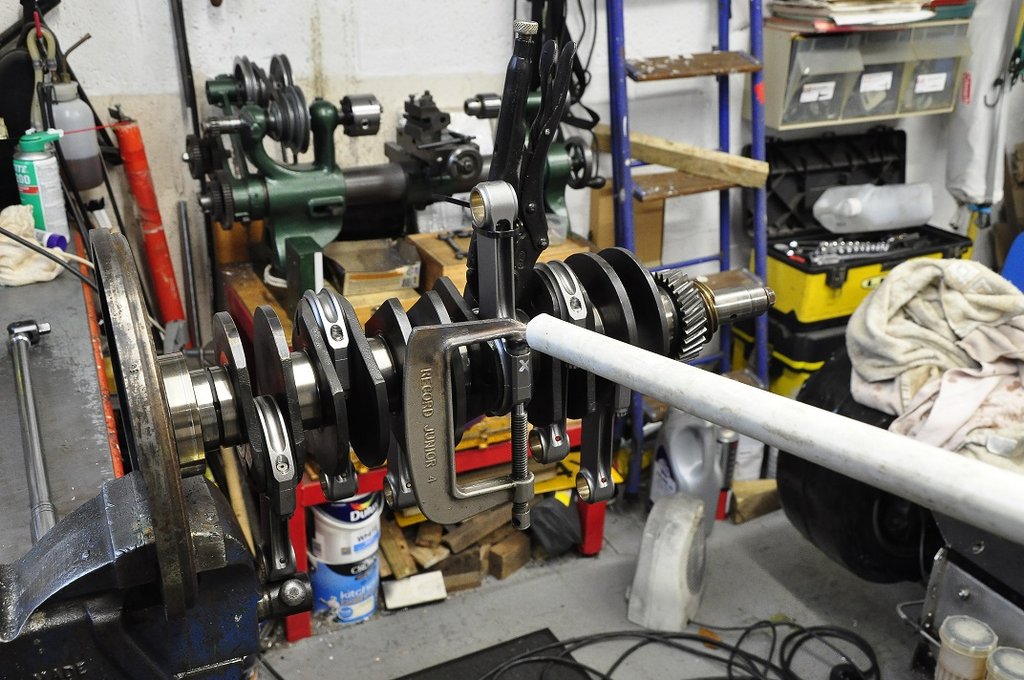
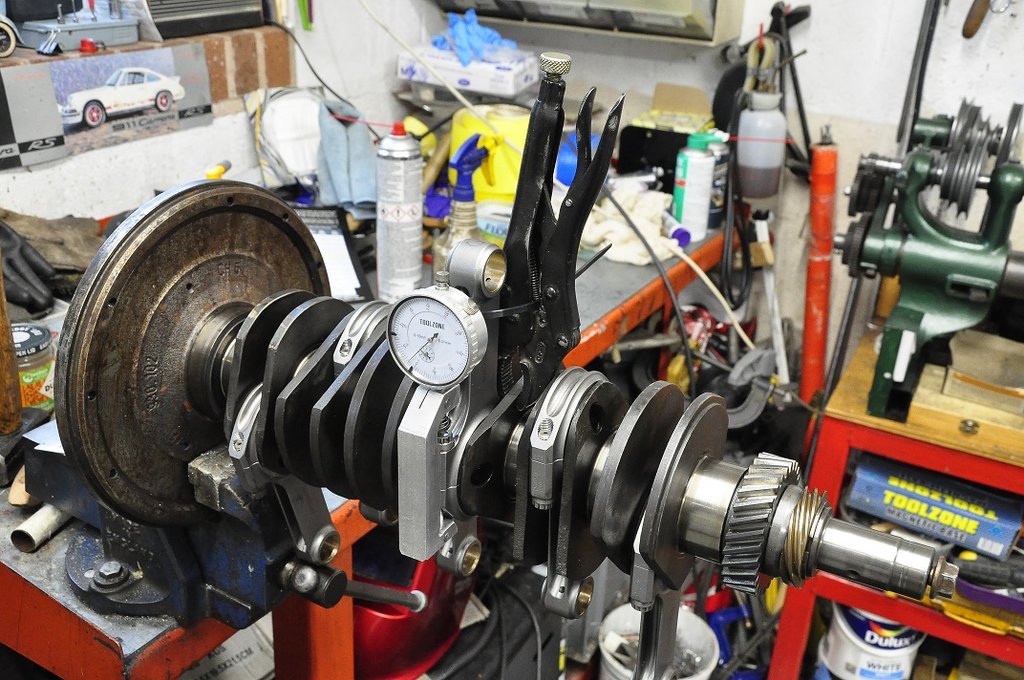
Mounted the crank on an old flywheel horizontal in the vice. I think this was a good move.
Cleaned the first rod journal, the rod faces and he new shell faces, assembled the lot with a nice smear of assy lube and snugged the freshly greased bolts to 12 lbft.
Rods slipped round the crank a treat.
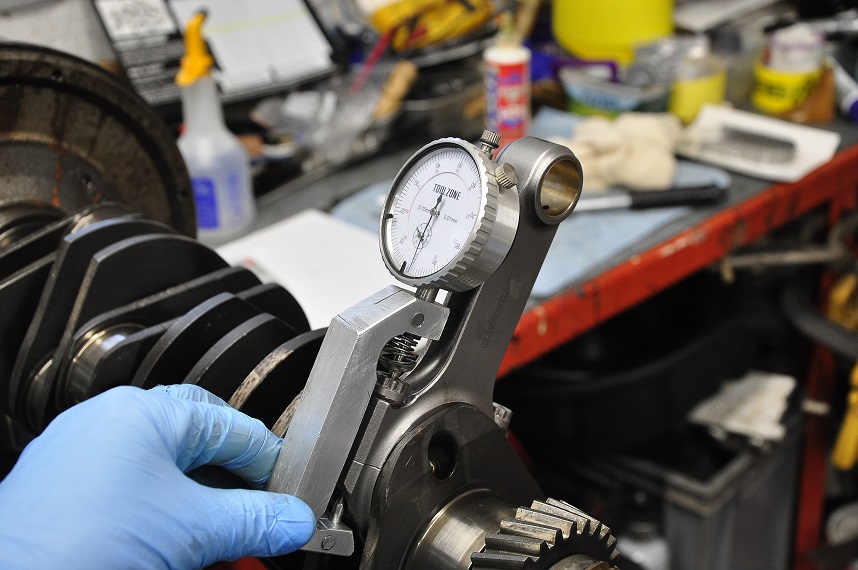
With my home modified DTI, set the gauge to Zero and the limit markers to Zero and 0.170mm, the amount the bolt has to be stretched to.
One bolt at a time applied the torque (wrench set at 75 lbft) with a fresh 1/2" 12 point socket. The torque level to reach this stretch is considerable.
In 3 steps got to 0.17mm stretch. Quite hard work!
Second bolt on the same rod, again a fight to get 0.17mm, only 10 more to go!
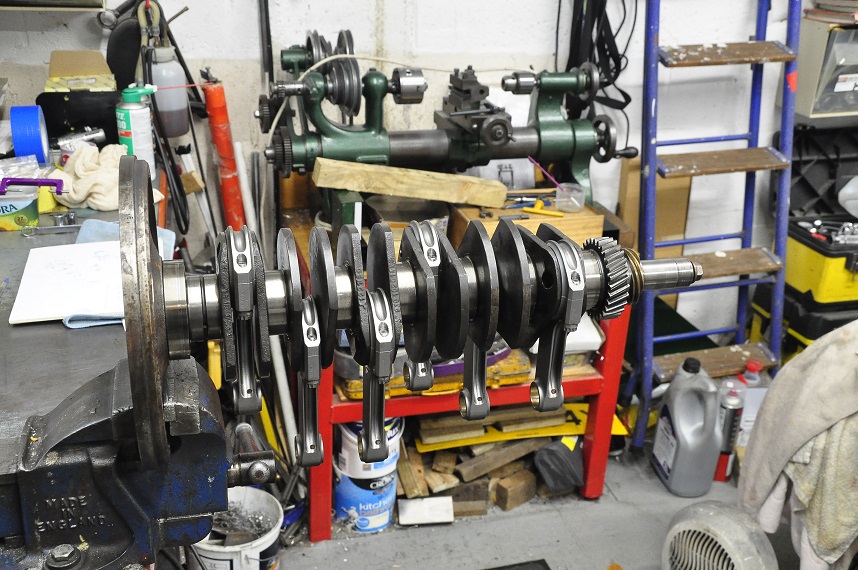
Eventually got all on the crank and all at 0.16/0.17 mm finally resorting to a LONG breaker bar and judgement.
Watched a video the other day and the tech said make sure you are strong enough to do the job. Now I know what he meant.
Job done and all rods slip round the crank.
Used up 3 sockets in this, the new Sealey one lasted 3 bolts, 2 others a further 3, and my old Britool 1/2 finished the rest off with ease. It is of course British made and 50 years old.
Have to say, pleased that is over with.
Case assembly next.




 Did you grease the underside of the bolt head? Also, if you use the stretch method, there's no need for a torque wrench, right?