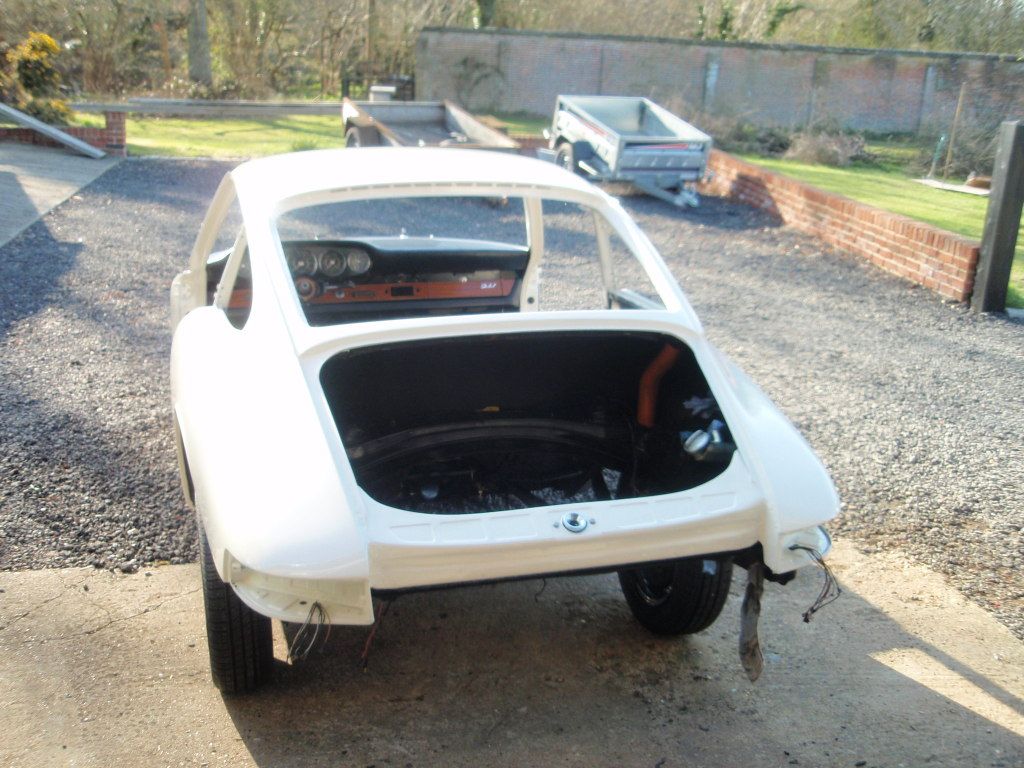

Followed my outline plan above - so the loom (which went in much easier than I expected), fuel pipe, brake pipe, battery cable, clutch and accelerator cables are in the central section. Then wired up the front end under the bonnet, installed the wiper motor, fitted the rain duct, removed the wiper motor and rain duct, fitted the 'fresh air vent' paddle and its control wire and lever that I had forgotten even existed until found in one of my boxes, reinstalled the wiper motor and rain duct. Installed a lot of the Webasto heater parts under the dash. I have left the instruments out for now - in part because I plan to install some 'authentic yellow' LED dash bulbs from a bloke on the US Pelican forum and they hadn't arrived. Will advise on them in due course.

After that it was the plastic dash top vents, my new speakers (got a modern iPod player that will hide under the dash, while the original US band Blauplunkt radio remains mainly for show.), the original dash top, wood front panels, glove box, ashtray, switches, lower dash kneepad

then the refurbished pedal box. I was unsure whether very early pedal boxes were fitted with a clutch spring because I had some vague memory of reading somewhere that they didn't. Anyway I decided that it was better to have one than not and have installed it anyway!

With the pedal box in I could then trial fit the original refurbished master cylinder, and fabricate and fit the front end brake pipes. I got a new brake switch to replace my broken one from e-bay (VW beetle) as advised elsewhere on this fine forum.

I removed the m/c again and with the help of Garry fitted up the refurbished front suspension and steering rack. Getting the front support bolts in when the front bushes are new is an interesting exercise - definitely a two man job! Garry's good idea of using longer bolts to get them located and then leaving them part tightened over night to allow the bush to deform in place a little worked really well. I took out the longer bolts and reinstalled the correct length easily this morning.
After that it was a relatively simple and quick job to get the front struts, mounts, hubs, discs and calipers in place. Calipers are the originals you can see in the back of one of the photos below refurbished by Classic Car Automotive in Cheshire - not bad eh!
So now we have a new front suspension for Xmas!


While I'm really quite chuffed how the front end/suspension rebuild has worked out bearing in mind I started out with the photos below, the main point of showing this lot is not just some chest-puffing (although I will do a bit of that from time to time to be honest) but so if any of the eagle-eyed experts on here can see any errors or omissions - so please look the photos over in detail and comment if you see anything that looks wrong.
(Oh, and I do know the brake reservoir doesn't go next to the fusebox!)


A very happy Xmas and New Year to all of you.