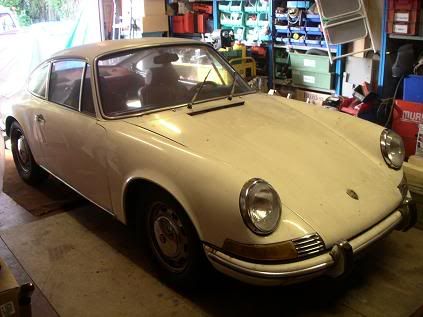
1. The Victim..........muhahaha
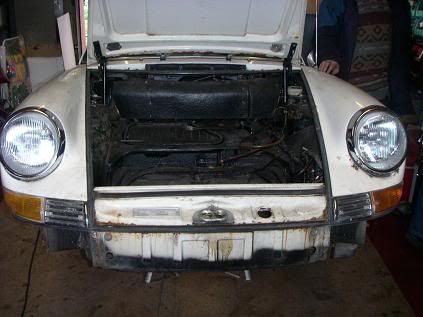
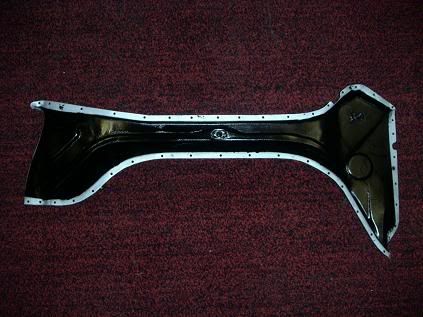
2. The problem.......underside of front pan seriously erm lacking in substance!

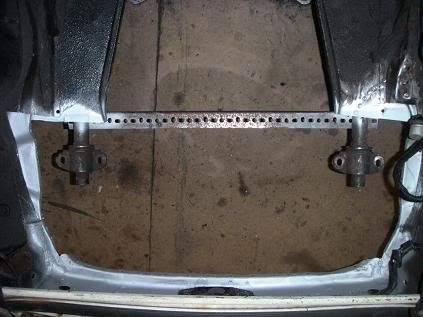
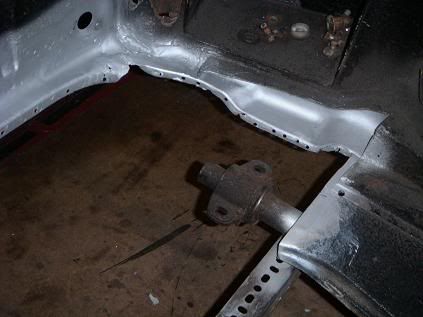
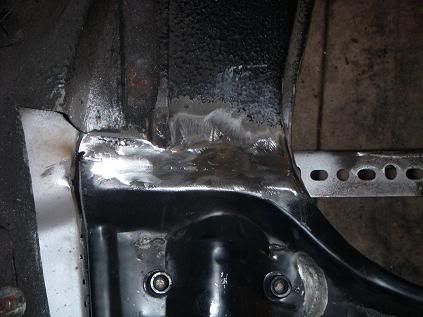
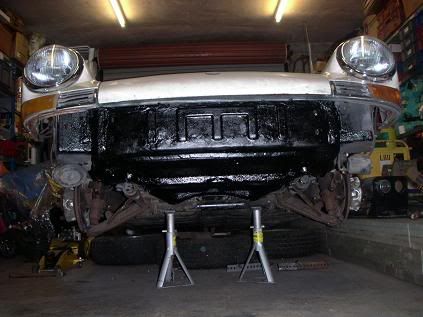
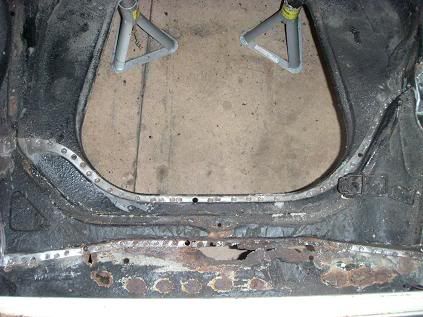
3. The plan........in the absence of a chassis jig I used good ole dexion and err 2 meat hooks (i.e. whatever I could find in the garage!) tack welded to the control arms to keep them in place as a reference for the new pan, in addition to measuring everything lots of times. The only concern with this is the effect of the heat on the control arms though at some point in the restoration I will replace these and keep the old ones to make a jig perhaps.

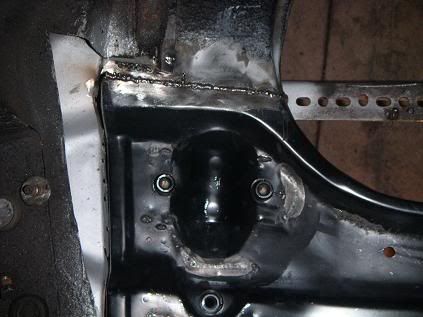
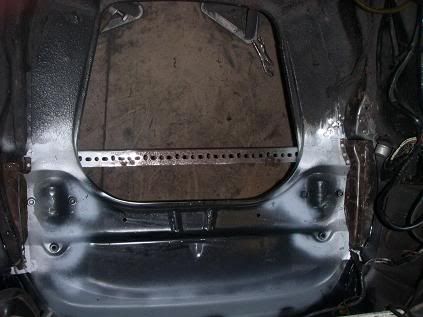
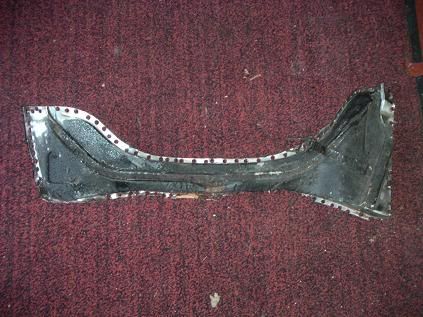
4. Start cutting........drill out spot welds like so and remove tank support:
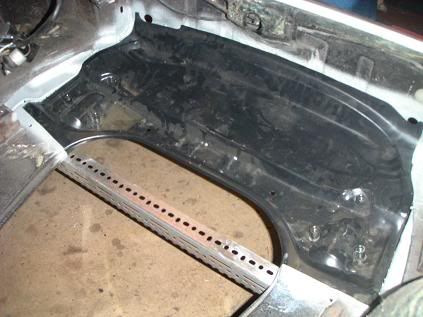
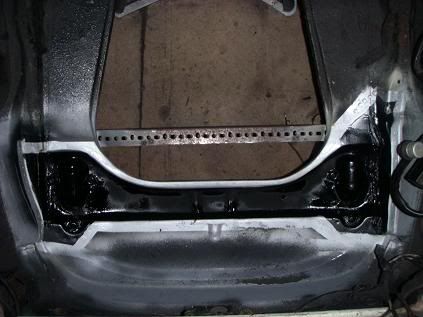
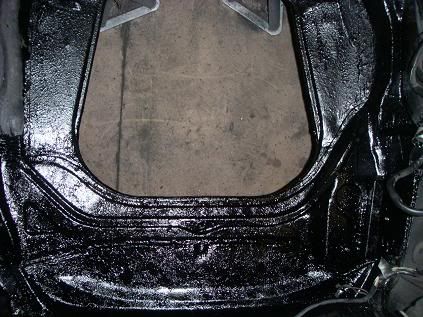
5. Full extent of the damage can be seen from above
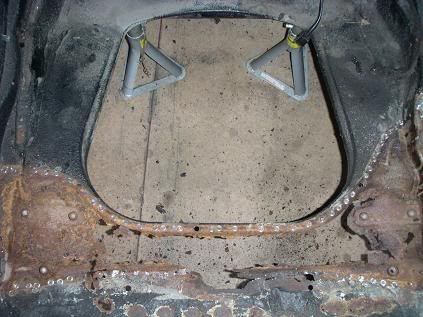
to be continued...........(when I stop coughing and sneezing!