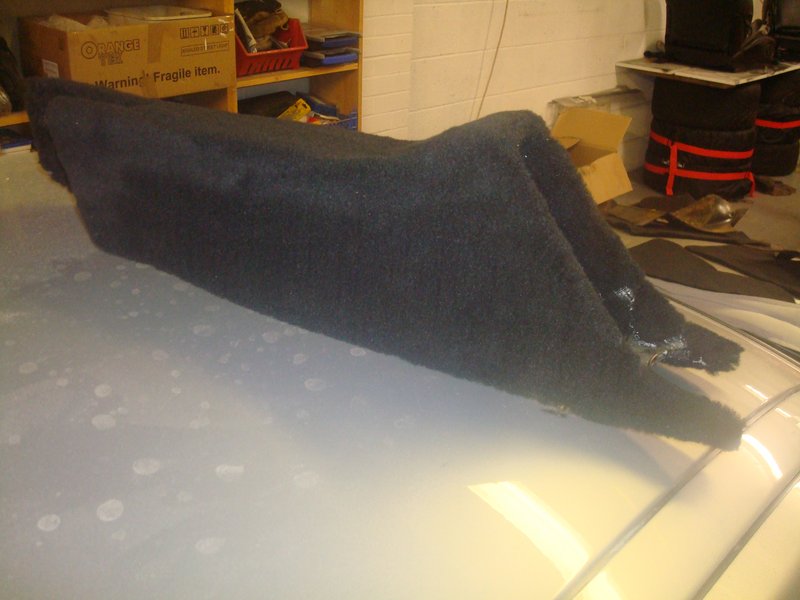
Anyhow, the carpet set is the Lakewell one, very lightweight, which is a bonus, and with instructions that leave something to be desired. Imagine 5 printed pages of thumbnails and you get the idea. You can barely make out what section of the car they are on, let alone what they are doing. So, I threw that in the recycling and set about working it out myself. I laid them in the car first, some bits obvious, some not
I knew there were a few things to be very careful about;
1. Order of fitting, so that the seams always sit over the top of another section
2. Containing the contact adhesive to the parts of the car I want to cover!
3. Making sure that there was always sufficient overlap for the next piece or pieces, so therefore I needed the next two or 3 pieces to hand to make sure I could check before it is stuck down
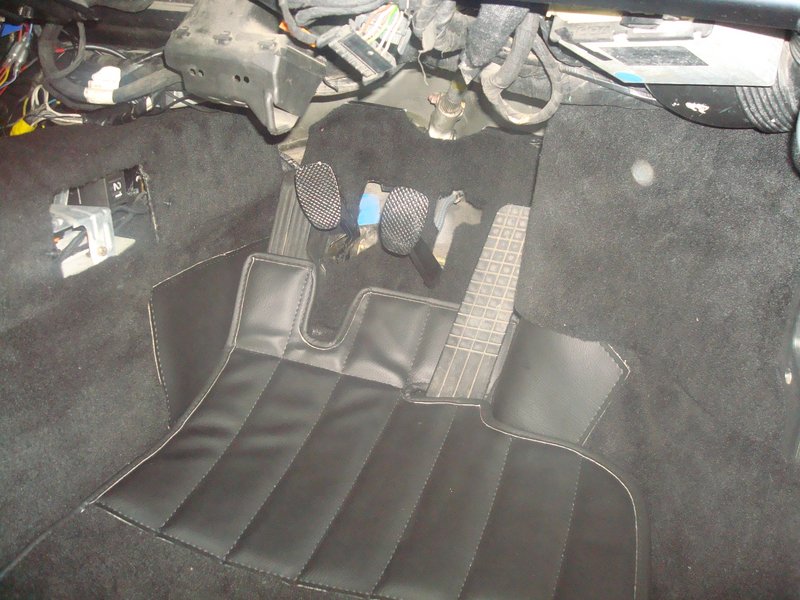
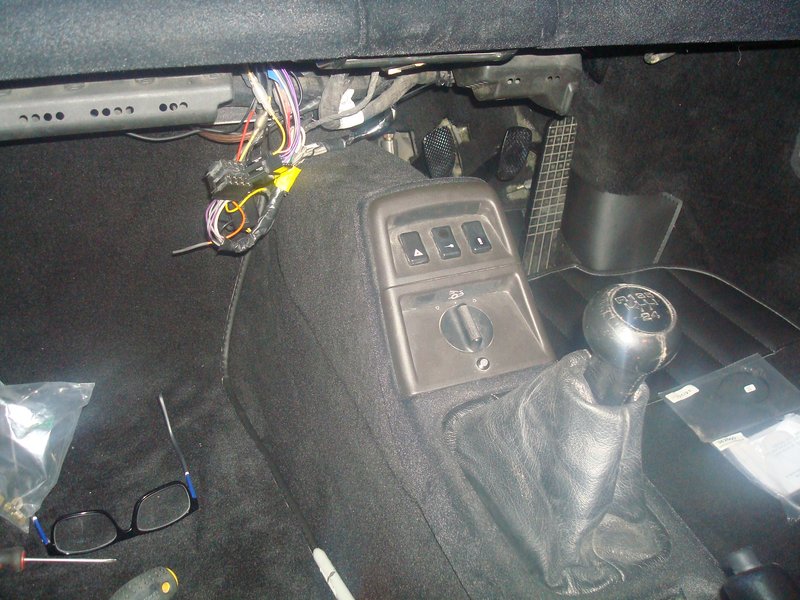
I figured that the centre tunnel was the best place to start - it is the only piece that comes with a hole in it for the gearstick, but is also one of the most complex because there are lots of brackets welded to the floor which needed slots cut out for.
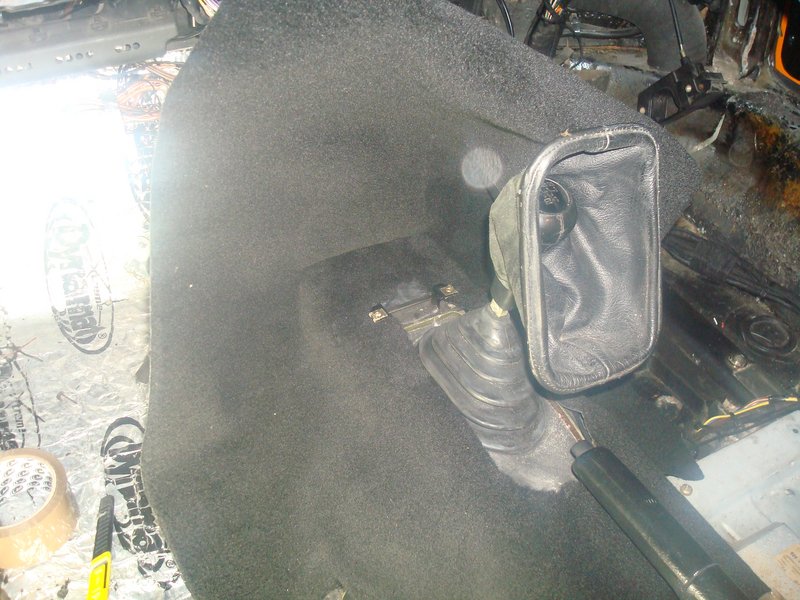
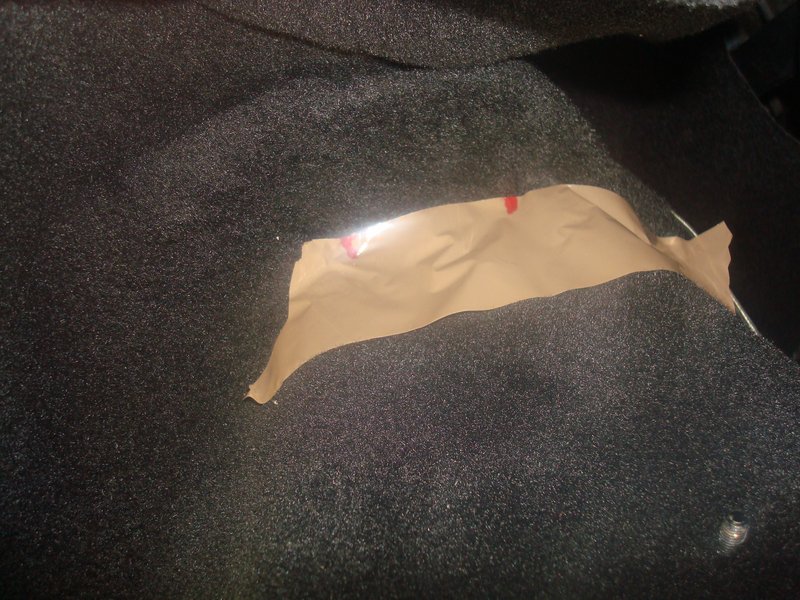
I considered a couple of ways of doing it - measuring between a known point and the first bracket, flipping the carpet over and cutting, but I am not convinced the tunnel is exactly a mirror image side by side, and therefore what appears to be a square cut in the carpet could be on the wonk in situ....so I marked with some tape, removed and cut (and it did sort of proved the theory as it was not whatt I would have expected if using the former method. I then set about the 2nd bracket in the same way
Once done, I glued the nearest section to me first, to locate it where I needed it to be, then bolted the console mounts in place to secure it, and then glued the sides. This ensured nothing could move as I worked. I found out early on that the challenge to removing the 1" thick sound pad is a less sympathetic shape to glue to, and creates a bit of excess carpet too.
Console was easy though
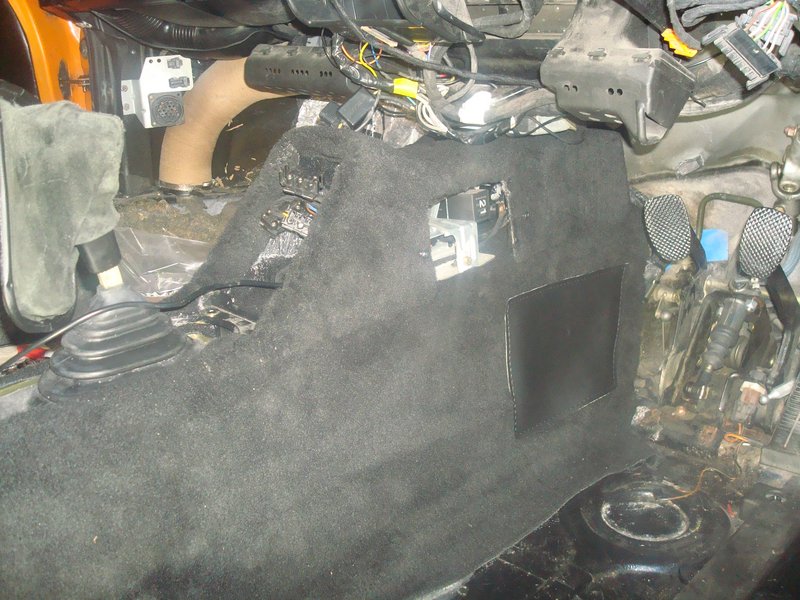
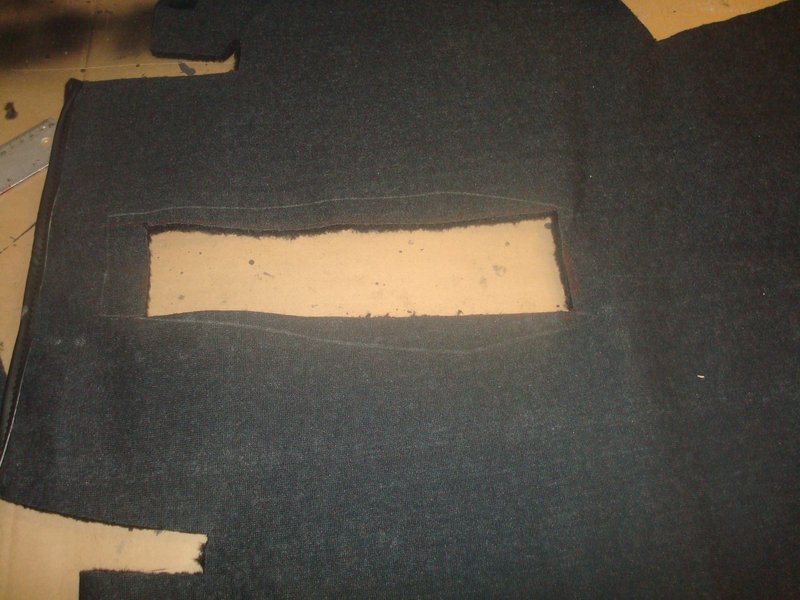
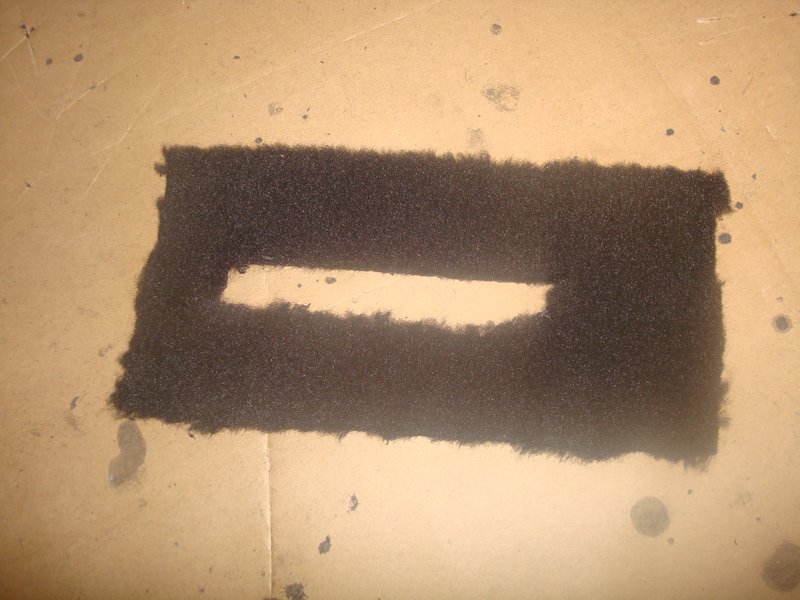
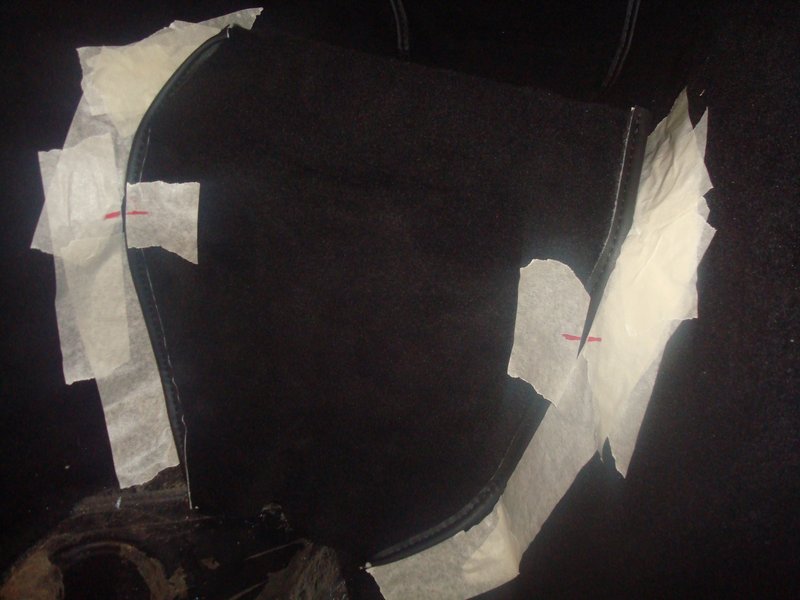
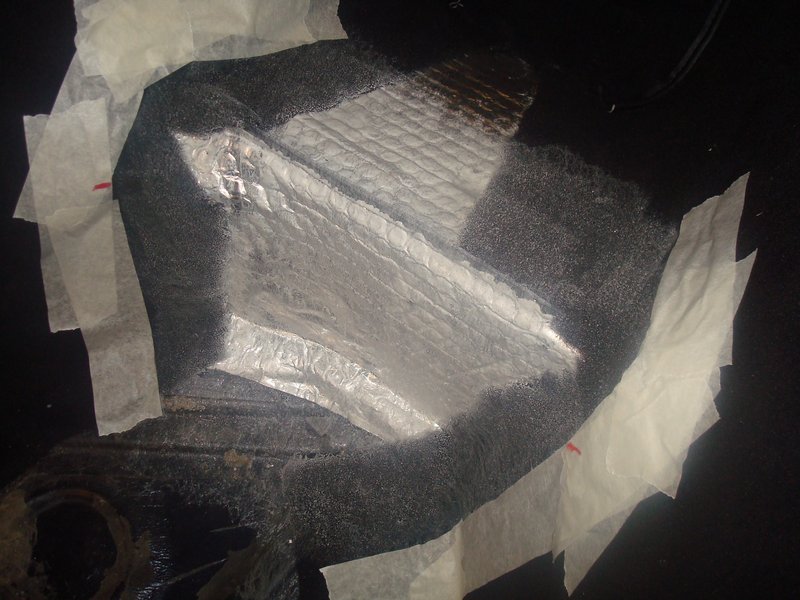
The 2nd section of the tunnel is next, due to an overlapping seam. This bit needed cutting out for the handbrake, and there was a chalk line on the back of the carpet as a guide...

However, I was a little concerned that having taken out the sound deadening, I could end up in a slightly different place than an original refit, so measured over and over until I was happy with my more conservative cuts...
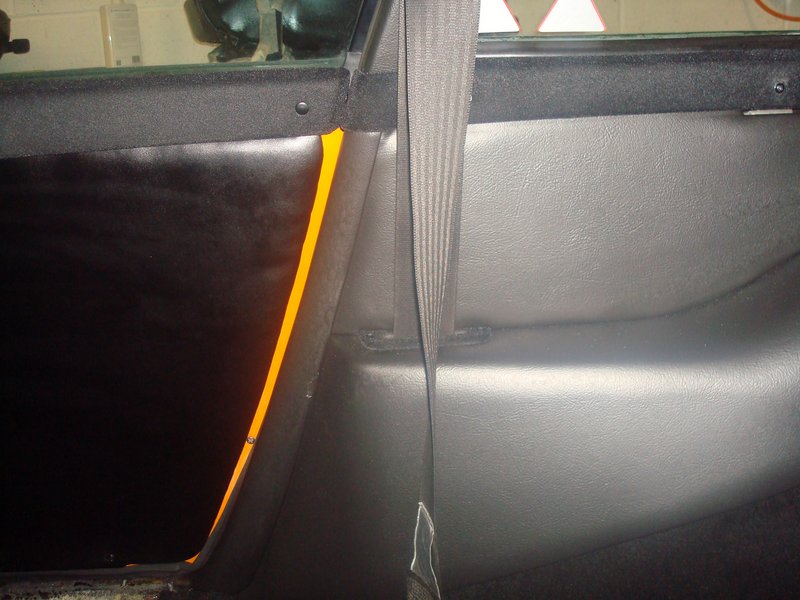
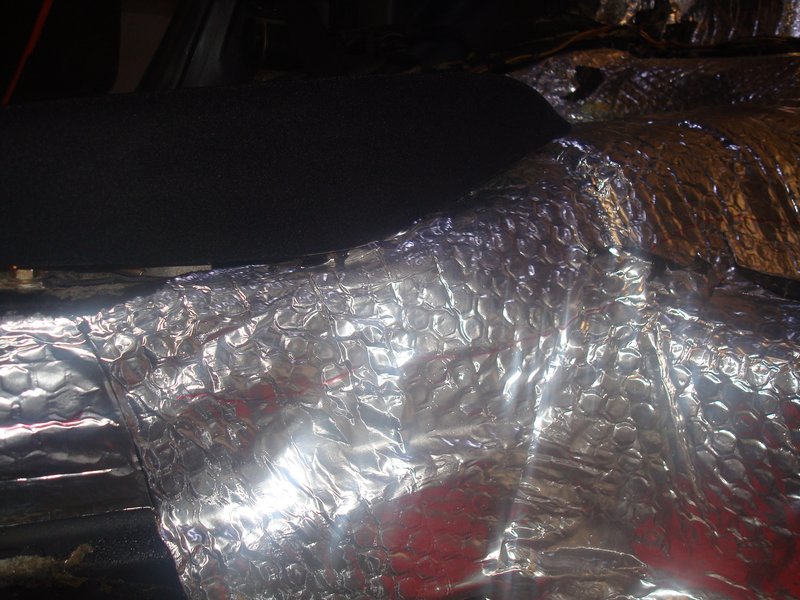
When I positioned this and the next piece in place, I was slightly worried about the space age shiny silver sound deadening showing through by the rear seat hinge, so I made a small piece to glue into place around this section
This would make it harder to refit the seats as I found out later!!
One thing in the back of my mind was the gap between console and tunnel, by the use of less dense sound deadening, so I added a bit of 1" foam. This is is limited to one section only, and not on the floor, as I didn't want another moisture trap (although I traced the leak to the rear window corners, which for now I have arrested with a tiny smear of clear silicone sealant).

And then glued the next section in, my smaller cut out proving to be the right decision
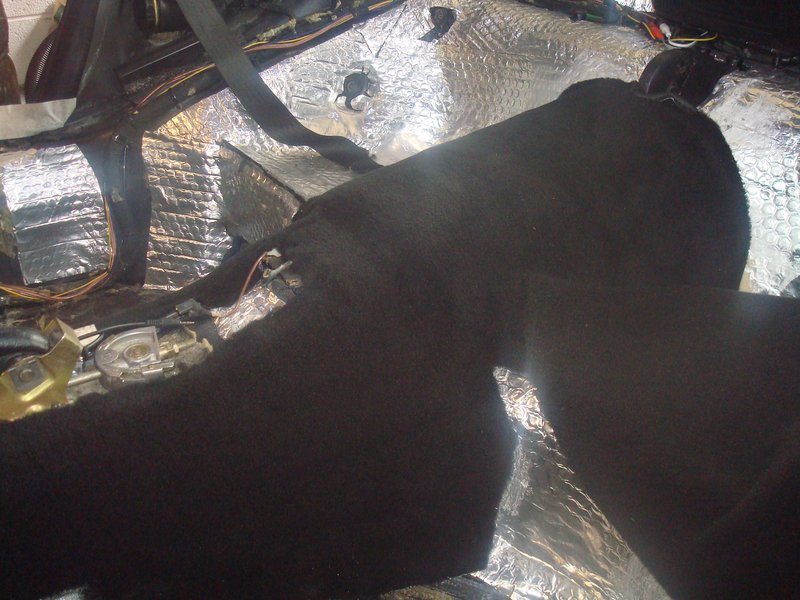
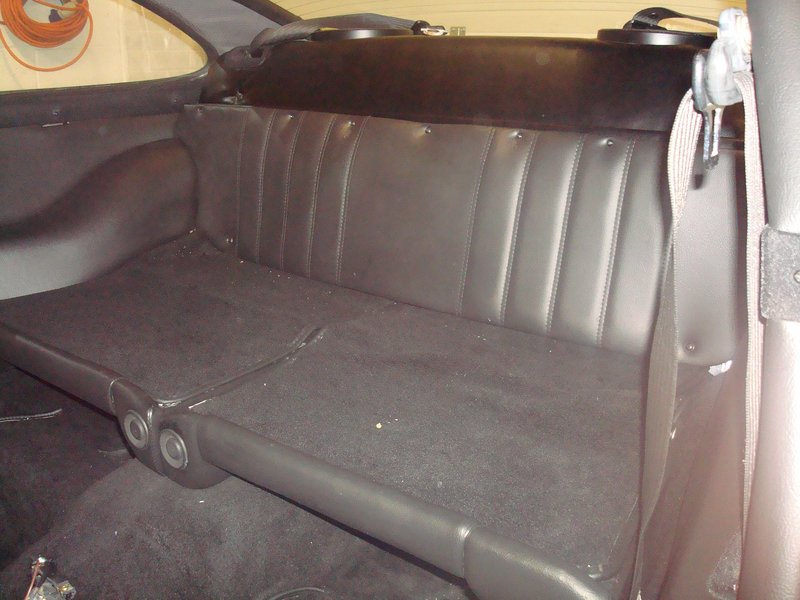
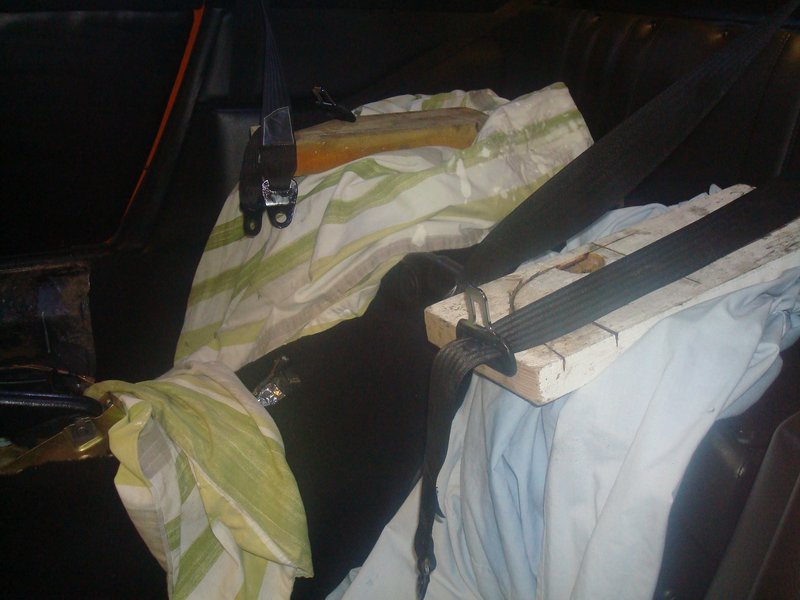
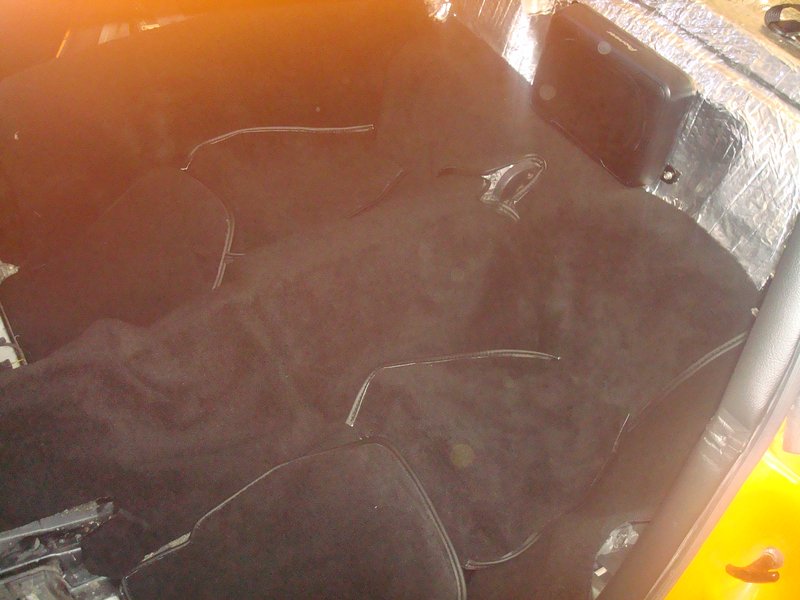
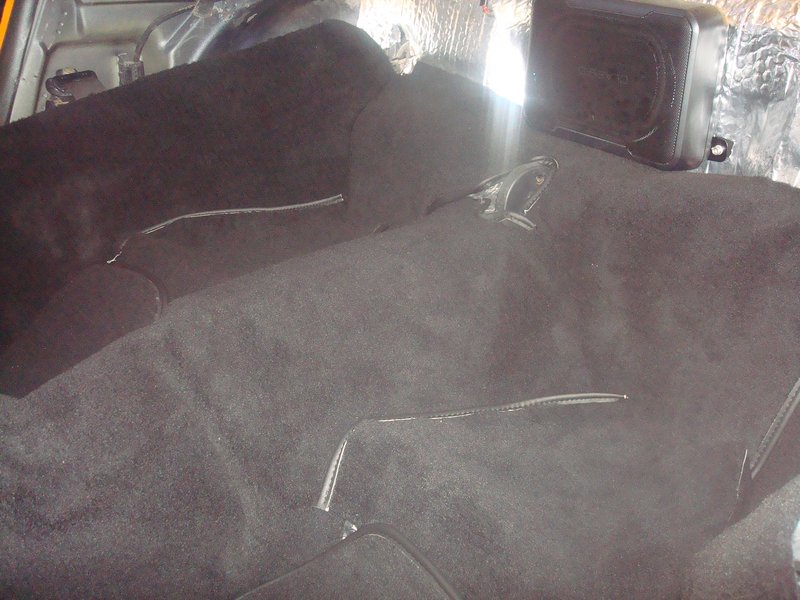
The rear footwell sections took some position and a test fit of the rear quarter trim panels to work out where they go. I started by gluing only the most forward edge, because it needs to be tucked under the trim lip.
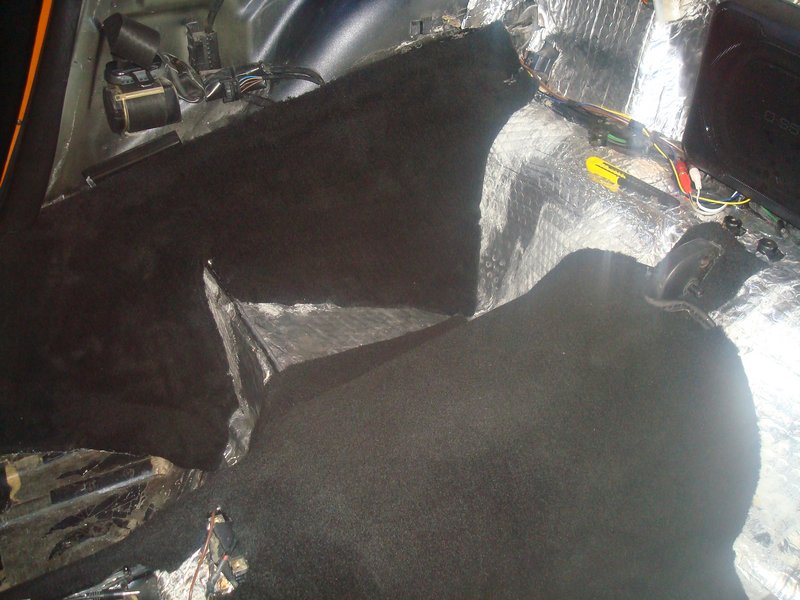
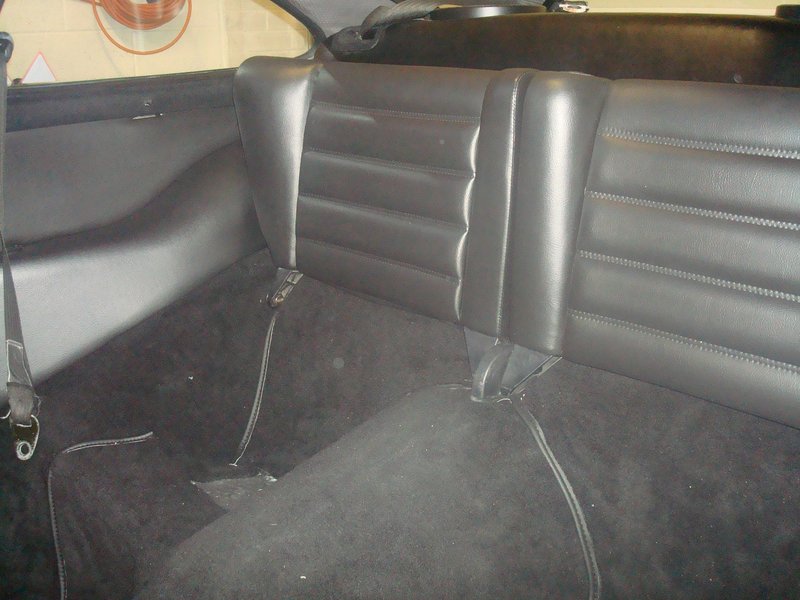
These pieces needed some cutting to get it to form correctly, but it worked out ok. I learned from difficult experience that cutting the seat belt holes is best done before glued, but I was to repeat this disaster several times later, so hopefully someone will learn from taking my advice where I seemingly didn't!! I could then put the final rear section in (seamed) that forms the rear of the seat squabs. What really surprised my is how the carpet could be carefully manipulated to grab with a curved section and take that form, it is completely unlike covering a door panel in fabric, which relies on pulling things tight. This is the reverse, and feels a bit odd at first.

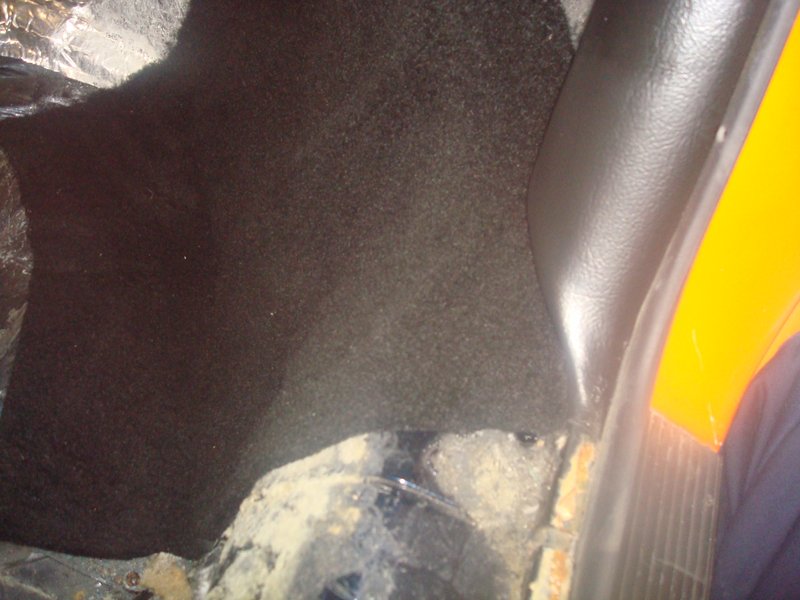
and then the upright footwell into seat base sections (seamed again). I found that using masking tape kept the glue of the sections I wanted to keep clean. I didnt always work, as pressing the carpet in tight shrinks it from the original position, so keep the white spirit handy! I also found a couple of pen marks helped me ensure that I had the coverage for the next section, as in parts only an inch or so in the wrong place would leave you with exposed floor

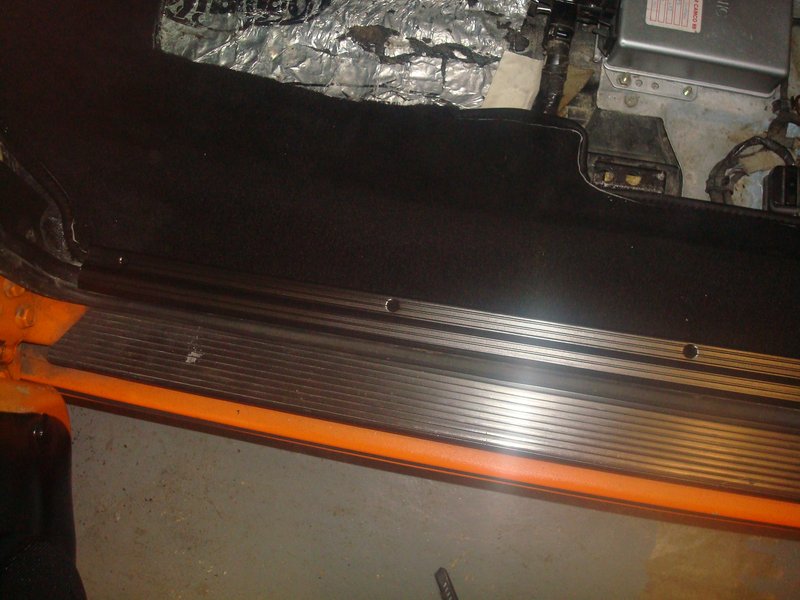
I could then ft the reat card and capping trim - really pleased with the contrast of materials and the flow from front to rear