12. Outer sills, floor (rear).....
So, for those of you with insomnia today's update....
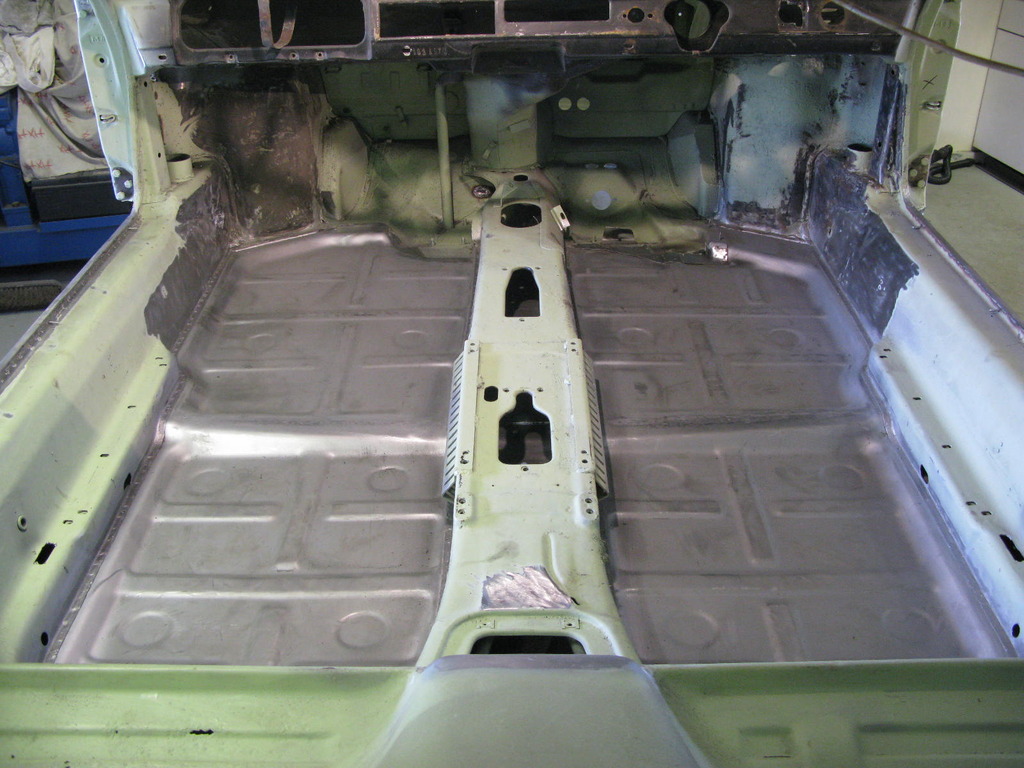
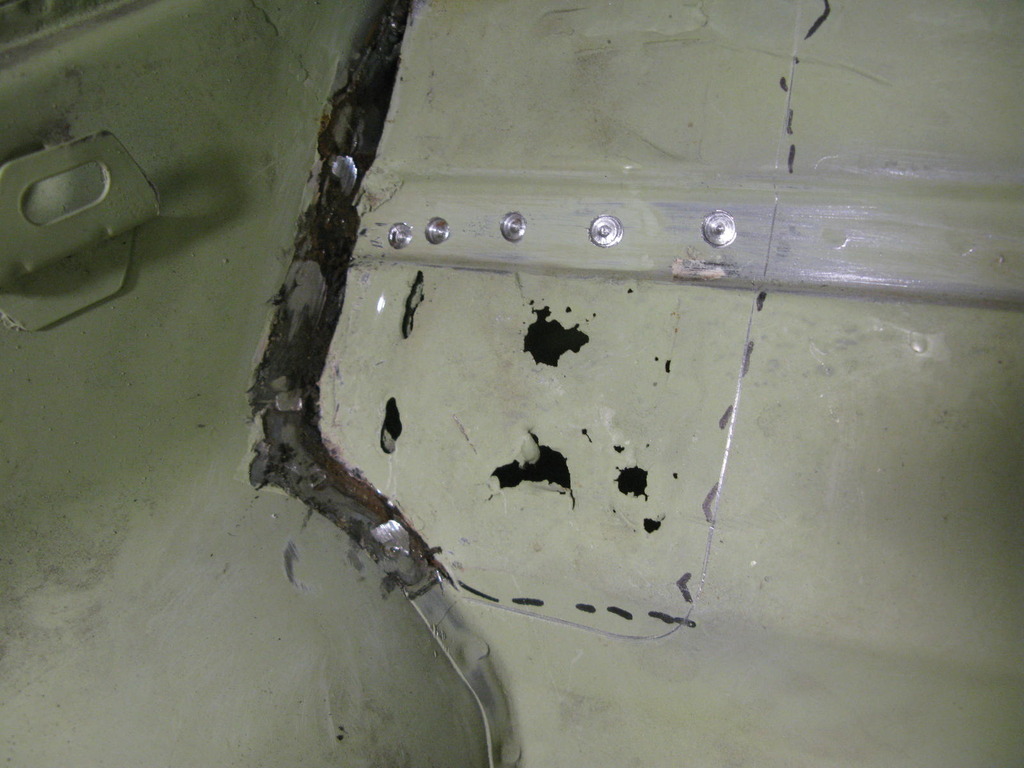
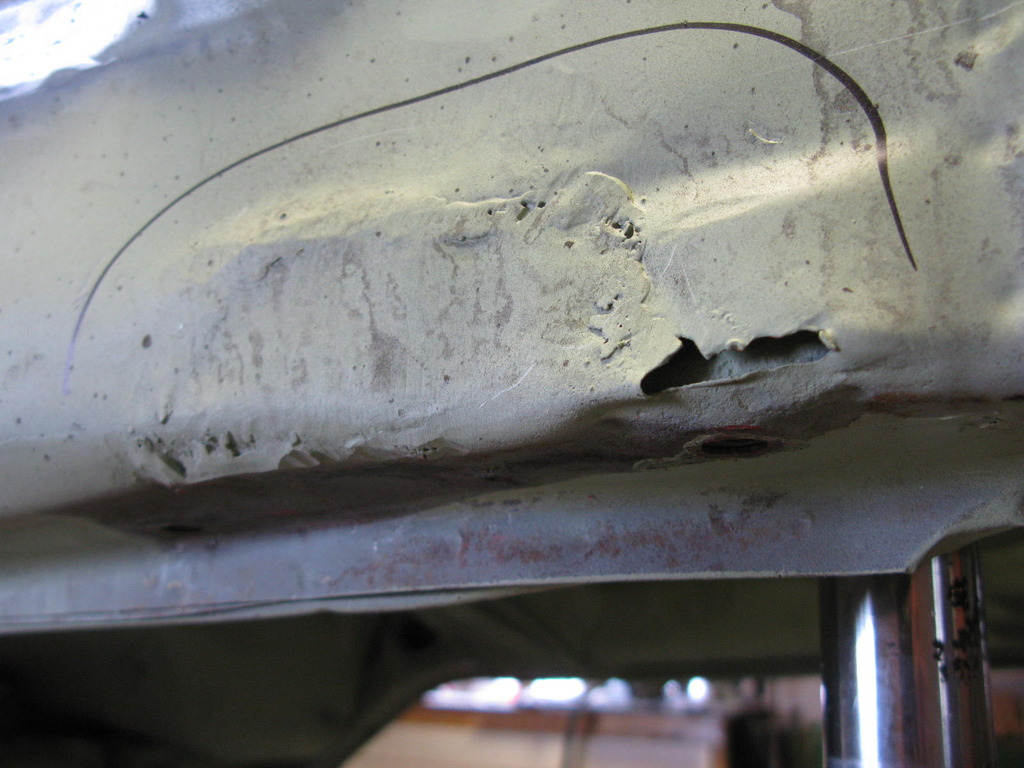
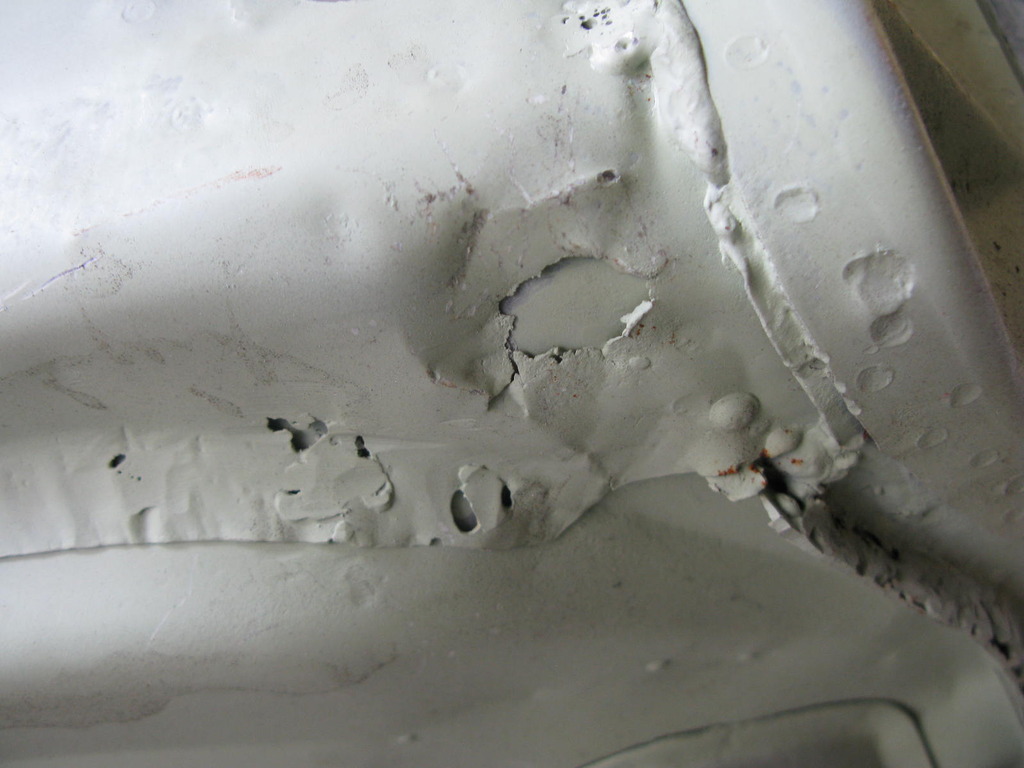
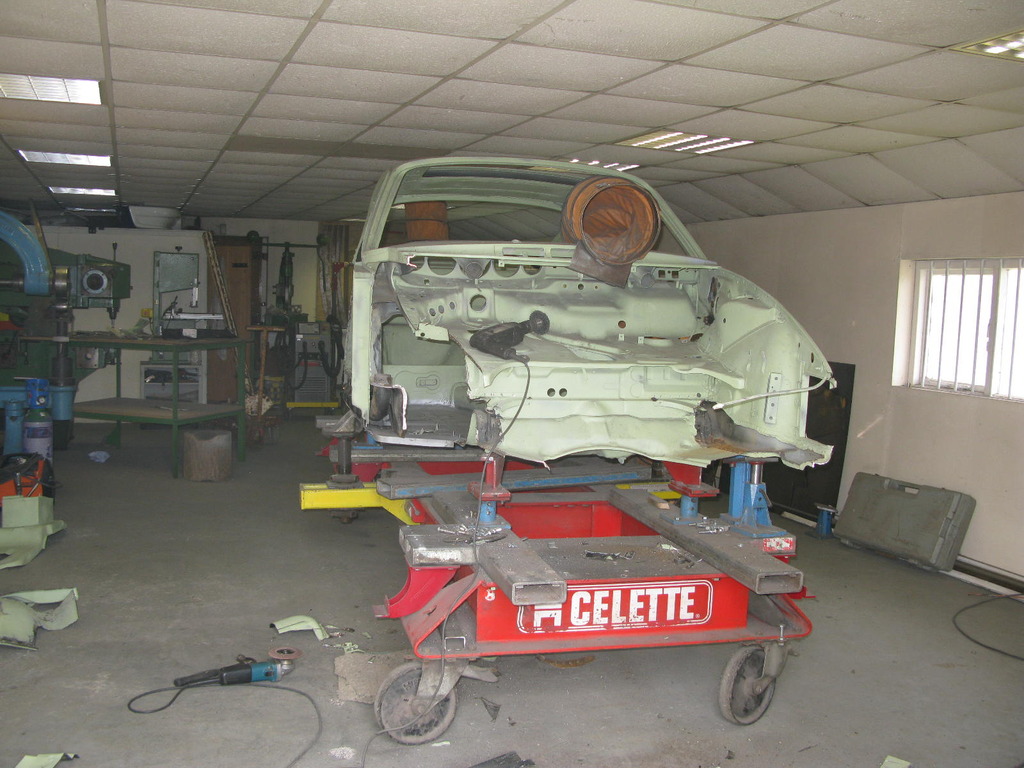
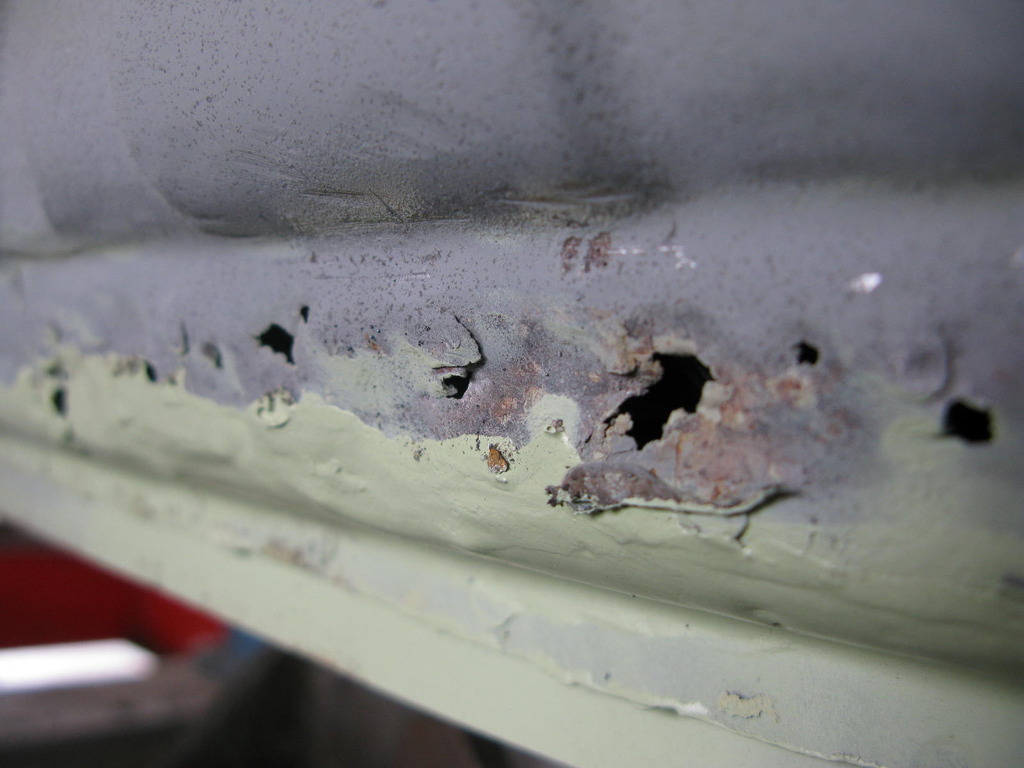
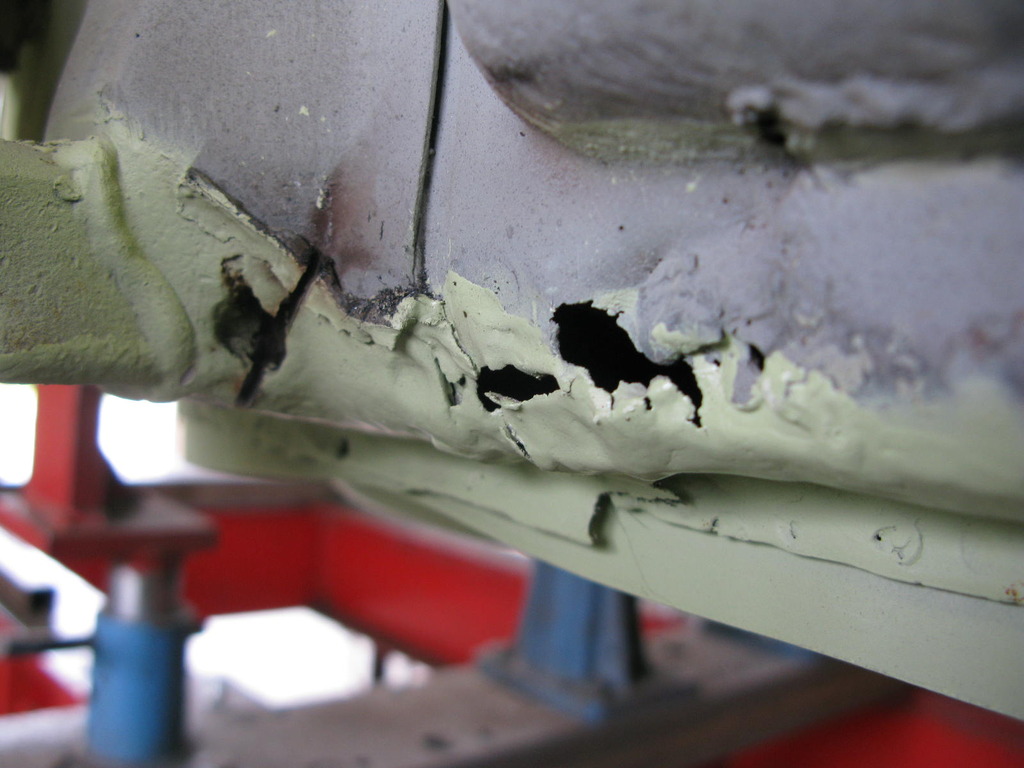
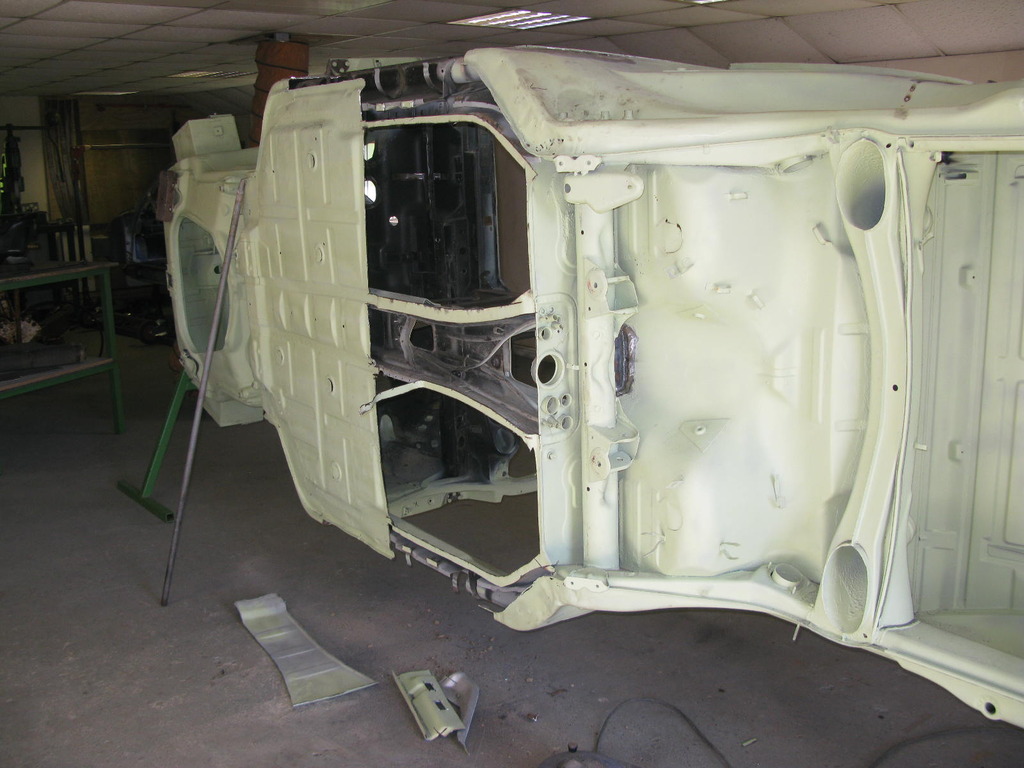
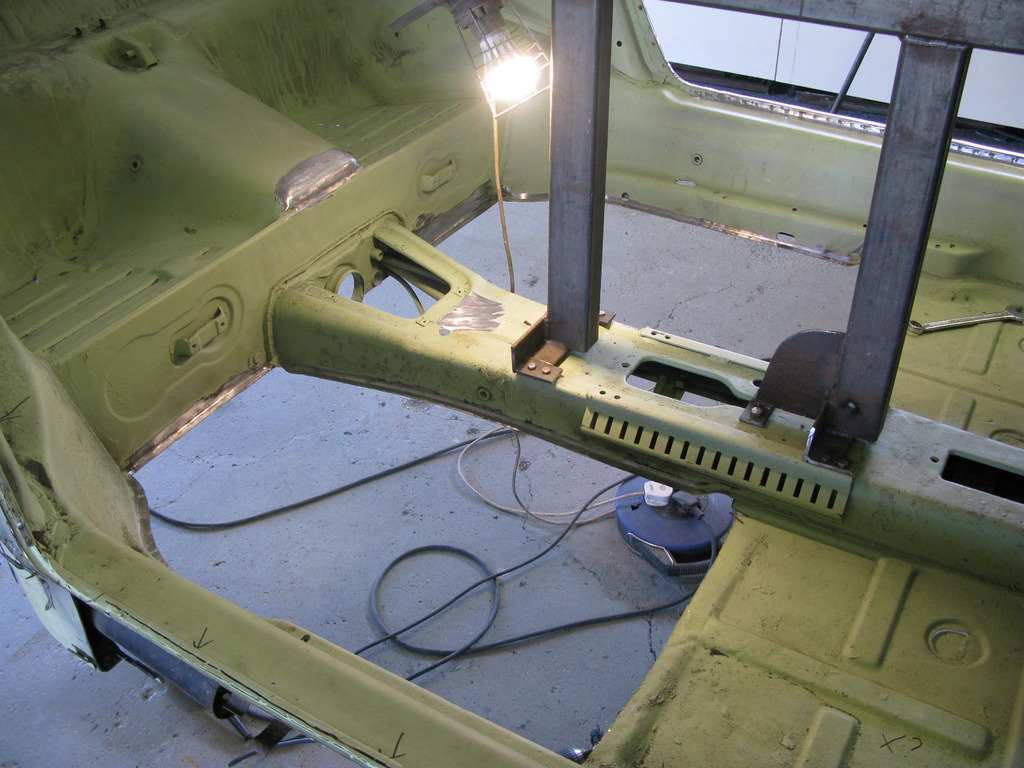
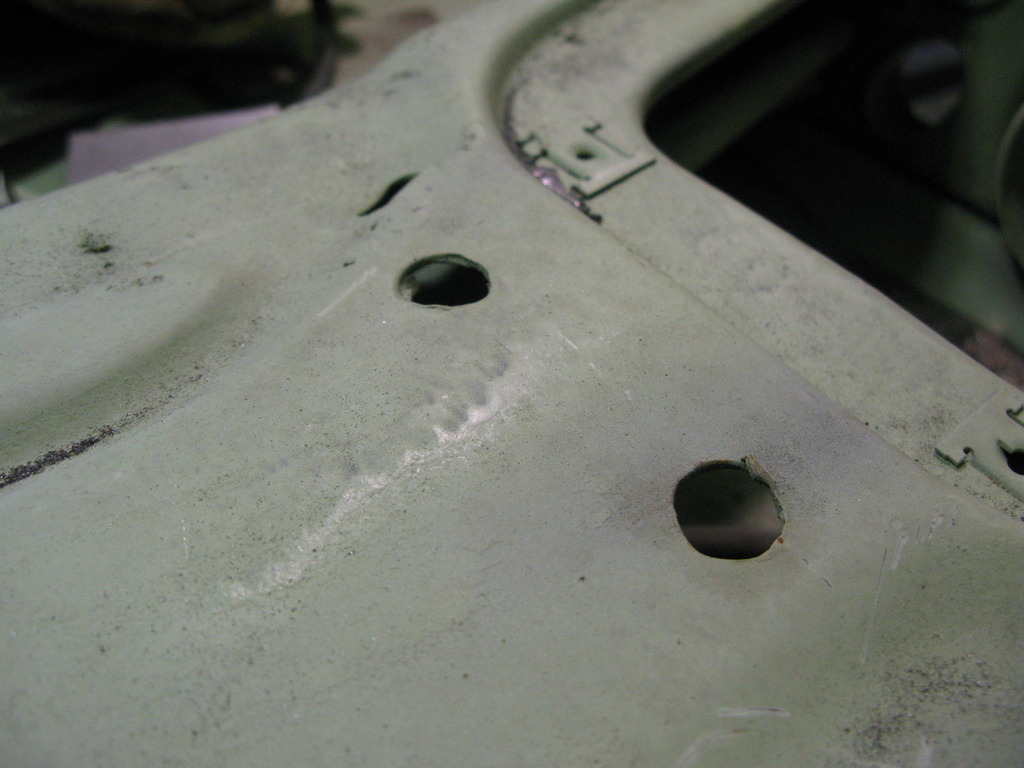
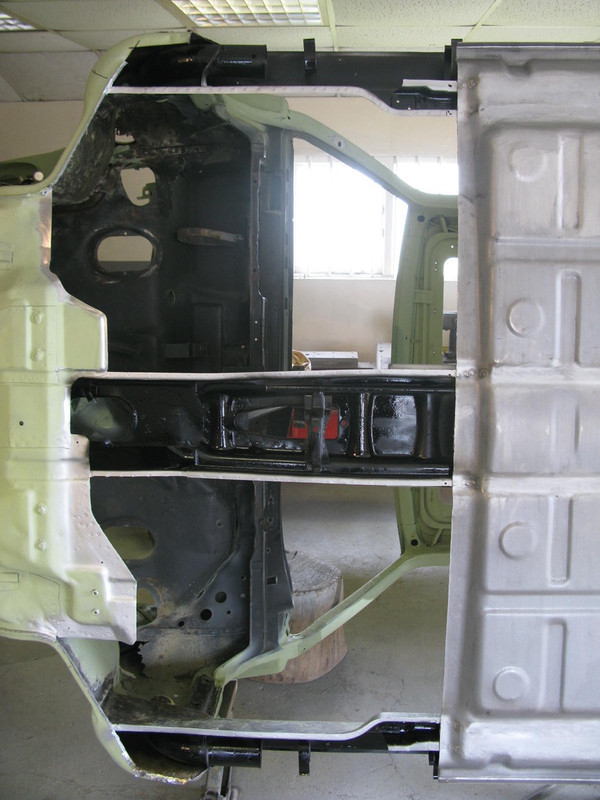
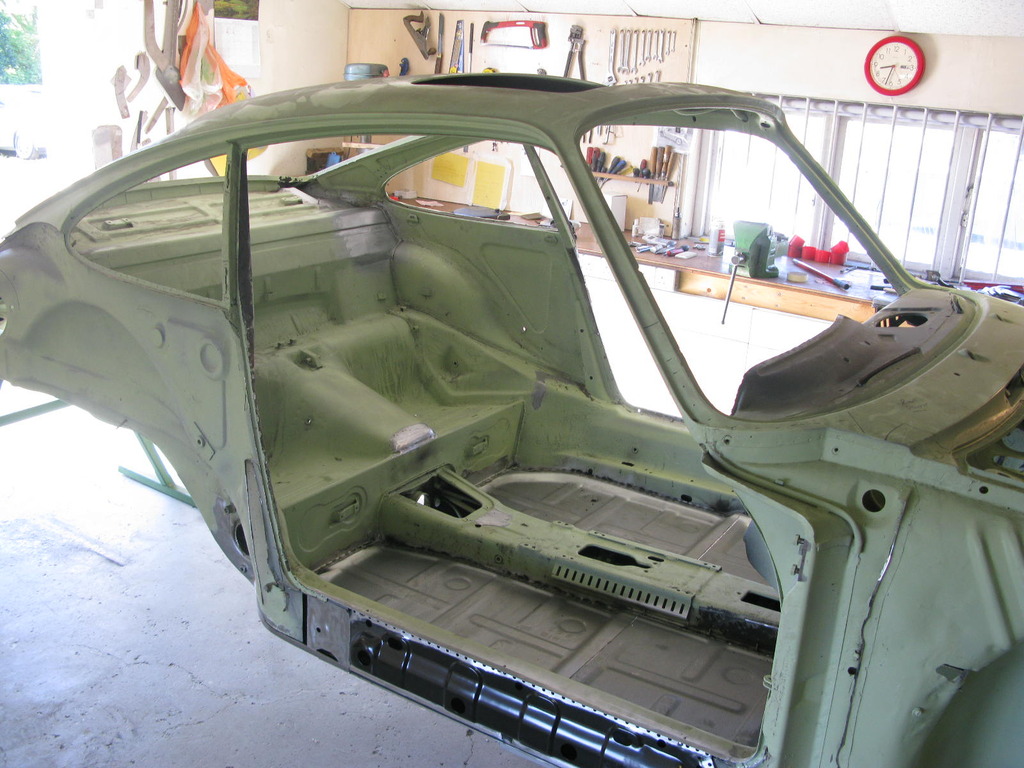
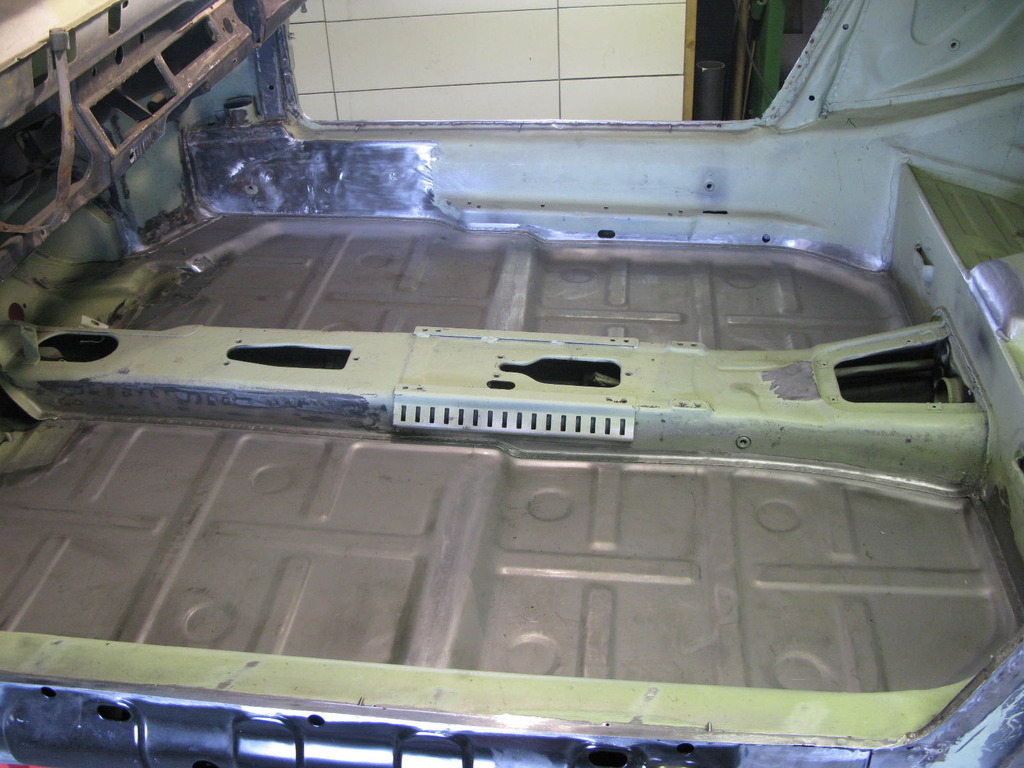
Previous repairs....the new outer sills had been put on over the top of very poor inner sills. In addition, the outer sills were barely attached in several places. Finally, and the previous repairer may have been intending on returning to this parts, there was quite a bit of corrosion being hidden by the new (now removed) floor.
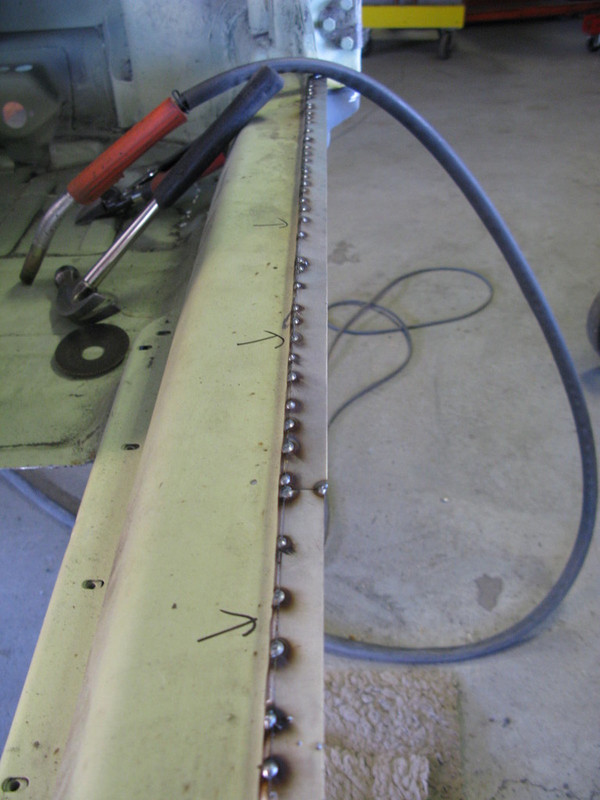
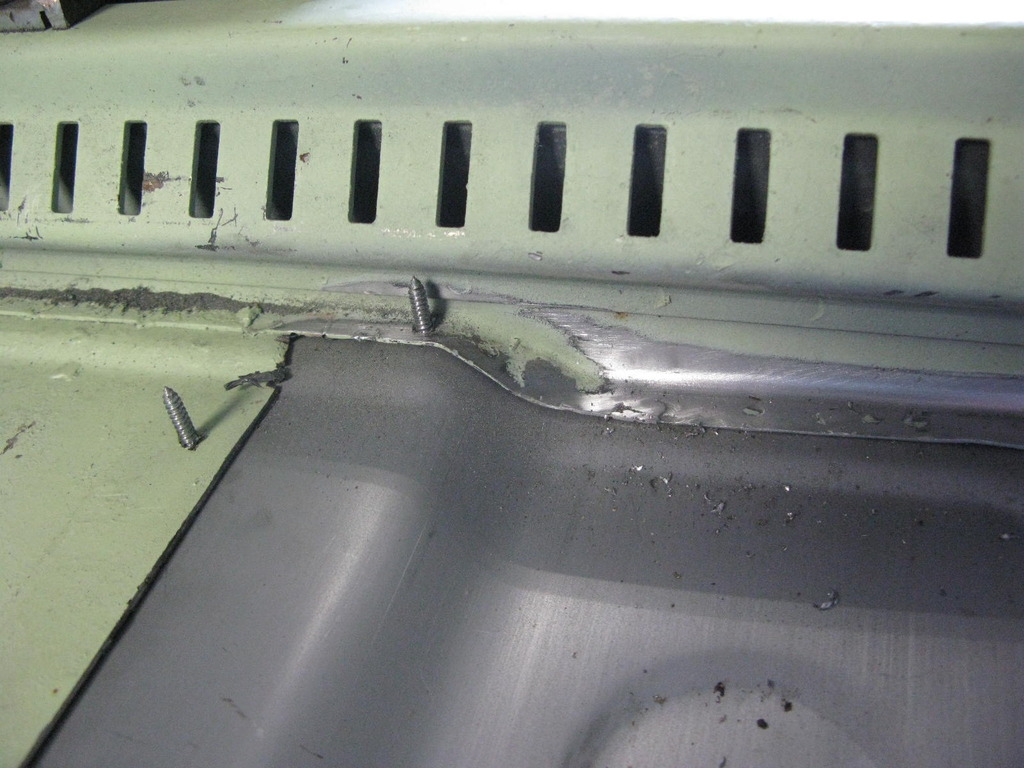
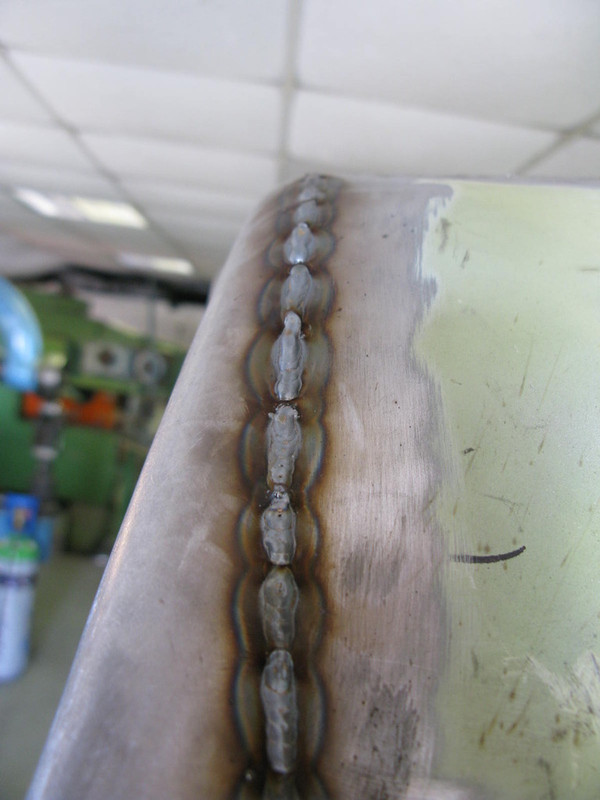
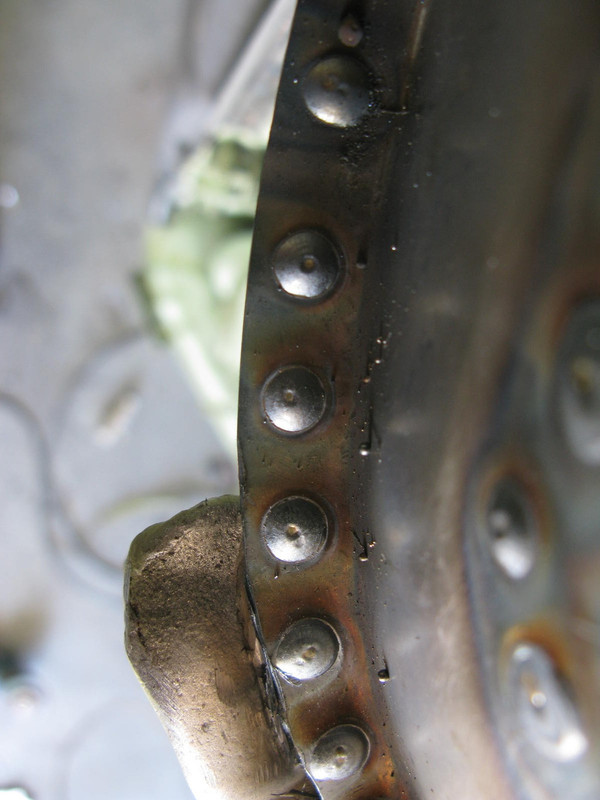
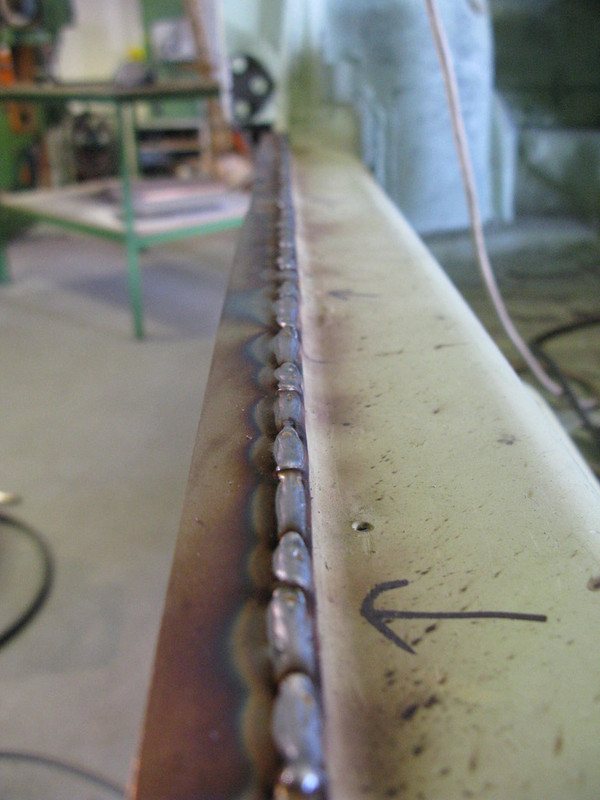
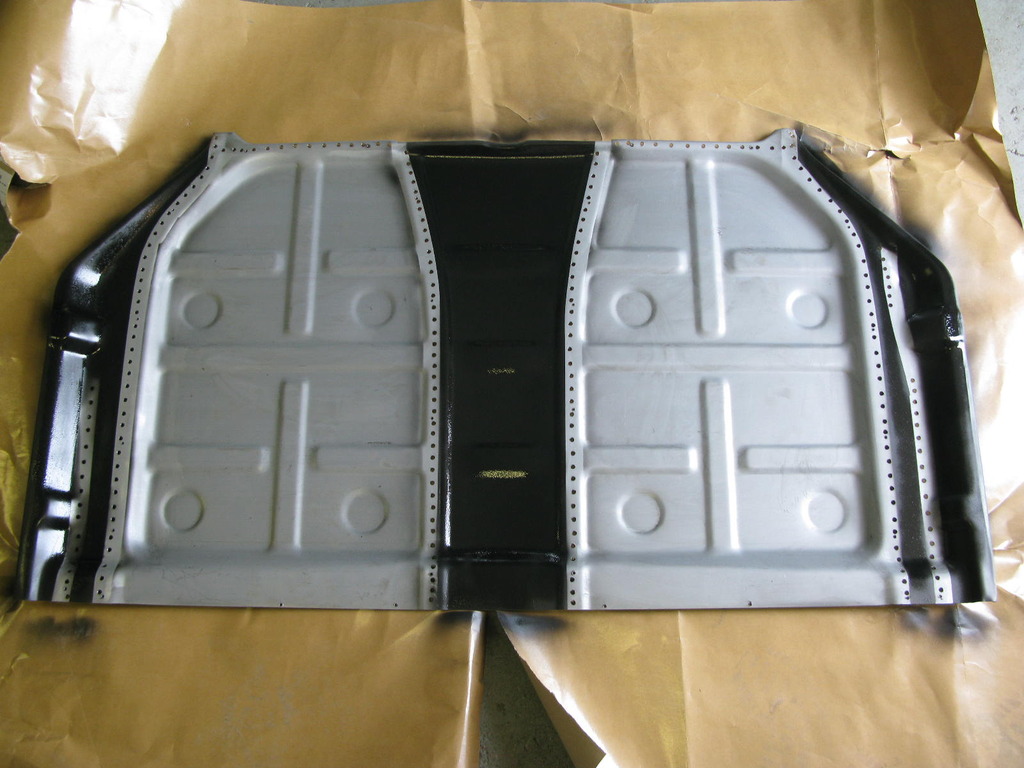
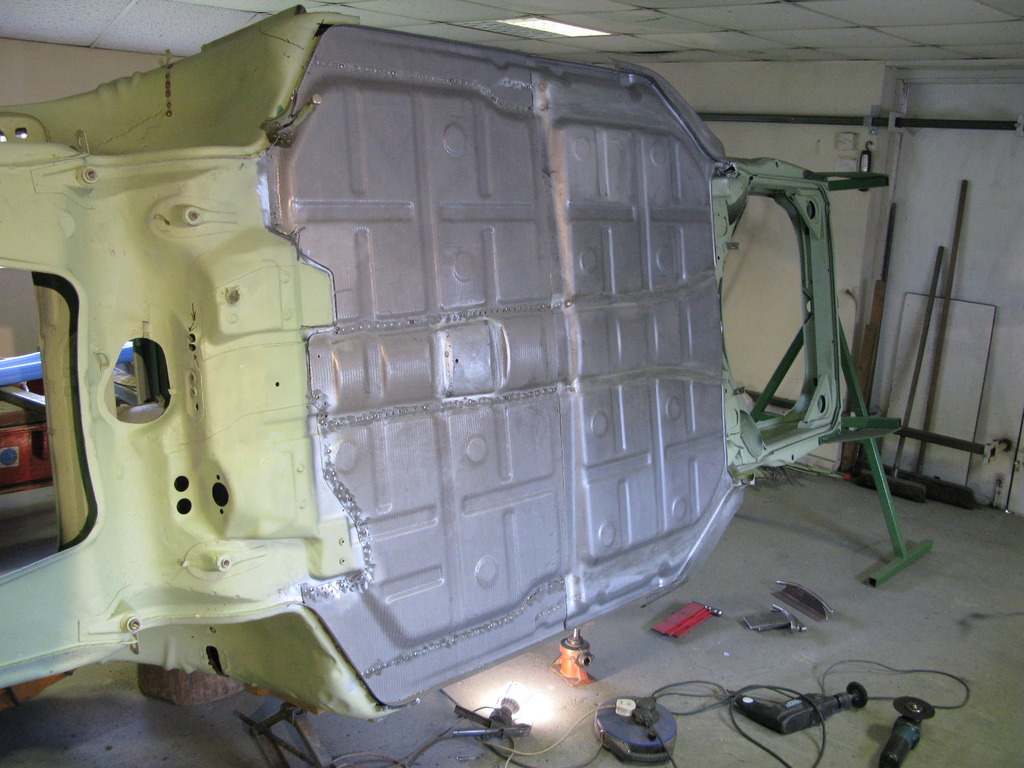
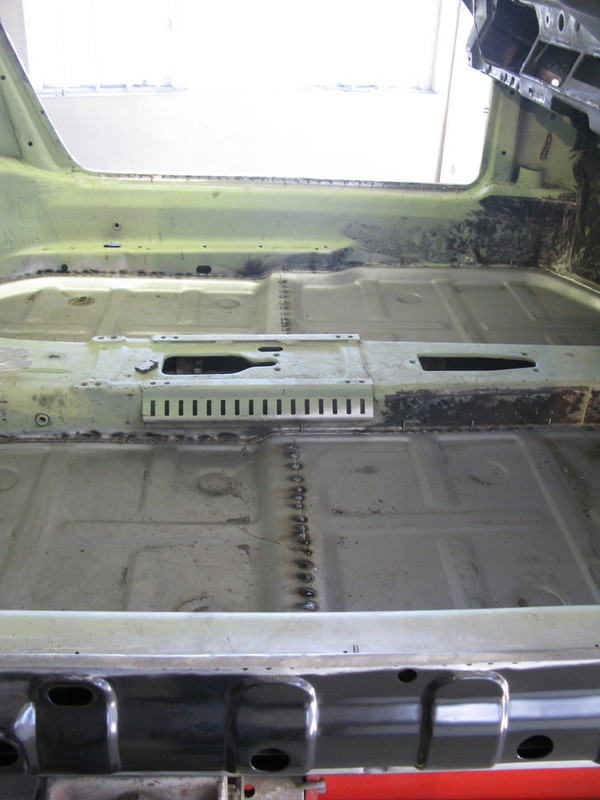
The new floor had been plug welded into place, albeit with very wide spacing - about half the number of factory welds if that. Barry will plug weld as well, but use factory spacing, that being about a weld every 20-25mm, rather than 50-60mm. A result of plug welding is that you can't drill the welds out, you have to grind them. All you can do is thin the metal down with the grinder, tickle it up with a very thin sharp chisel, grind a bit more, then slice the metal off.
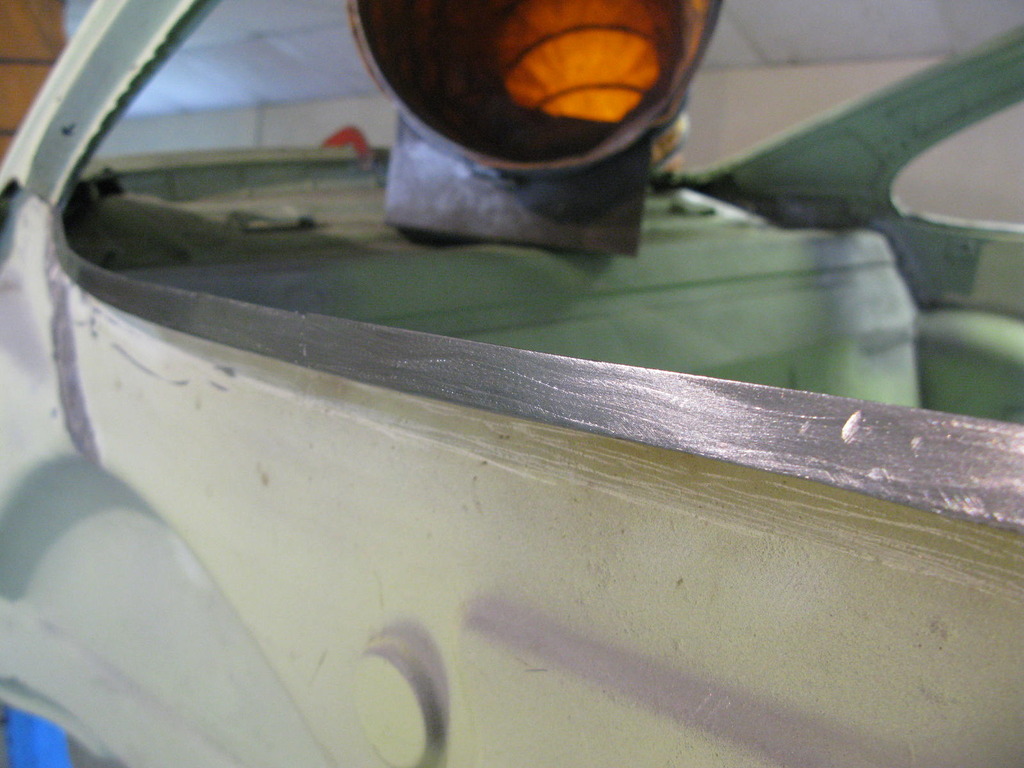
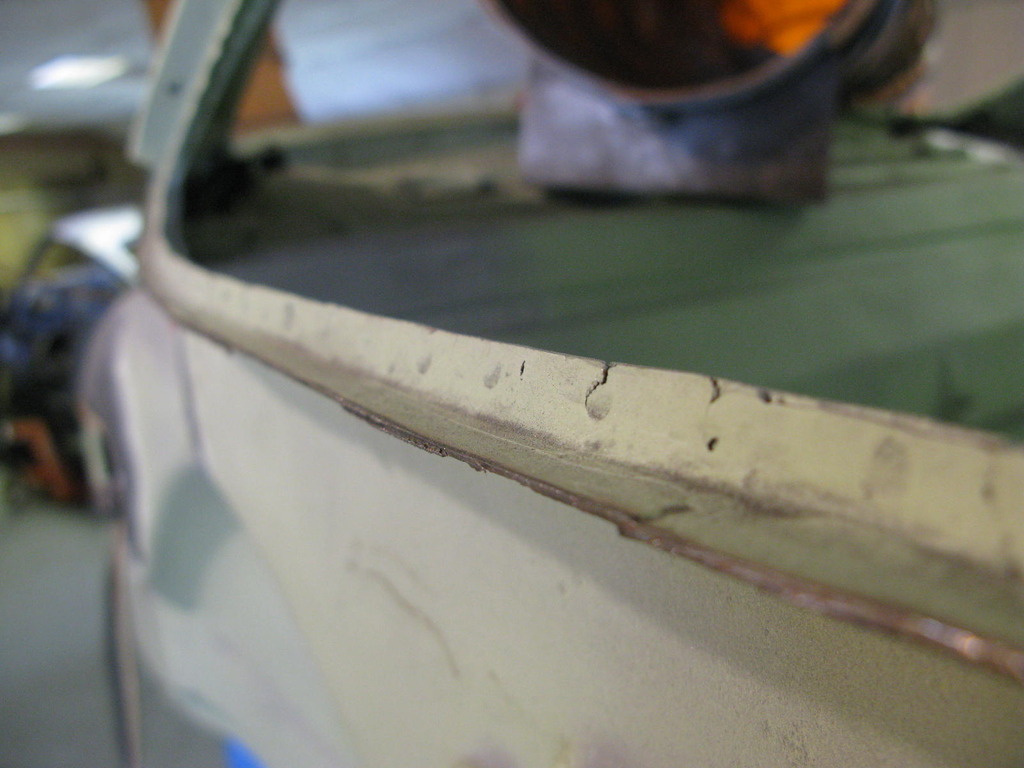
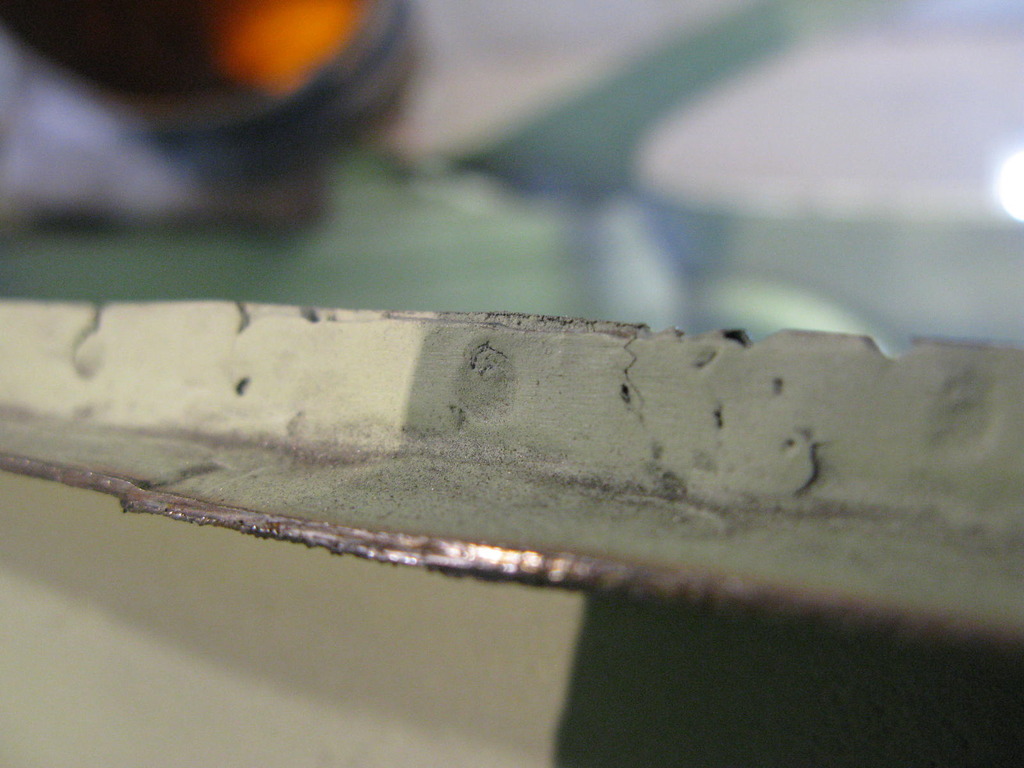
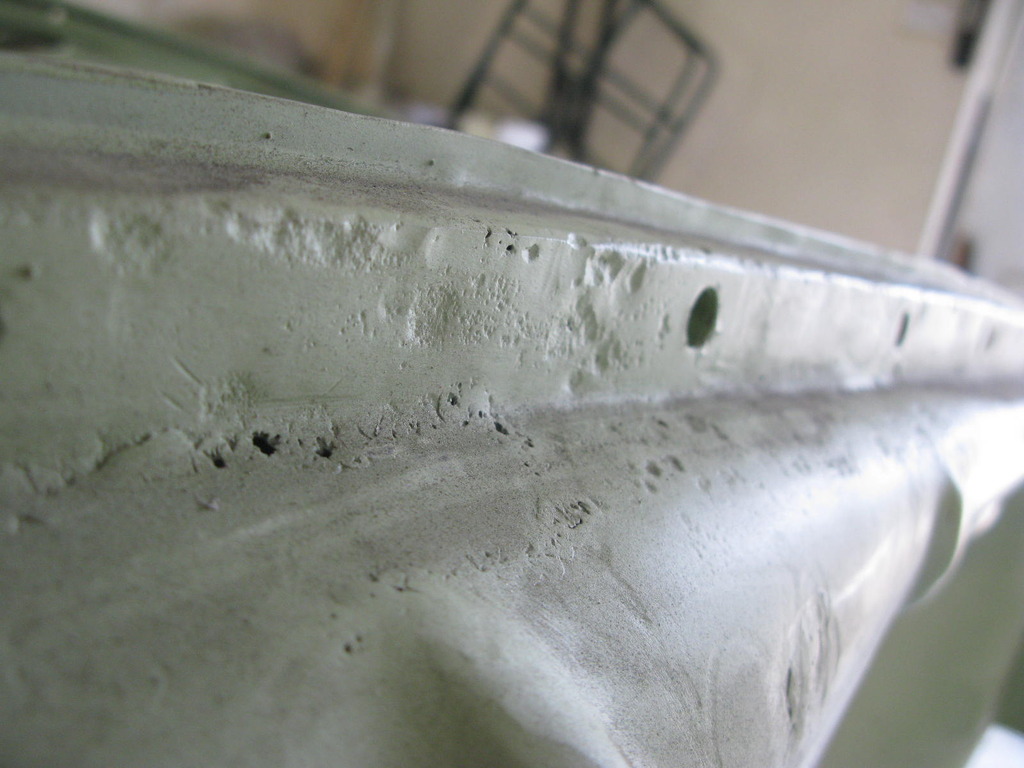
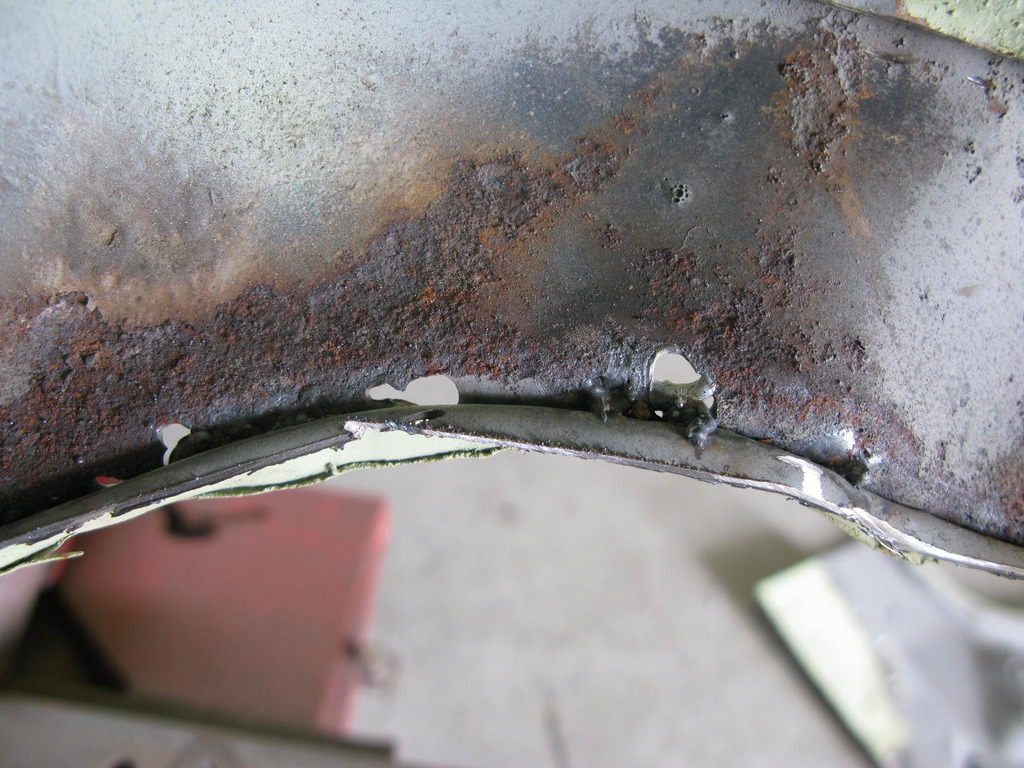
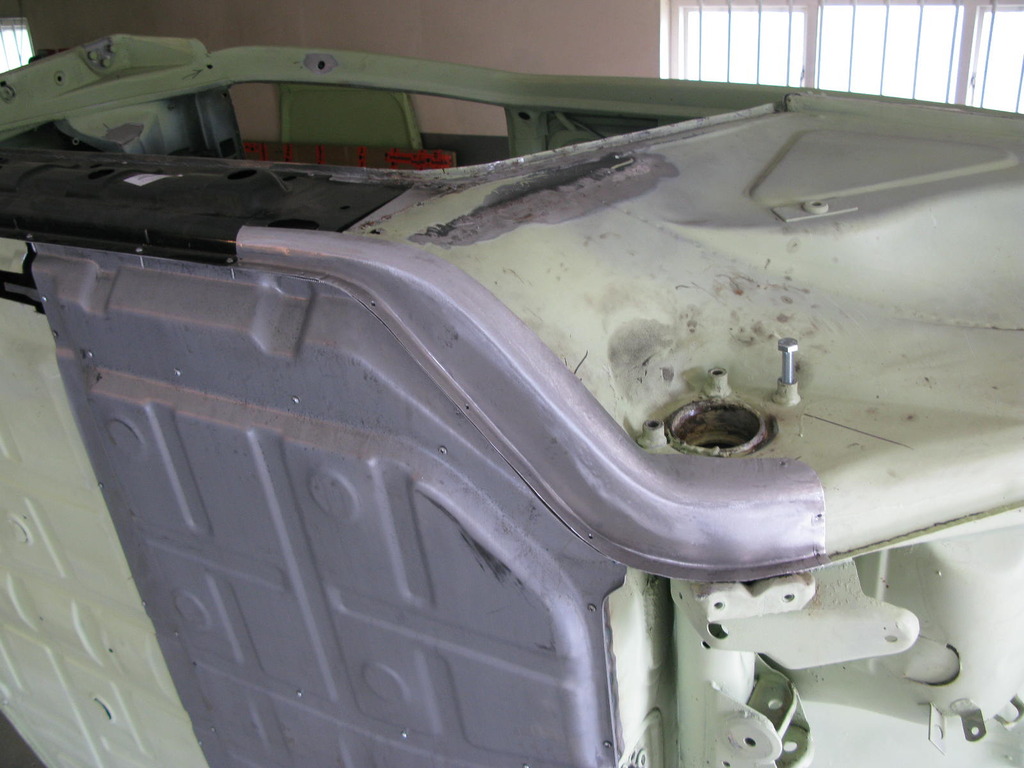
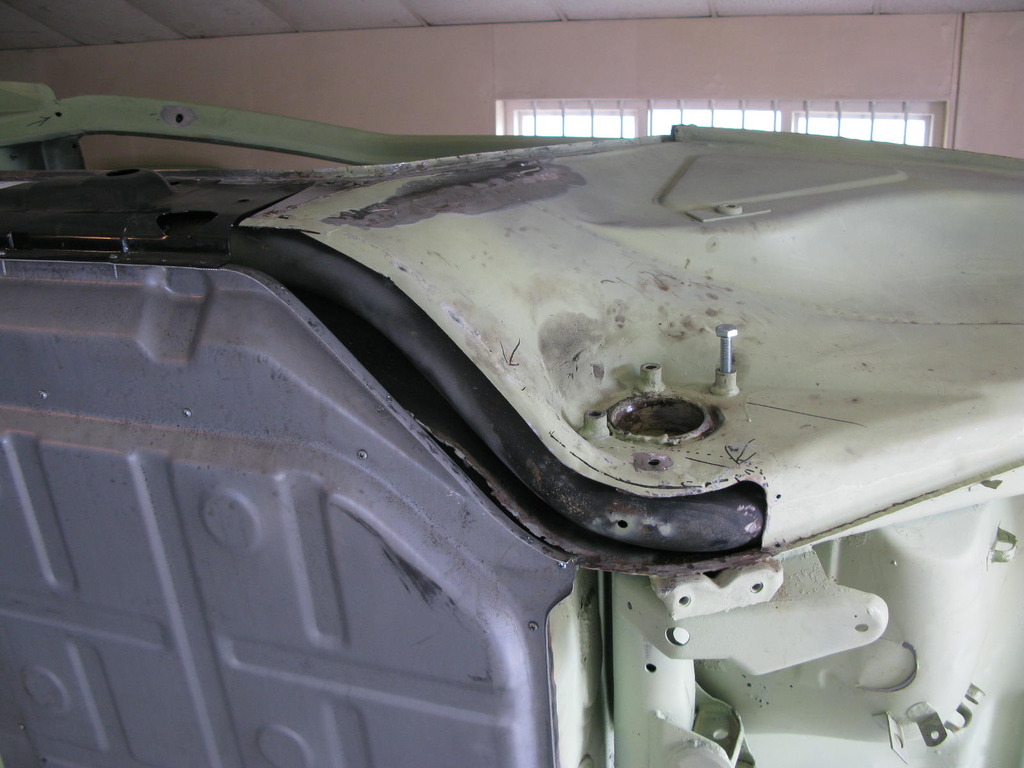
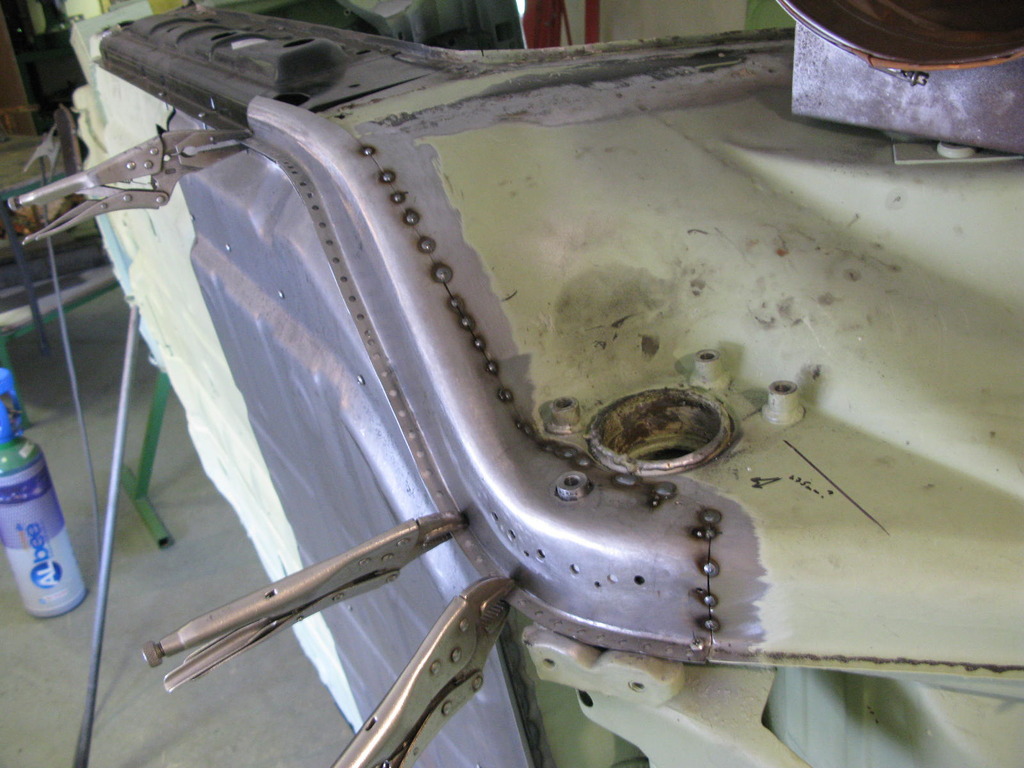
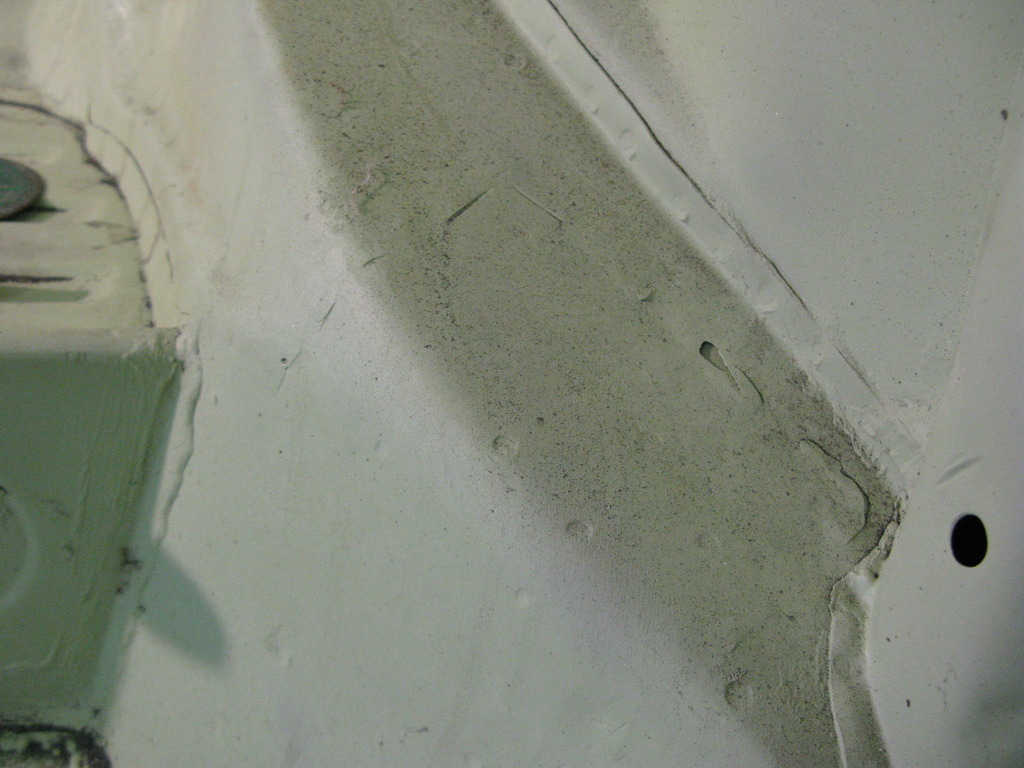
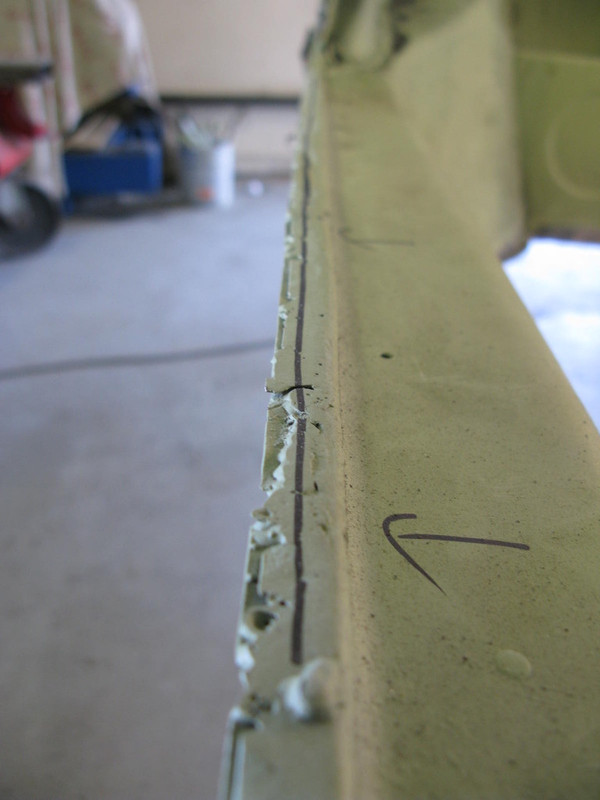
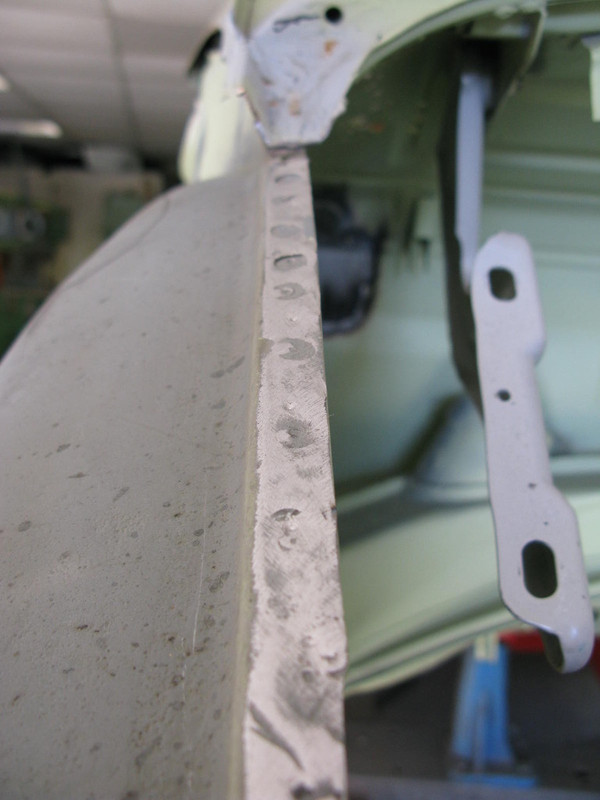
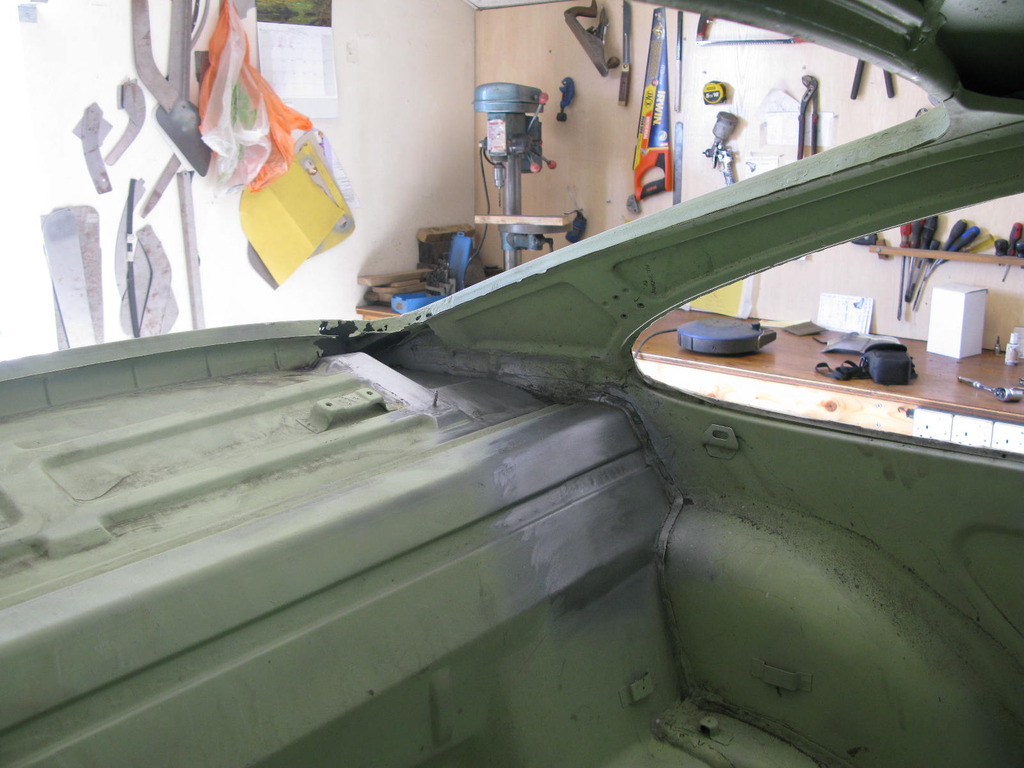
By the time the previous repairer had beaten the old floor off, welded on the new one from the top then Barry removing everything, the flanges were in quite a bad state.
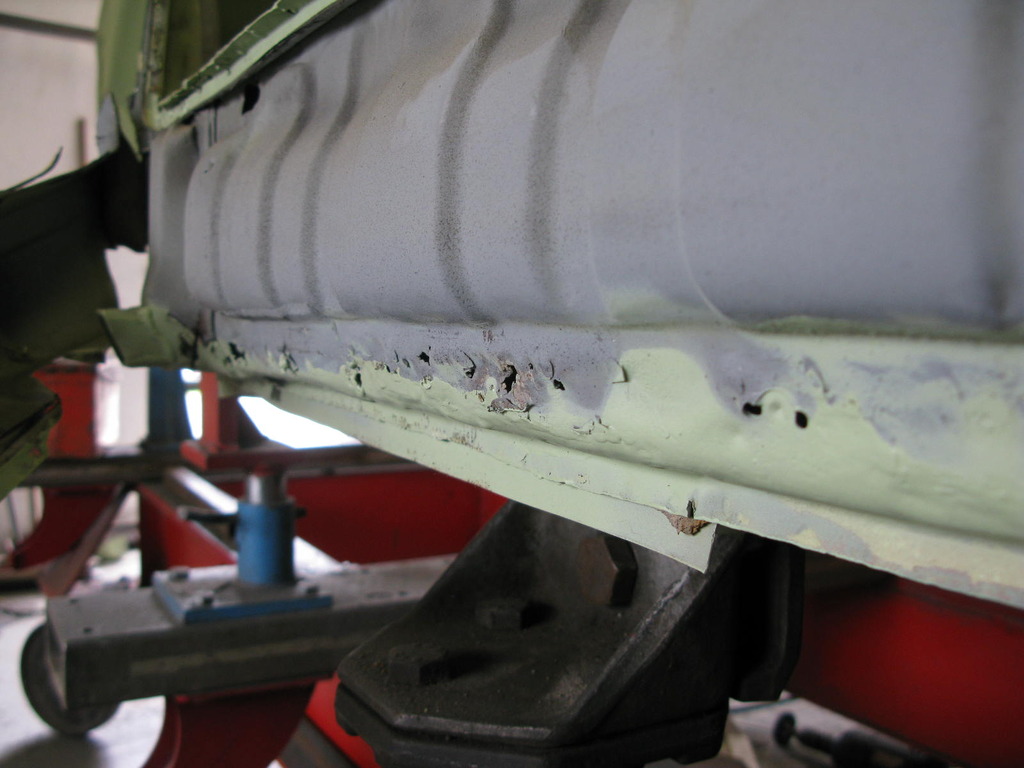

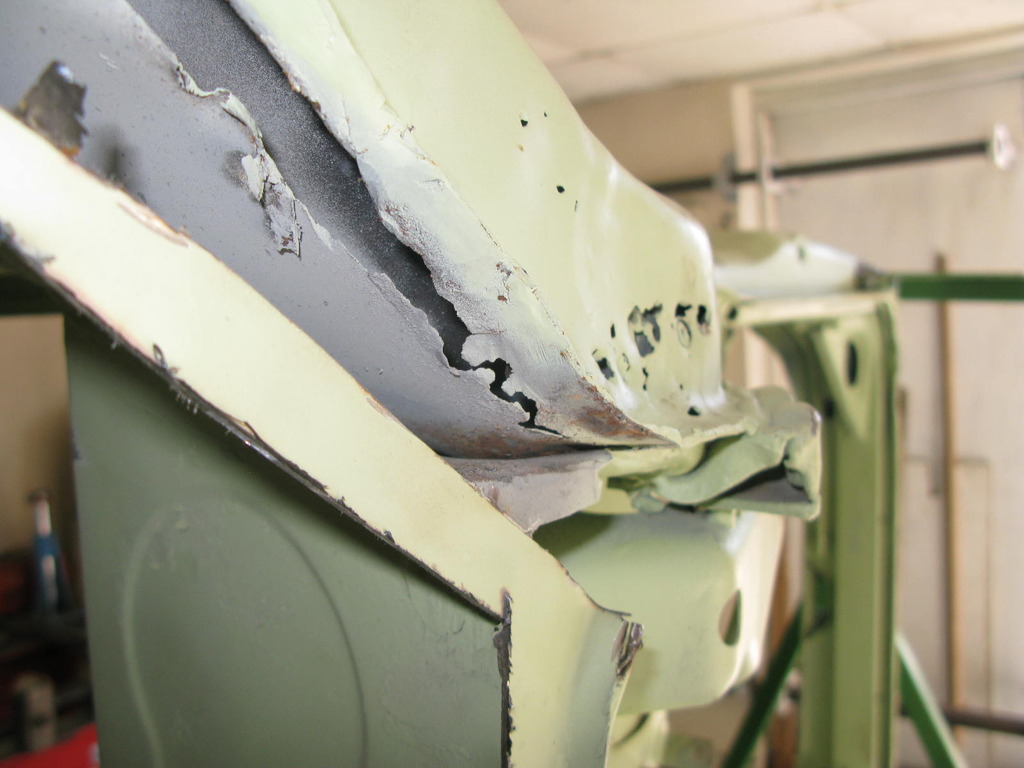
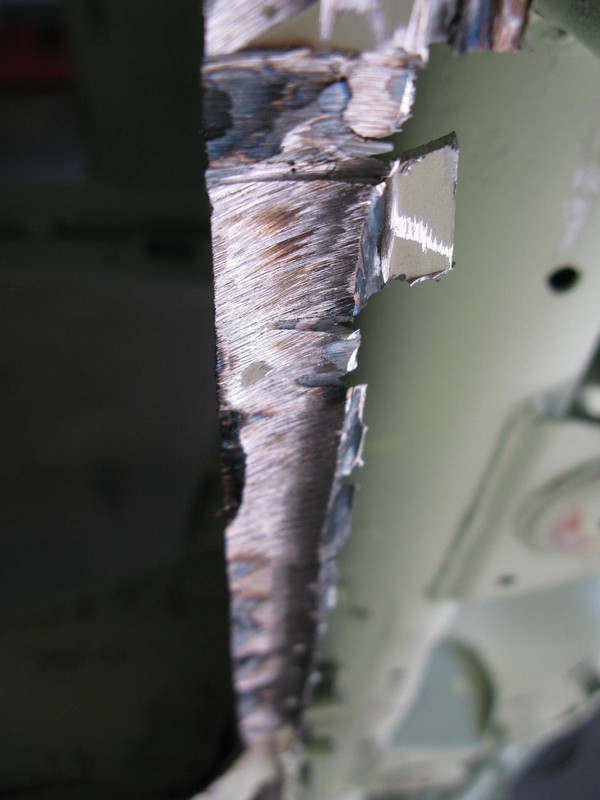
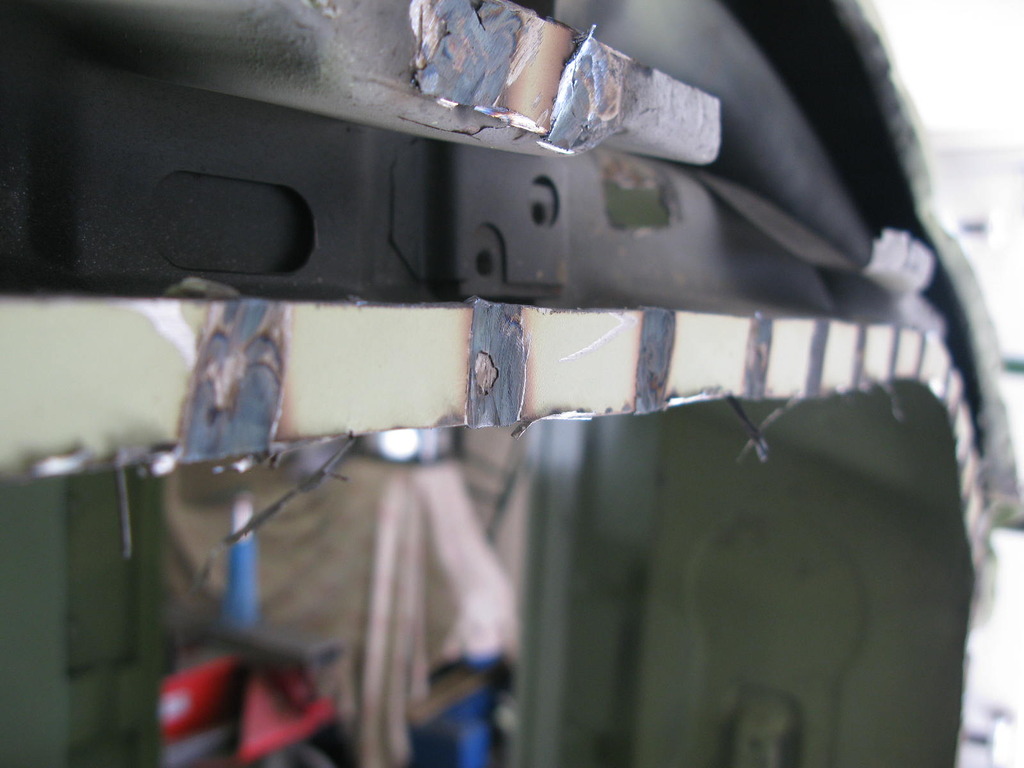
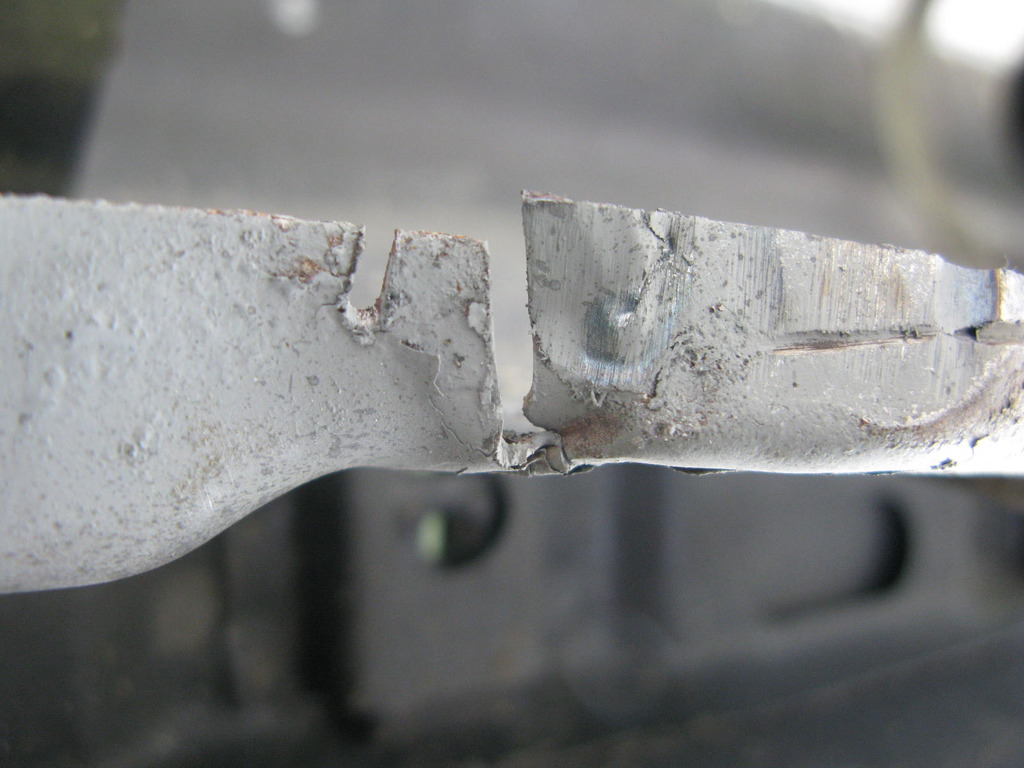
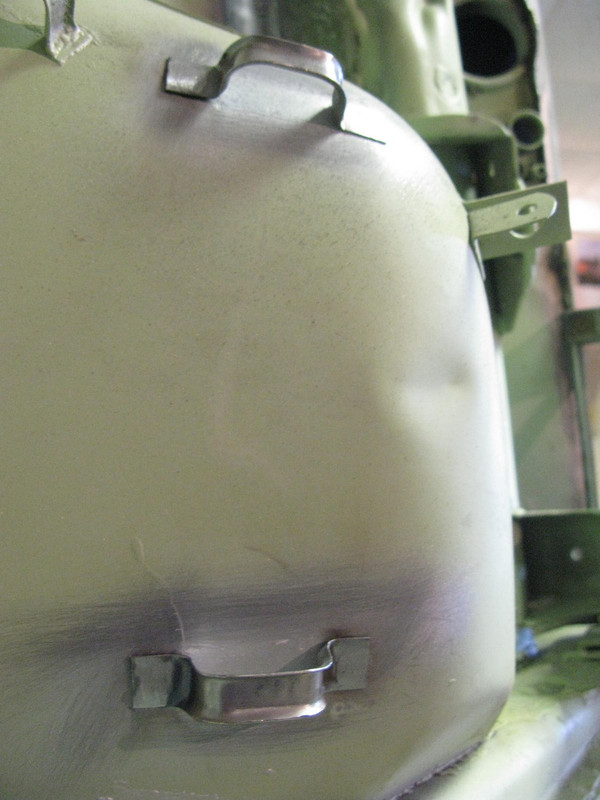
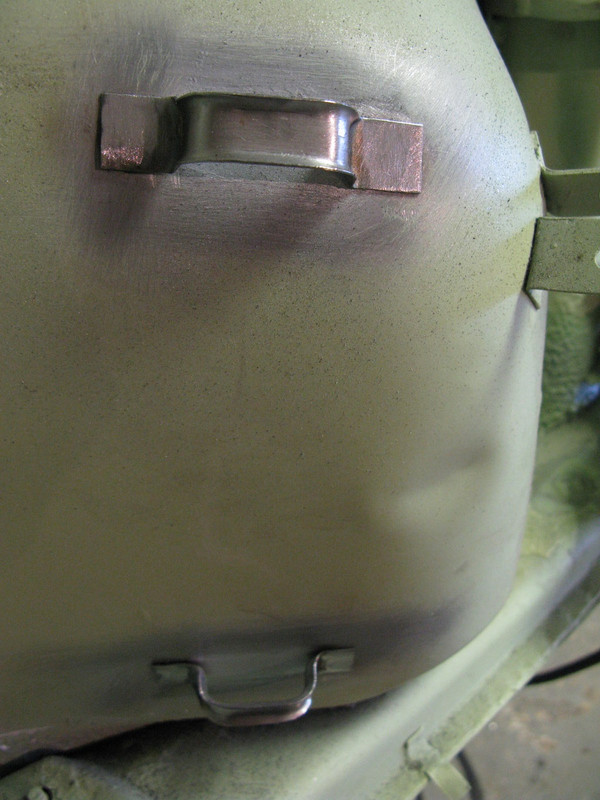
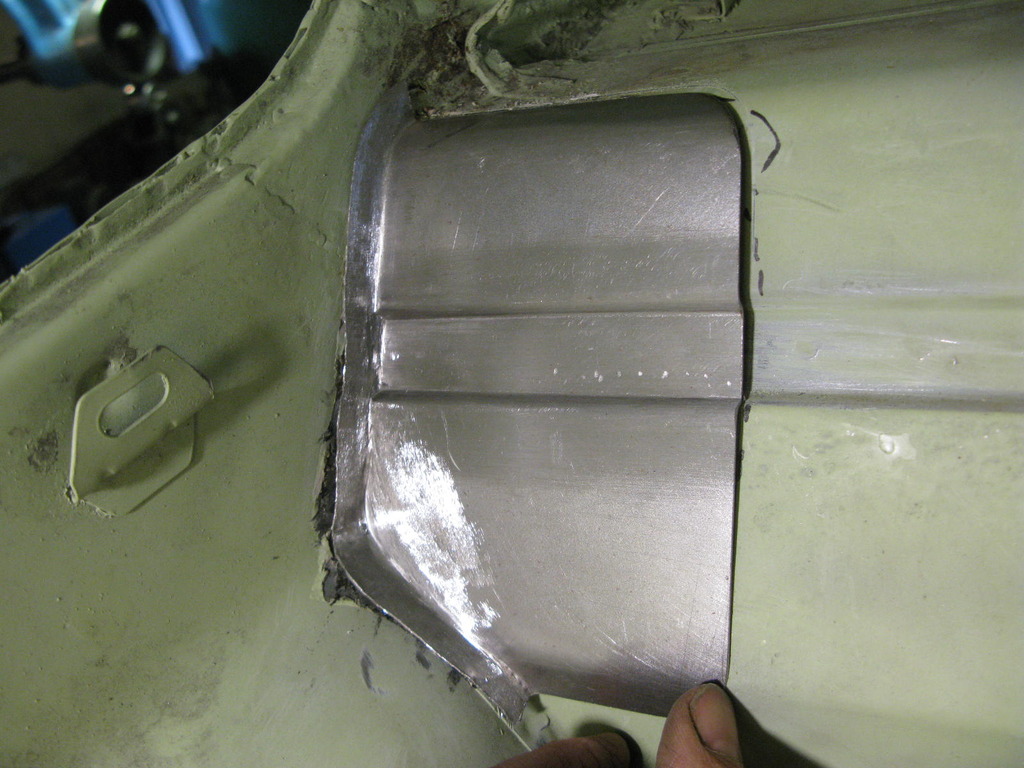
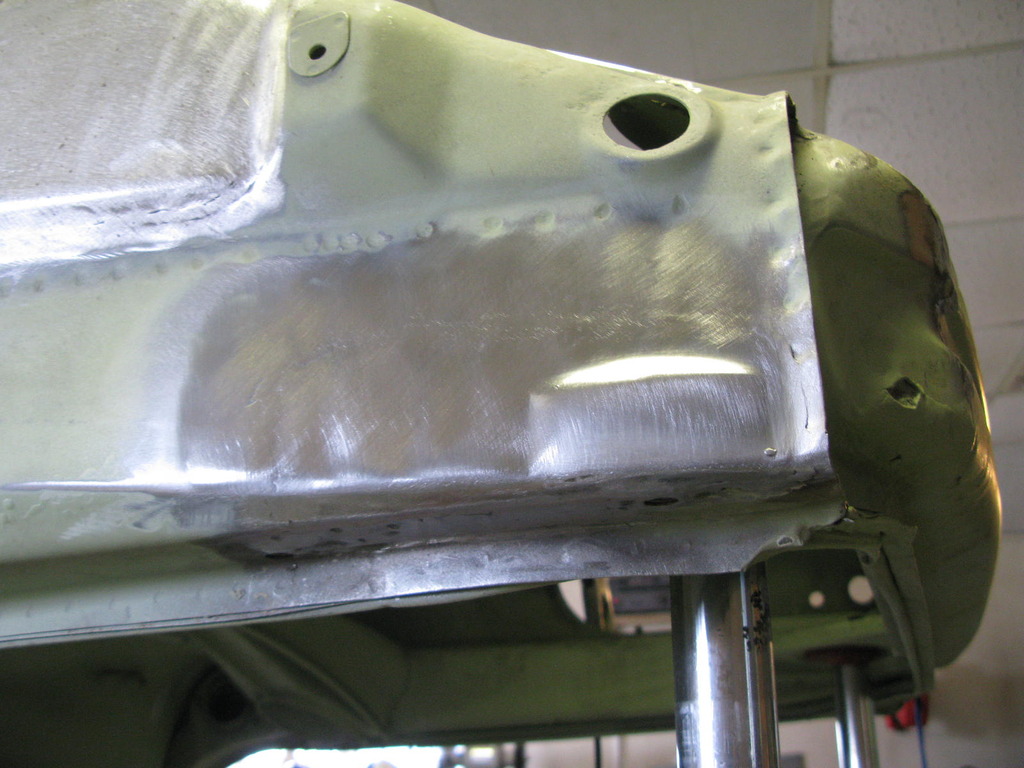
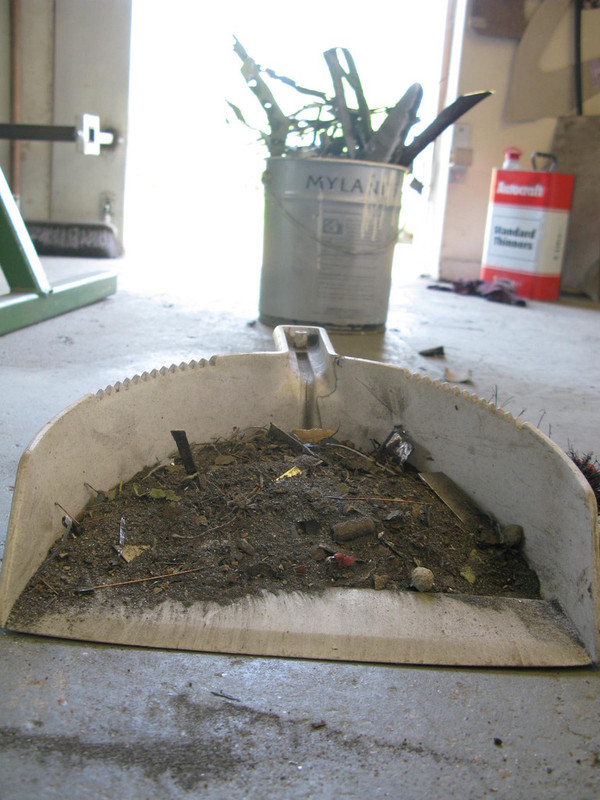
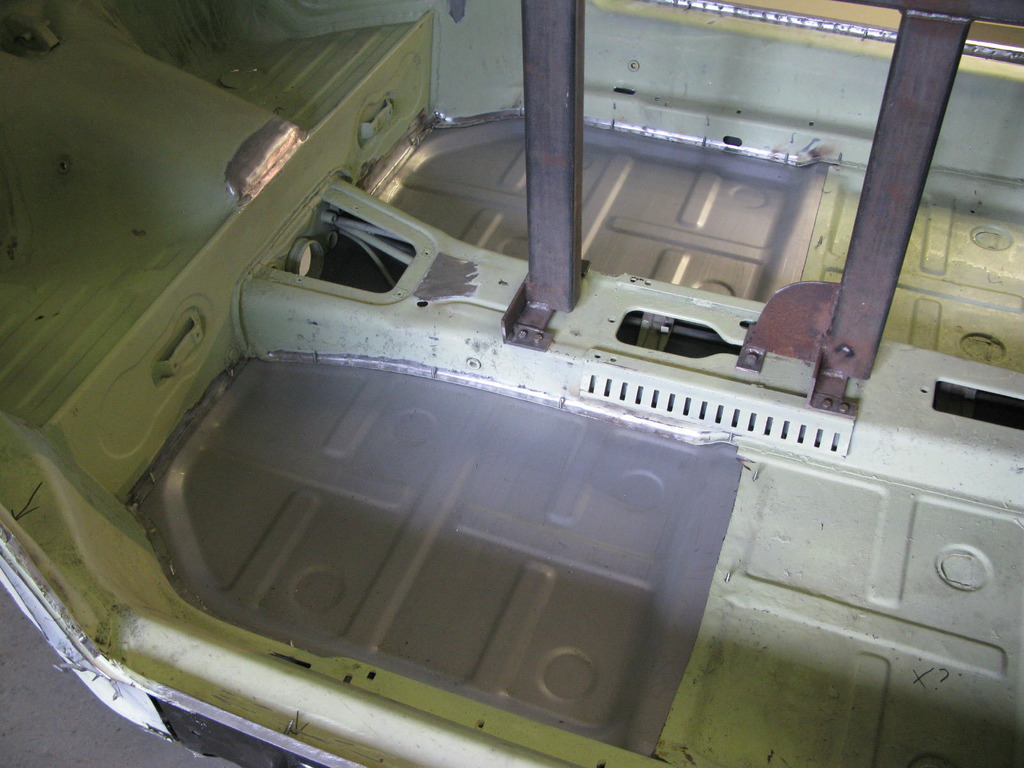
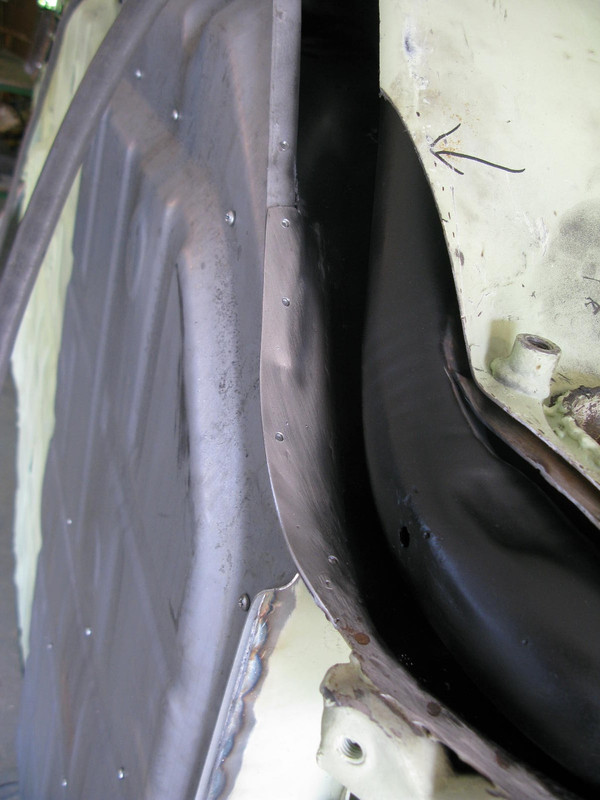
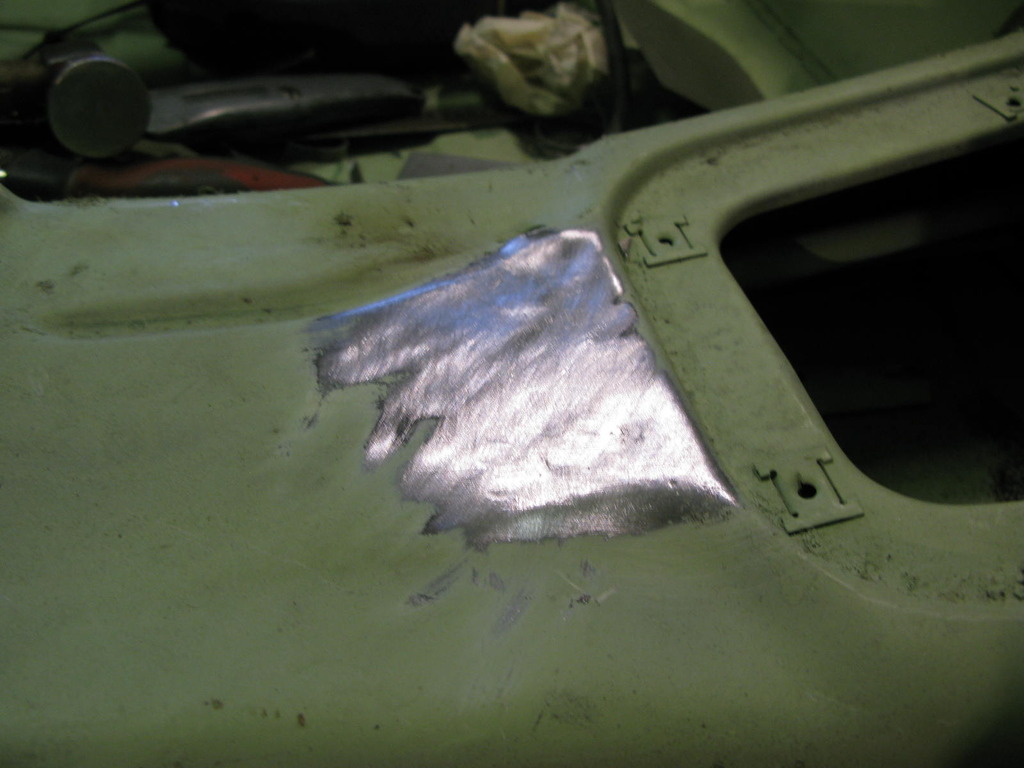
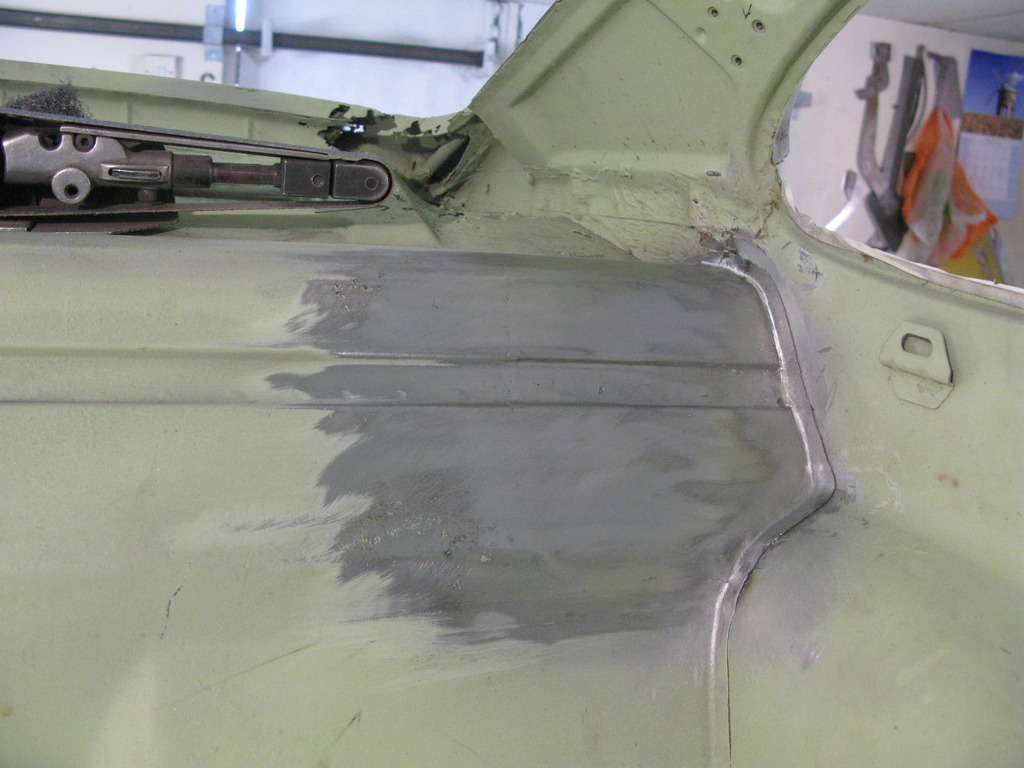
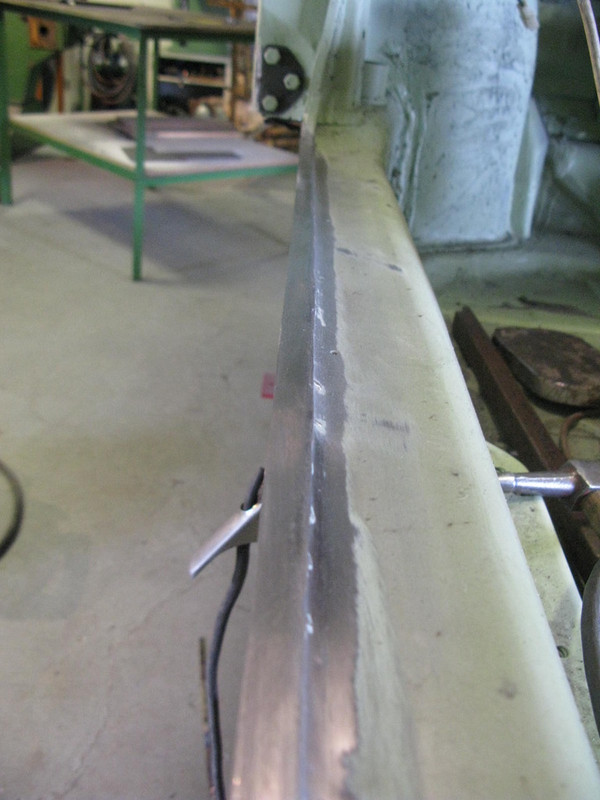
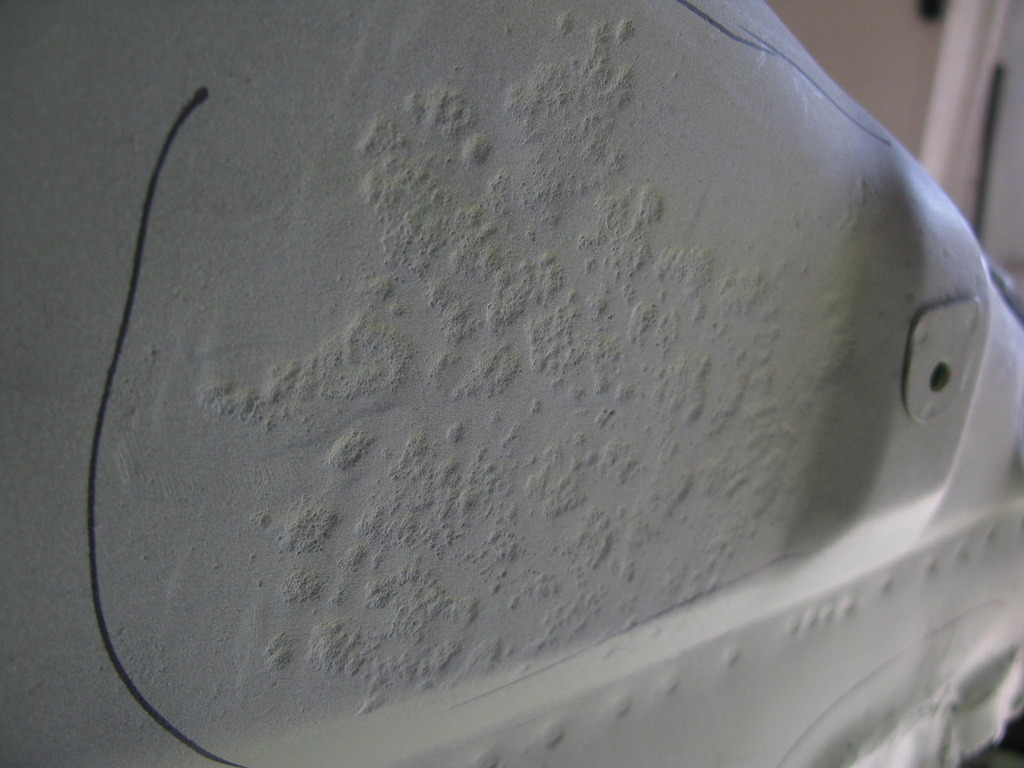
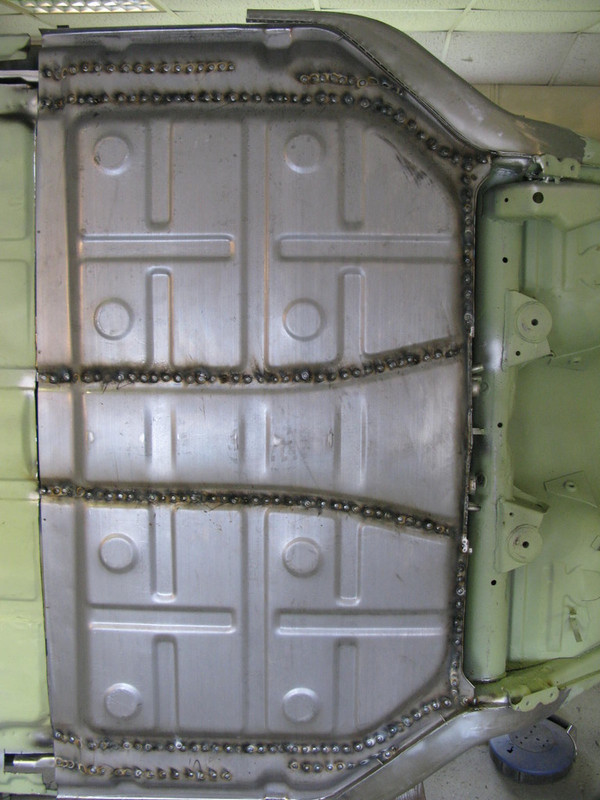
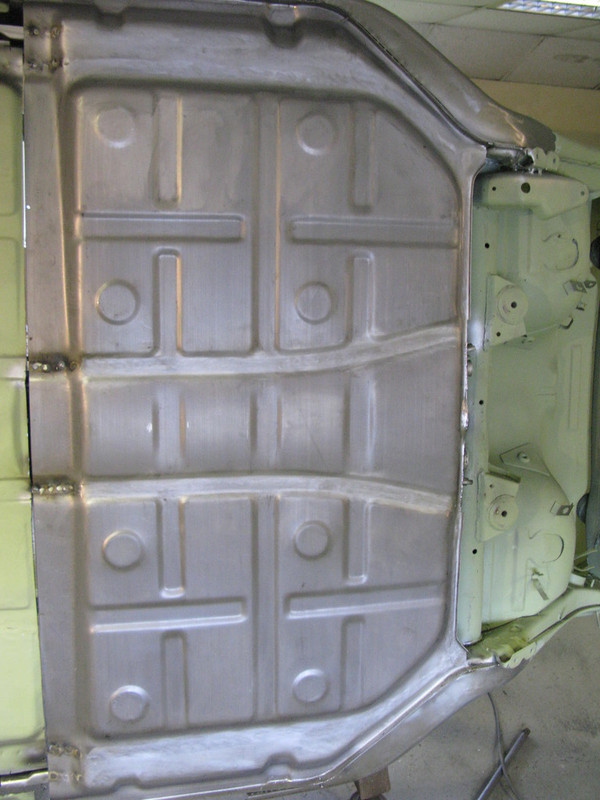
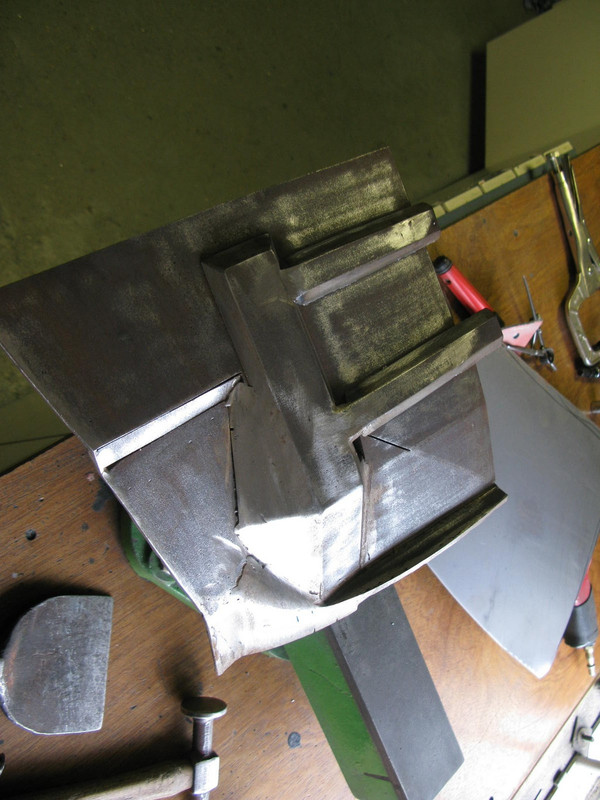
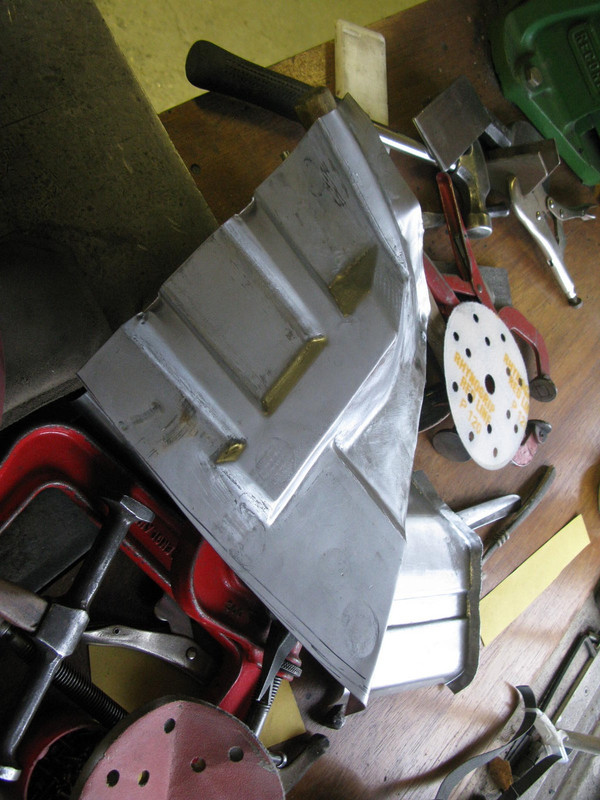
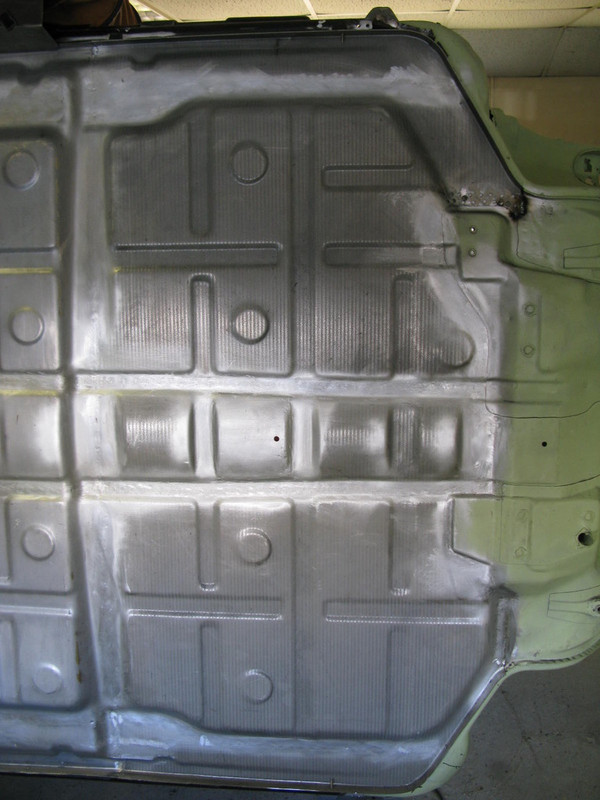
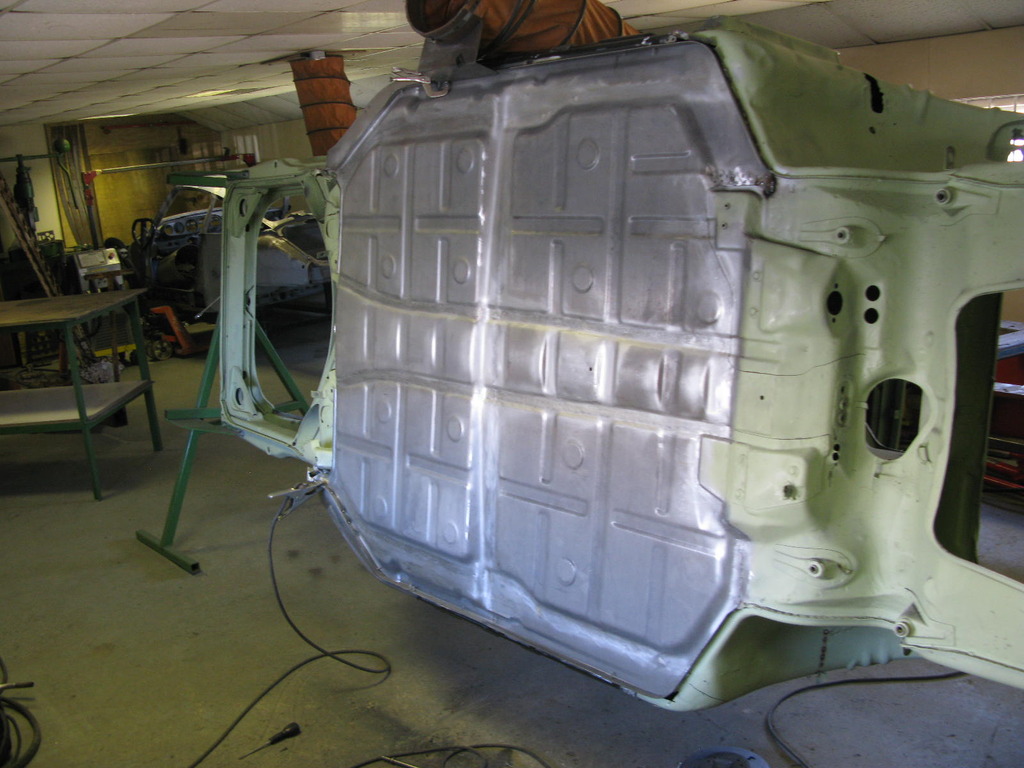
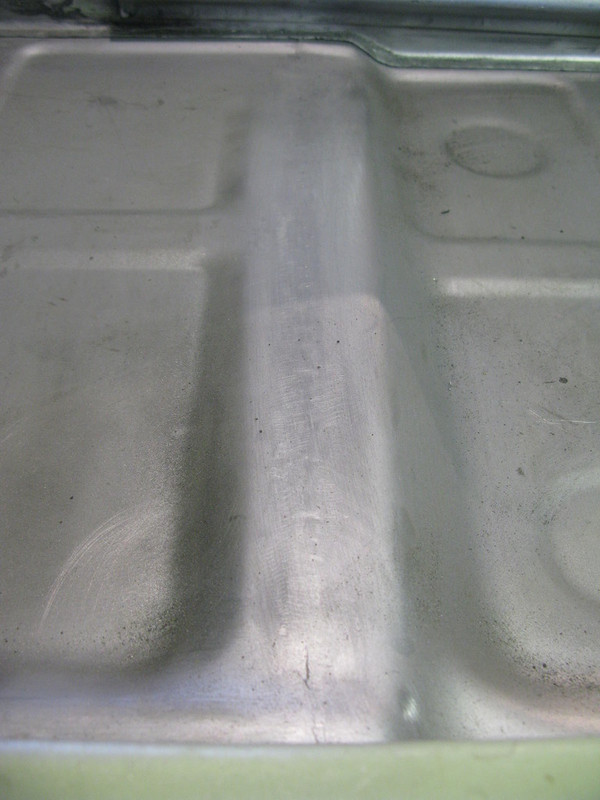
Offside sill plus some previous welding, dustpan is the result of a couple of hours of grinding back the plug welded floors.

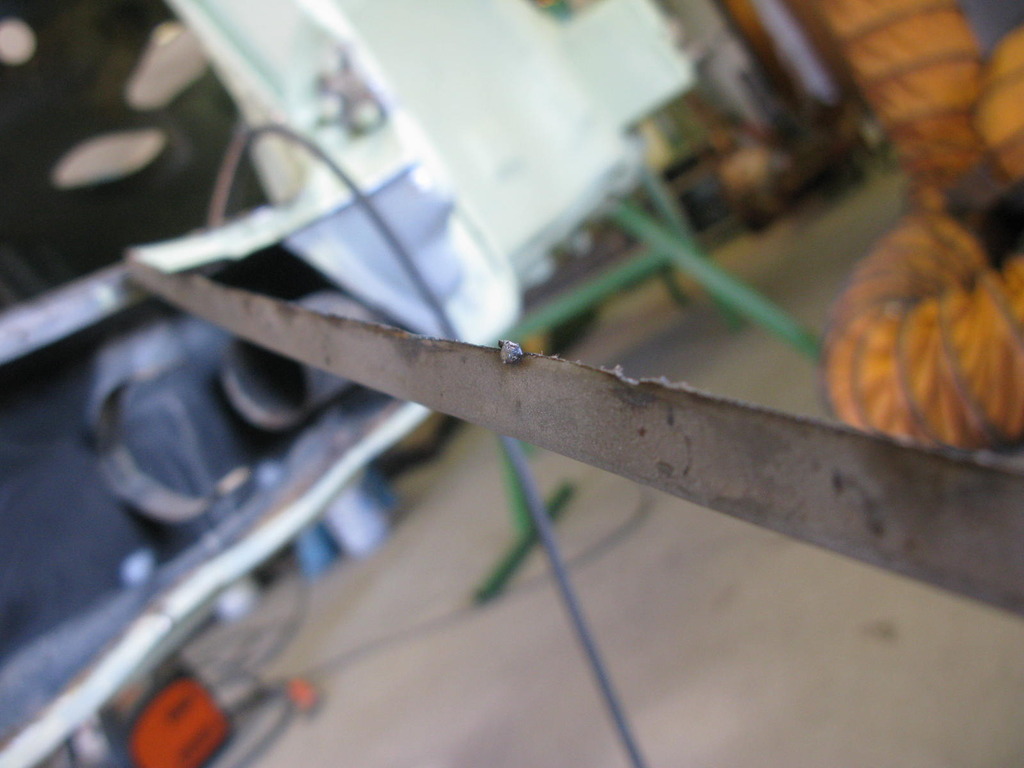

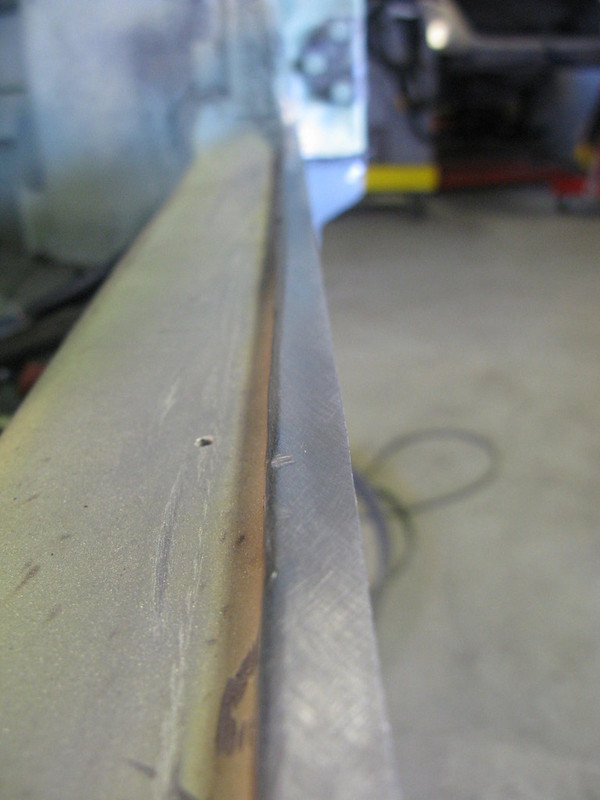
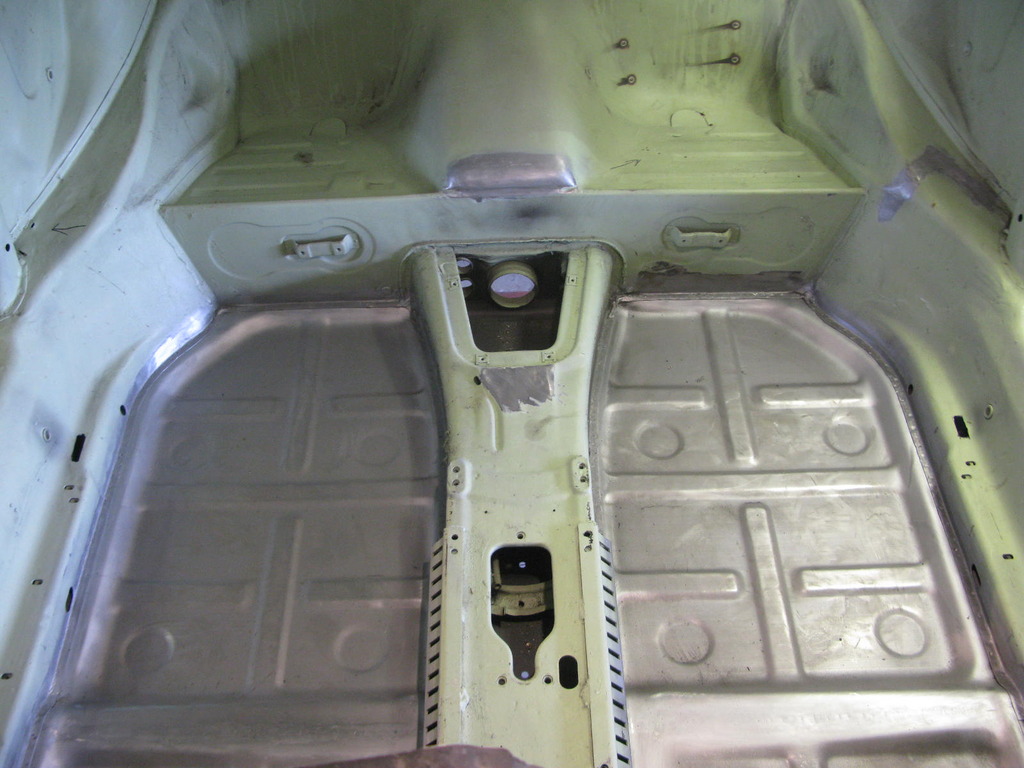
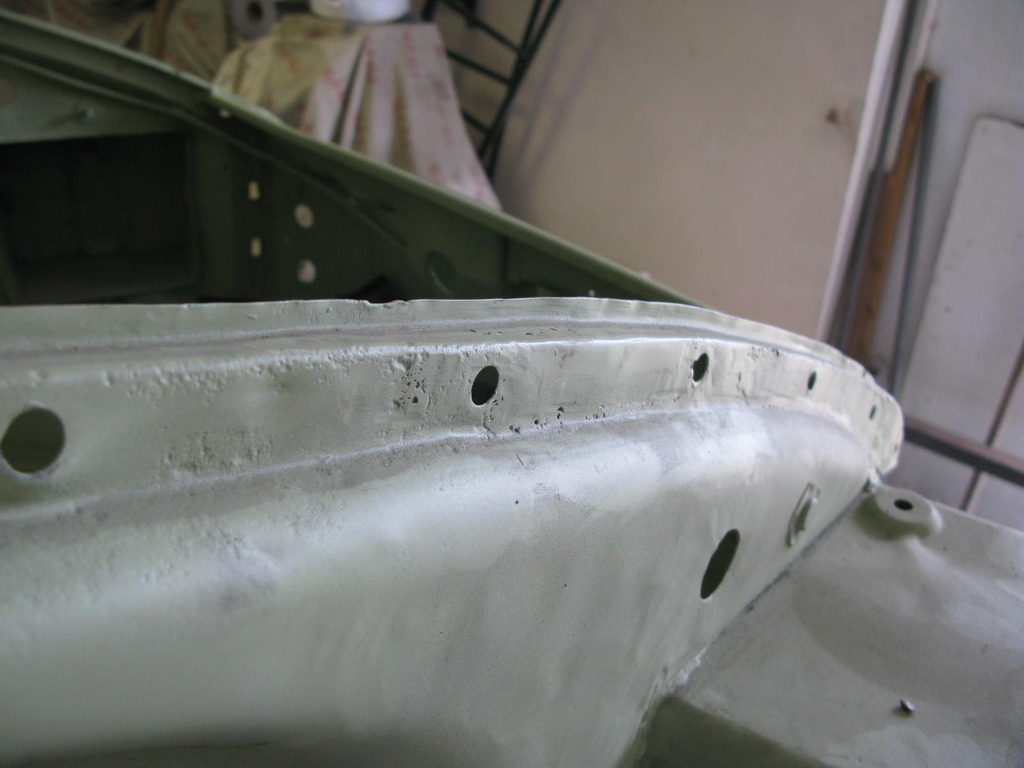
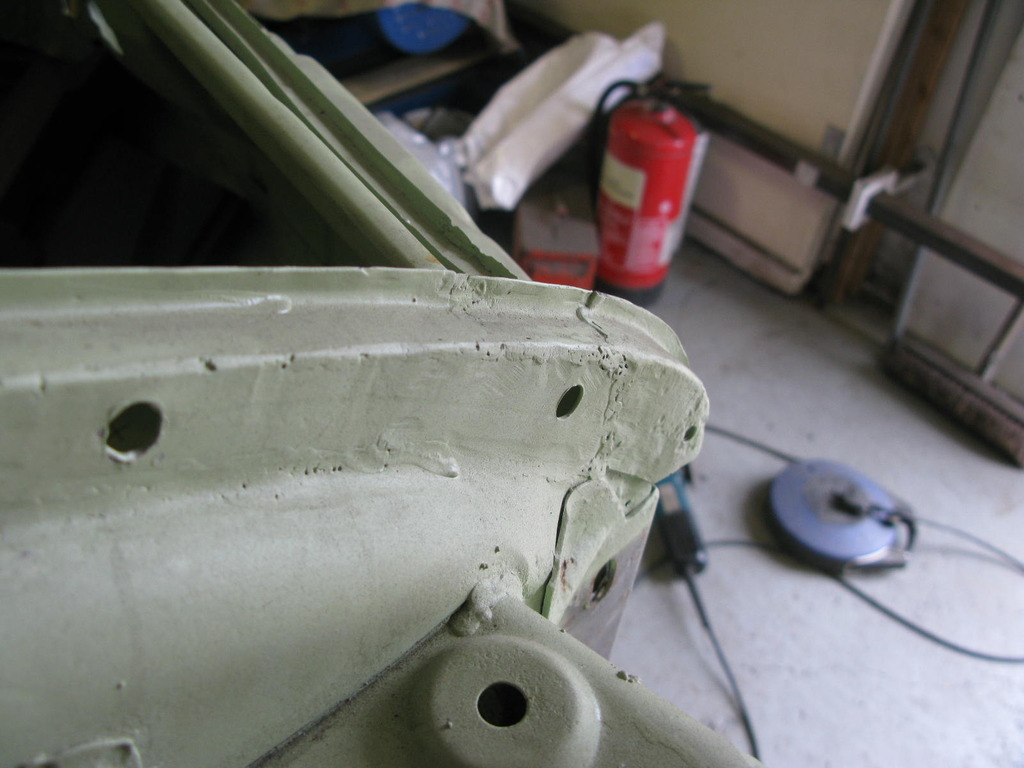
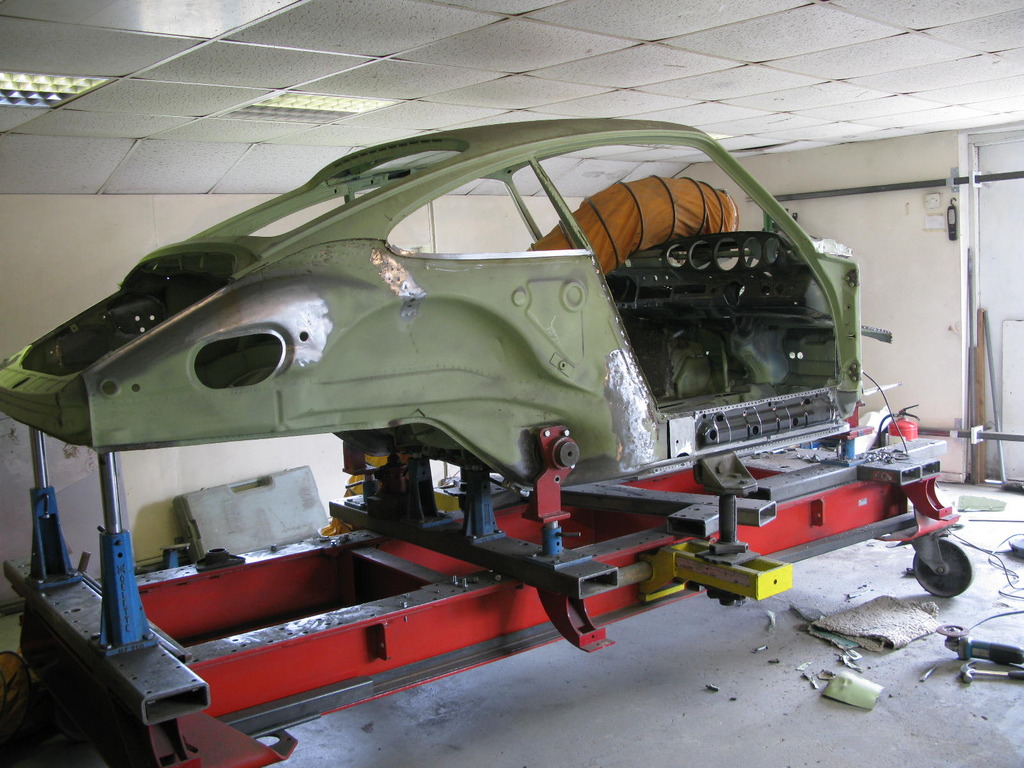
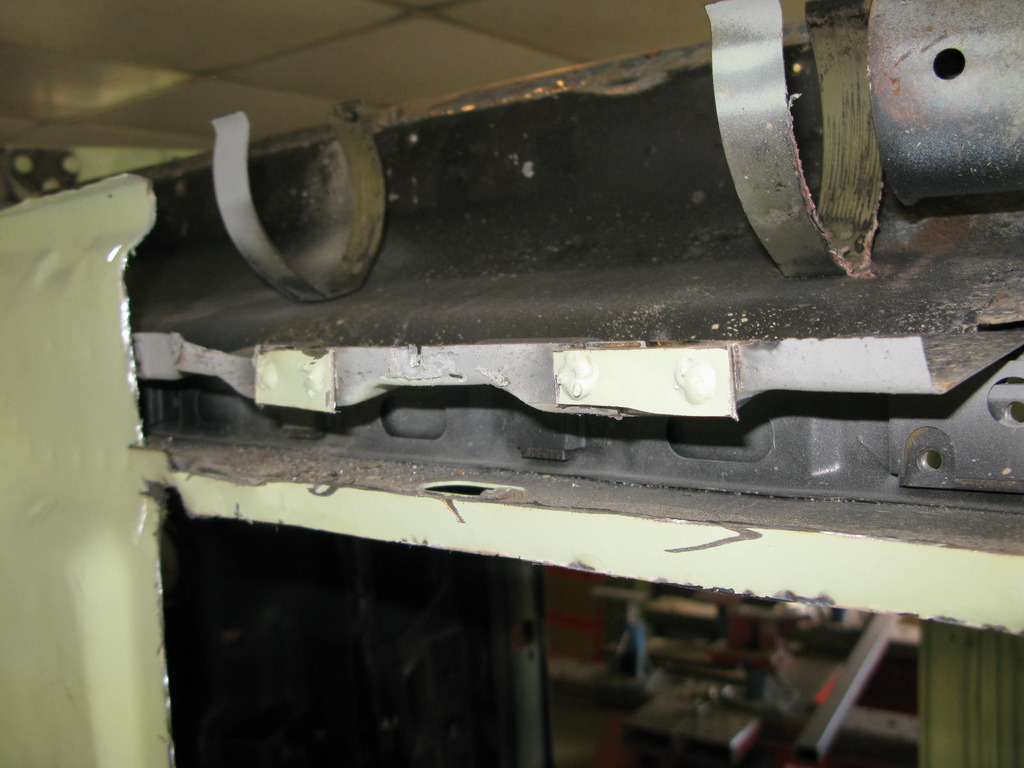
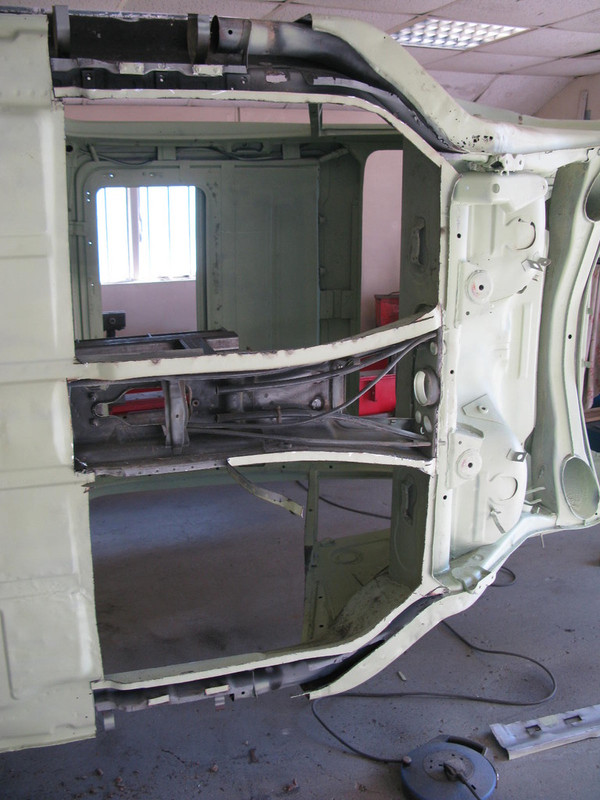
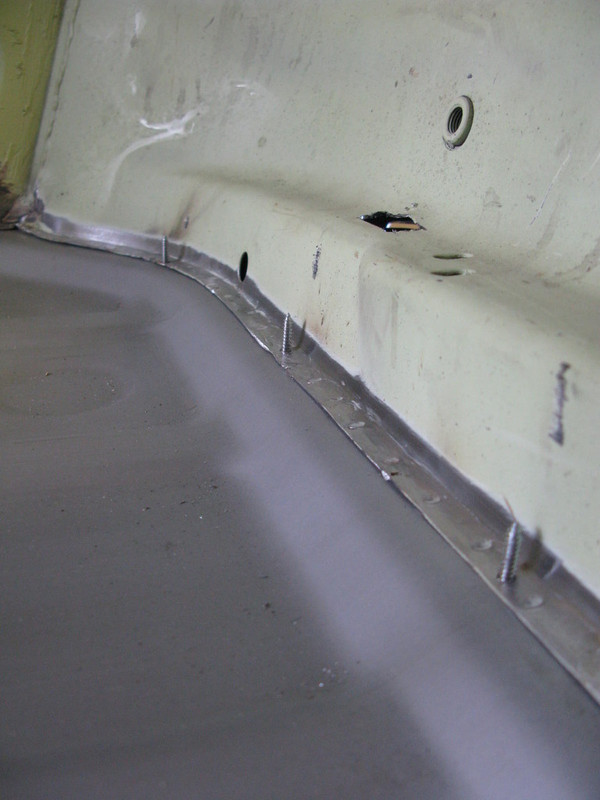
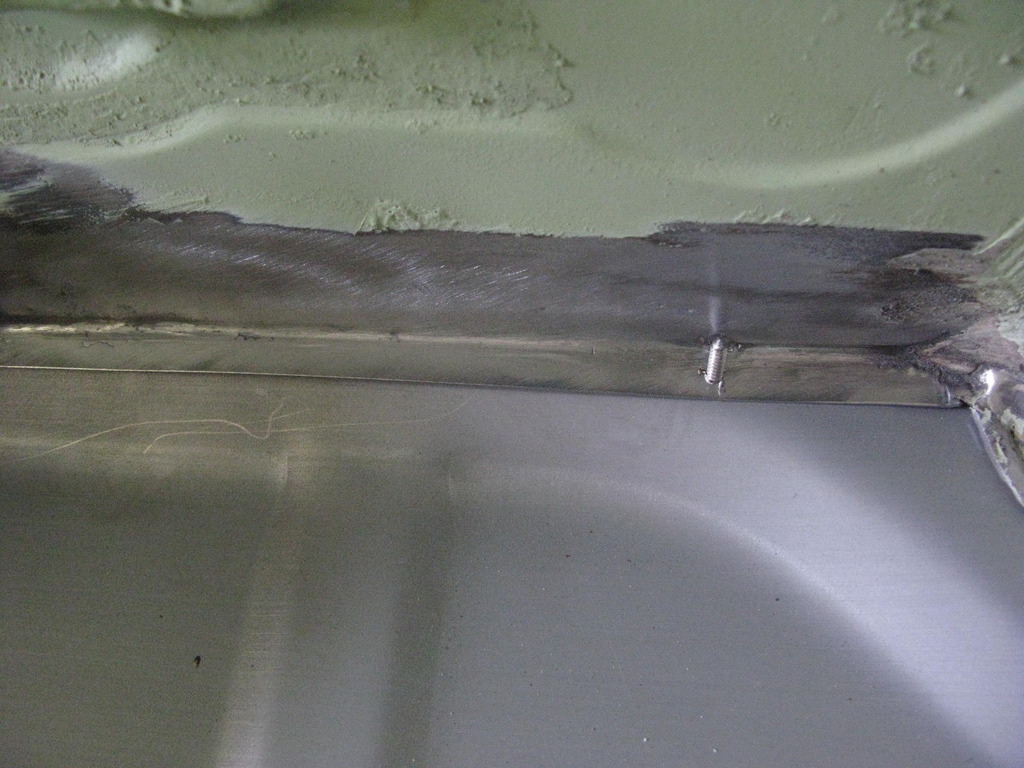
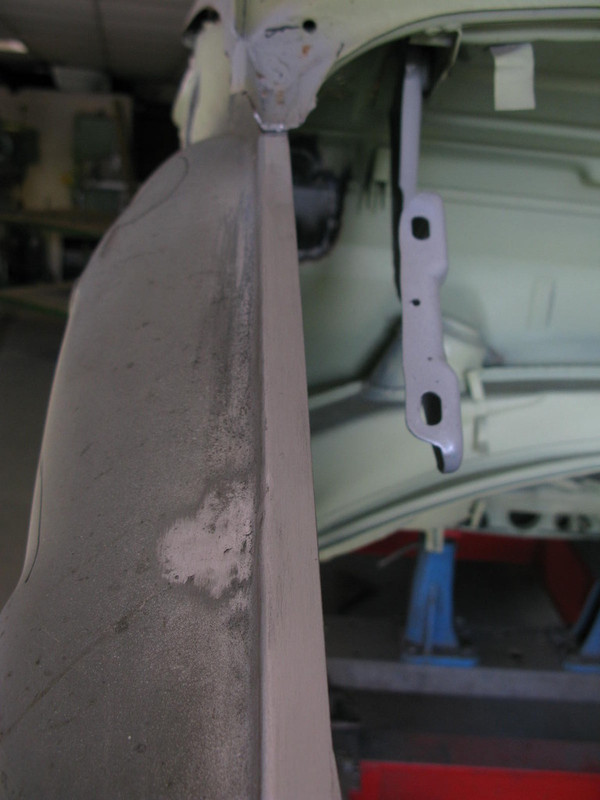
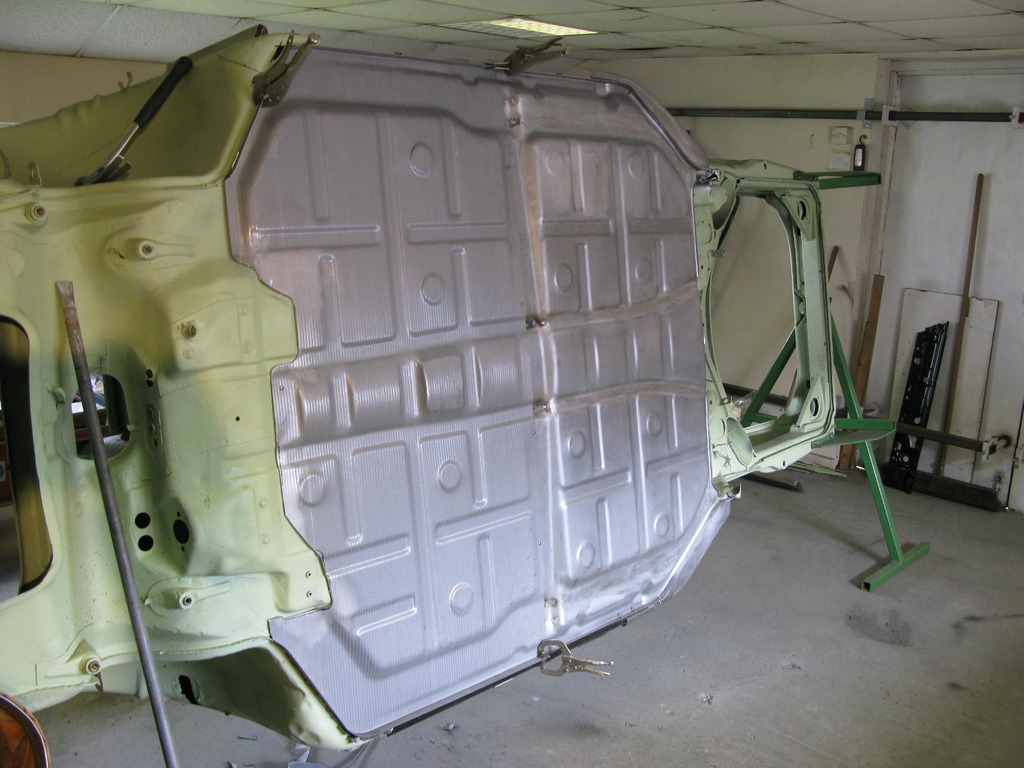
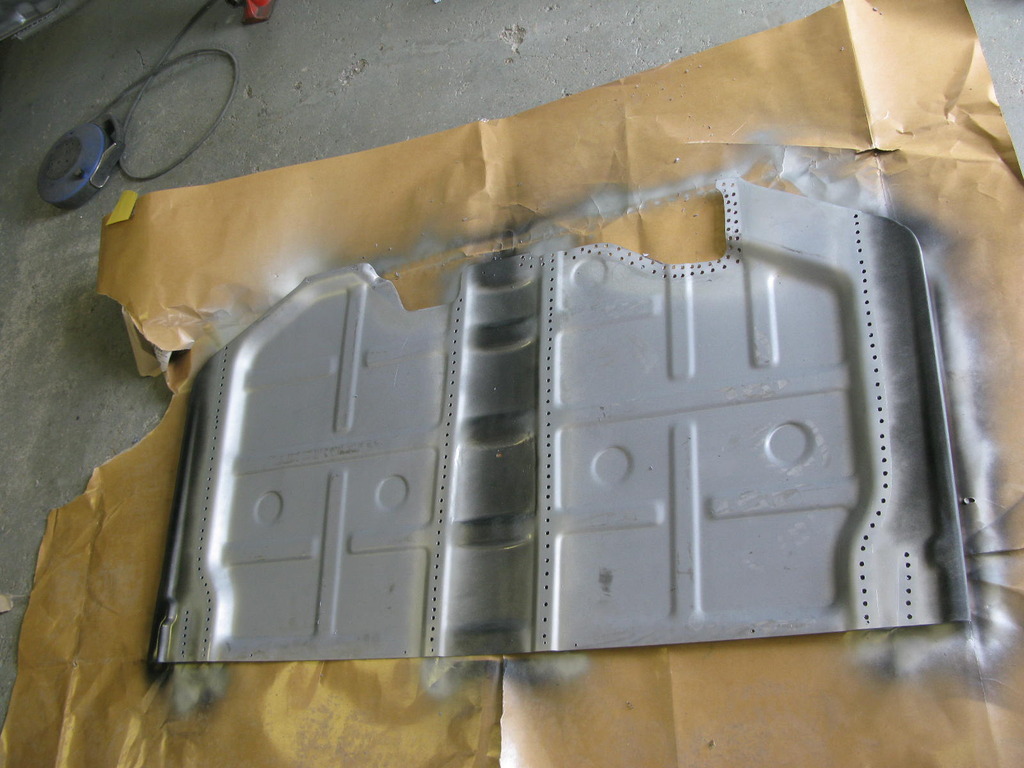
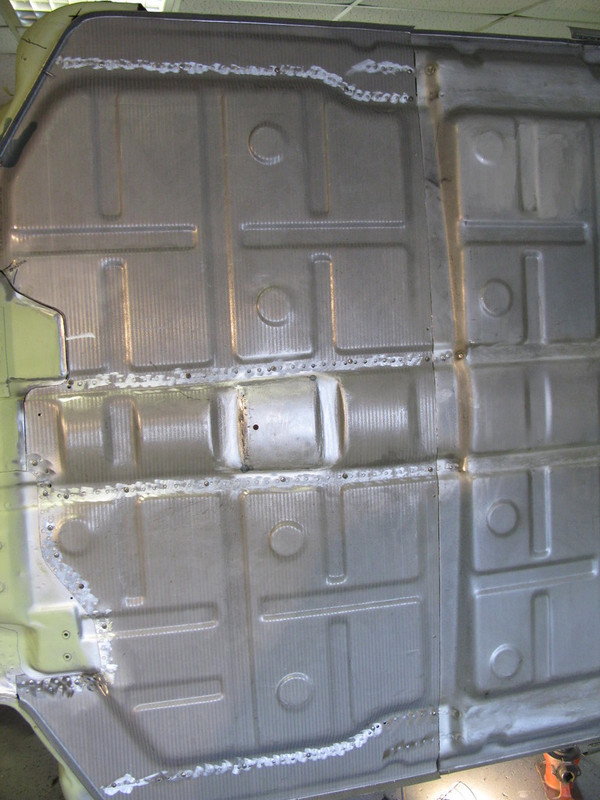
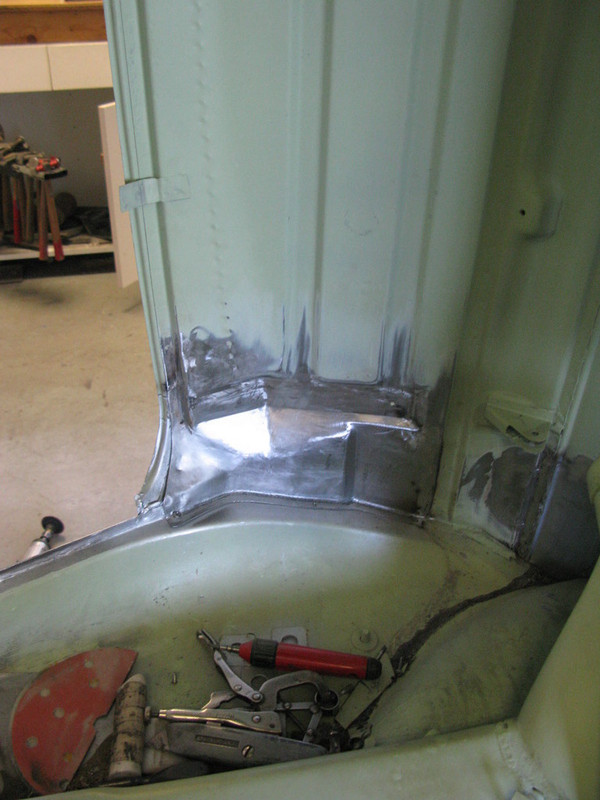
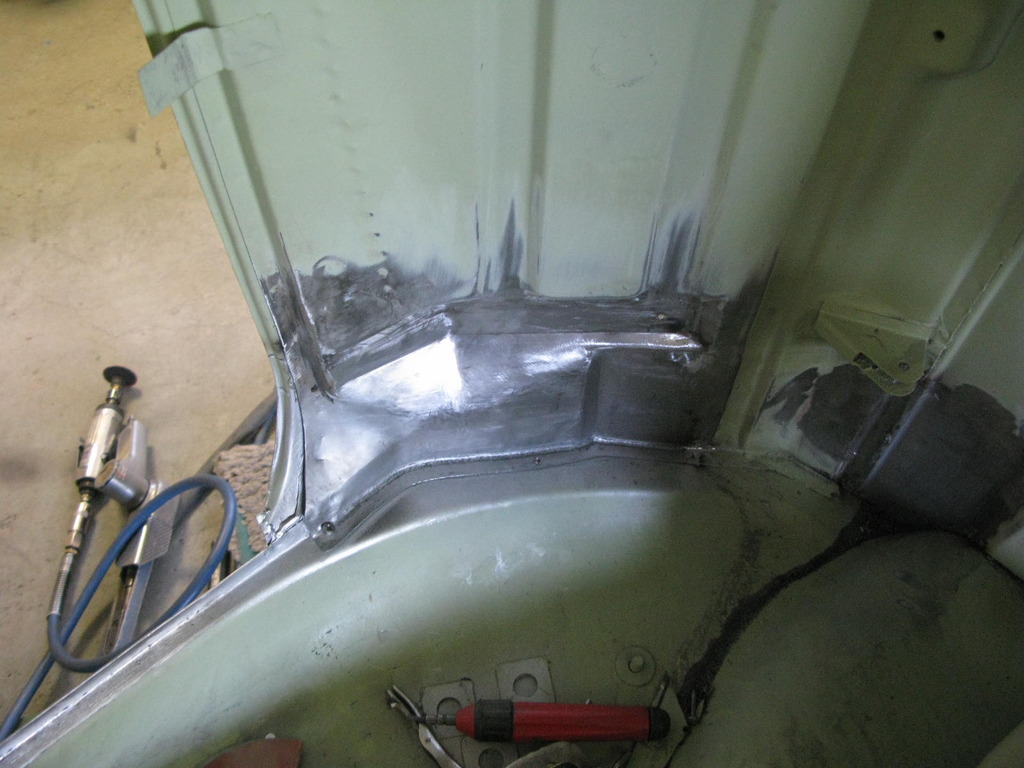
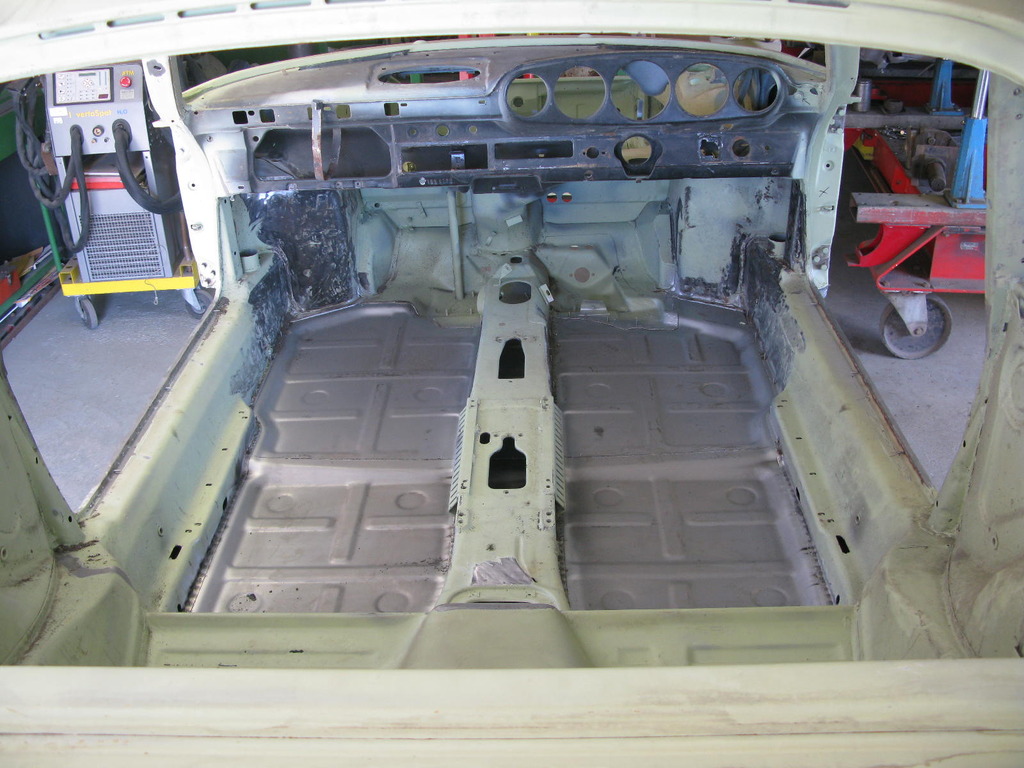
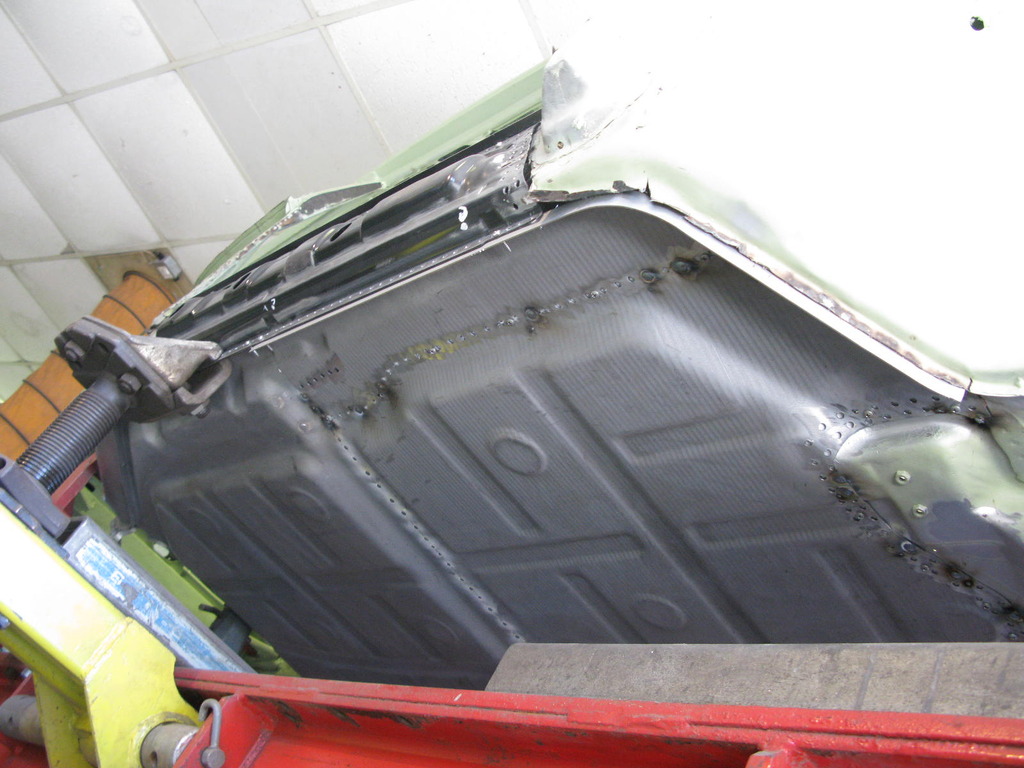
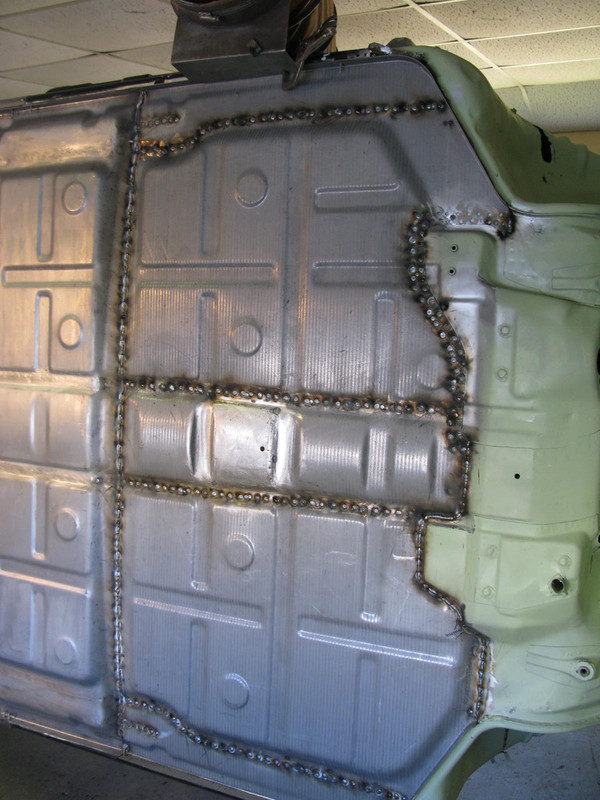
Barry spent a long time getting the old (new) floor out and then repairing all of the flanges. Obviously, having strong flanges to weld to makes putting the new floor in so much easier, it all looks smarter and is of course a lot stronger.
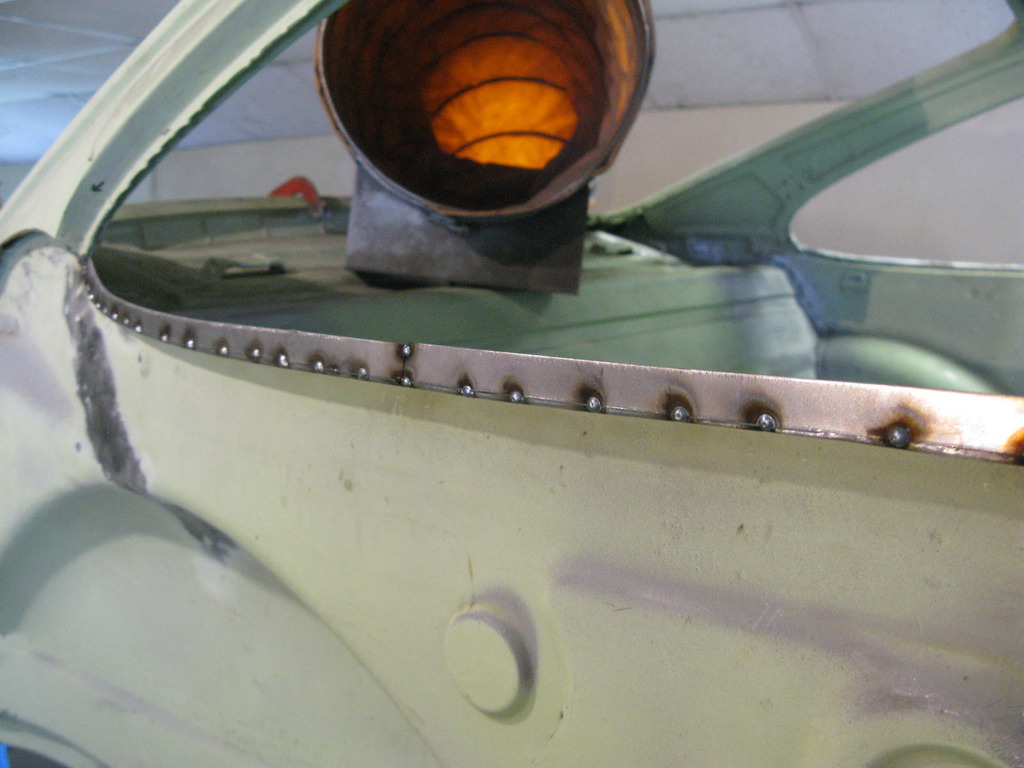
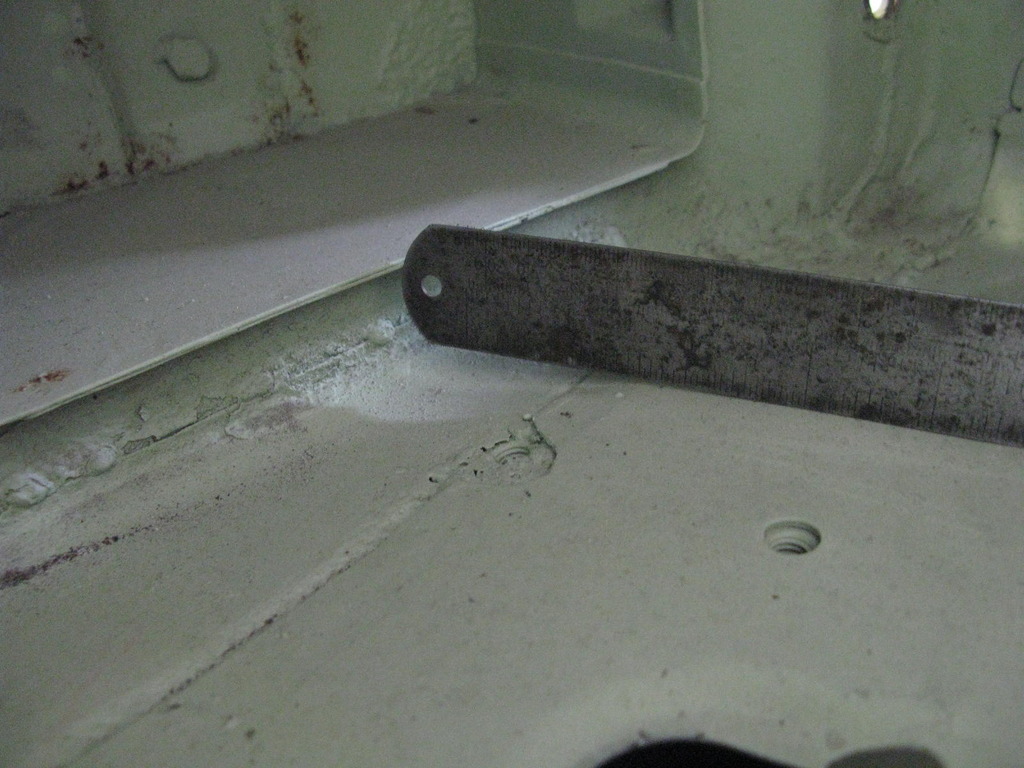
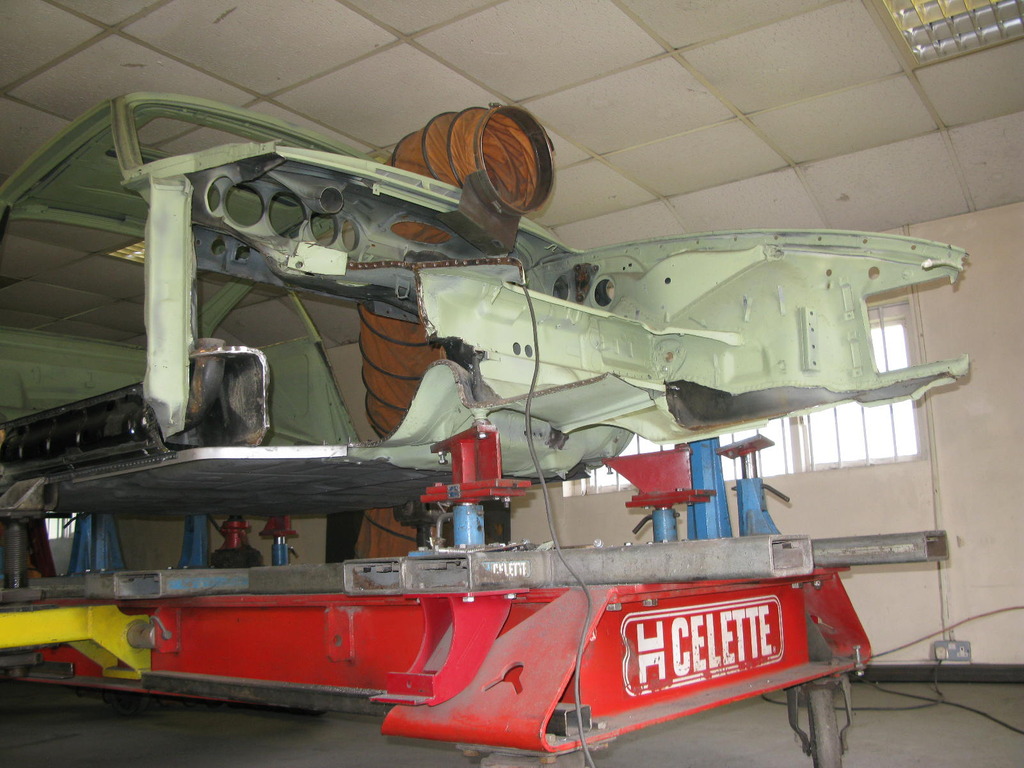
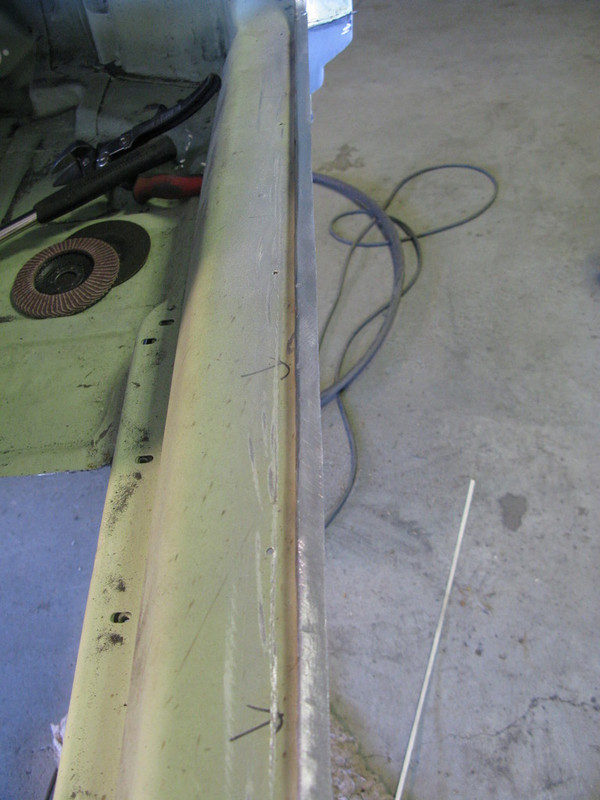
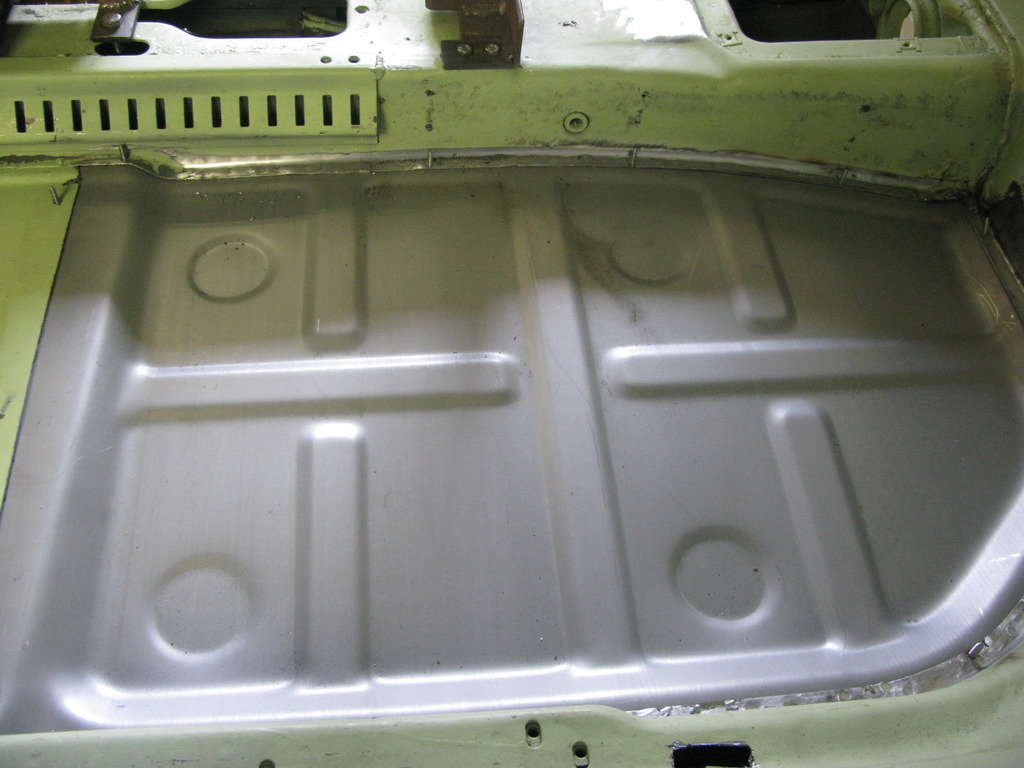
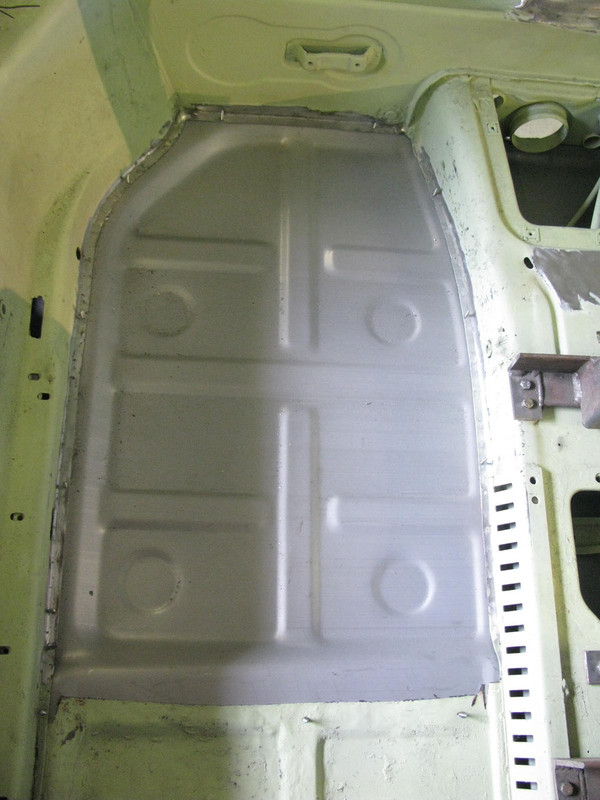
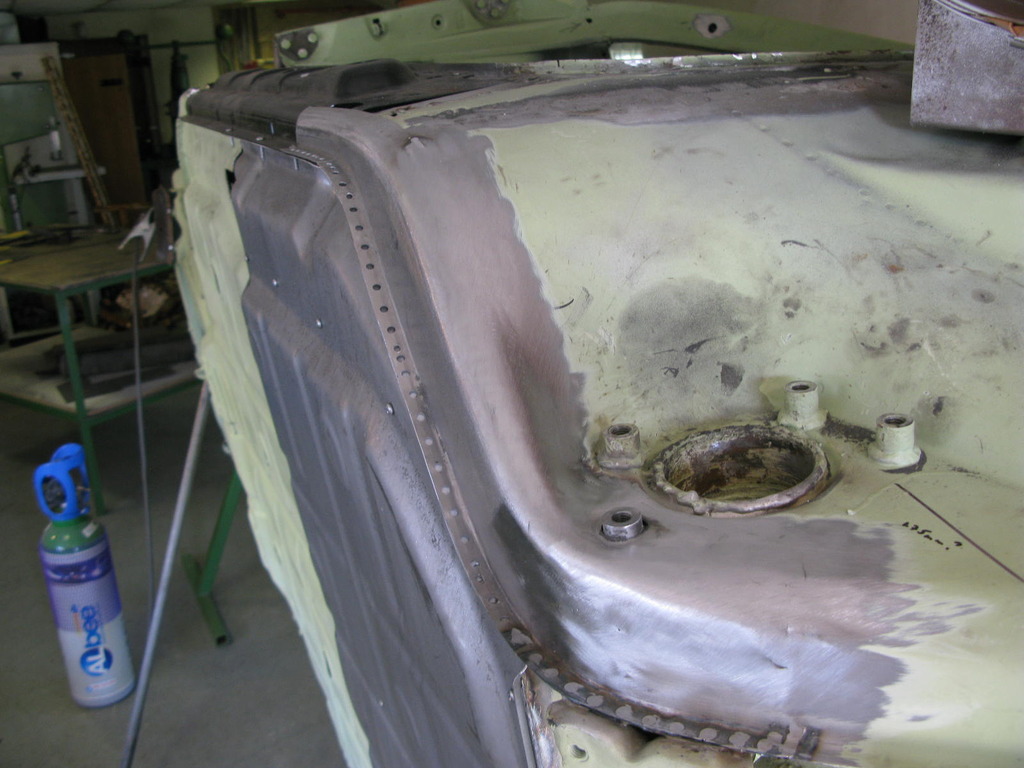
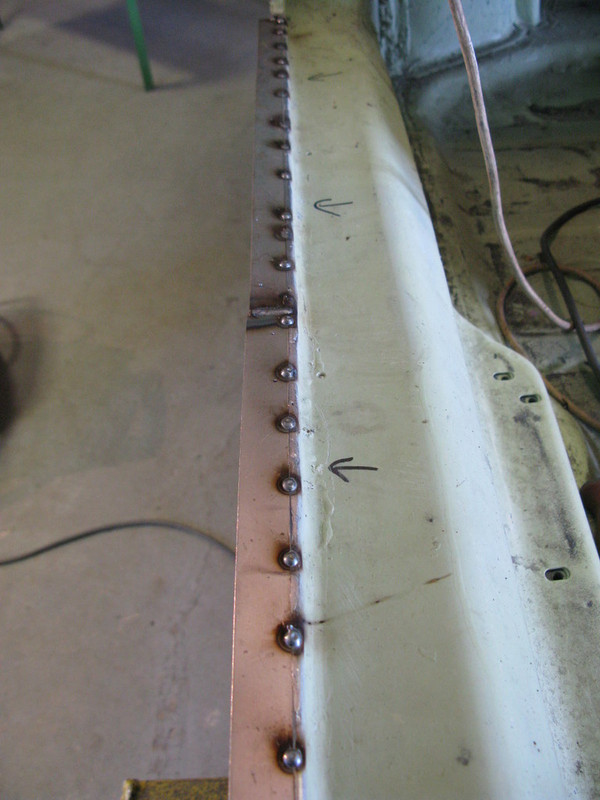
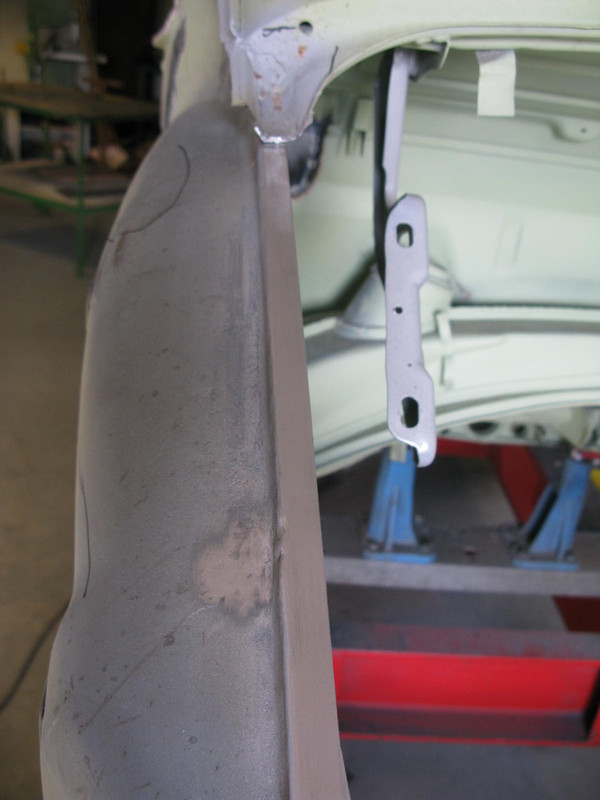
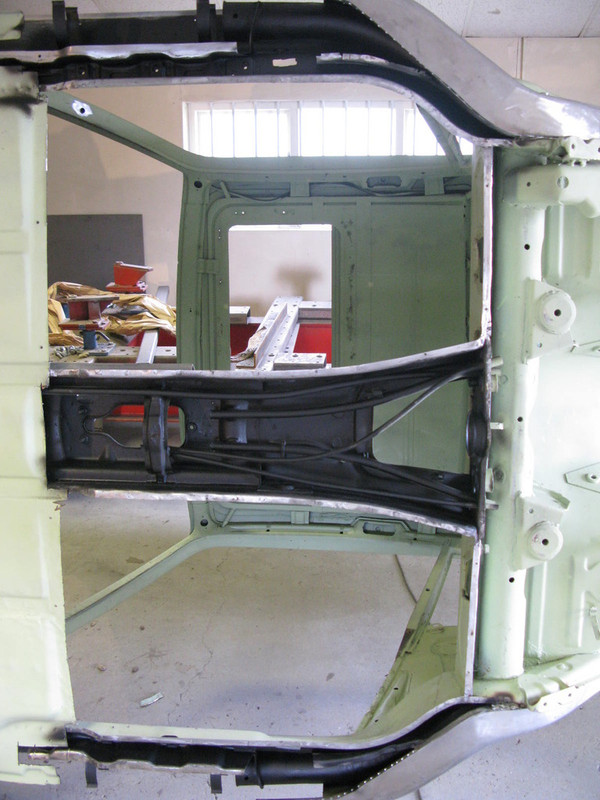
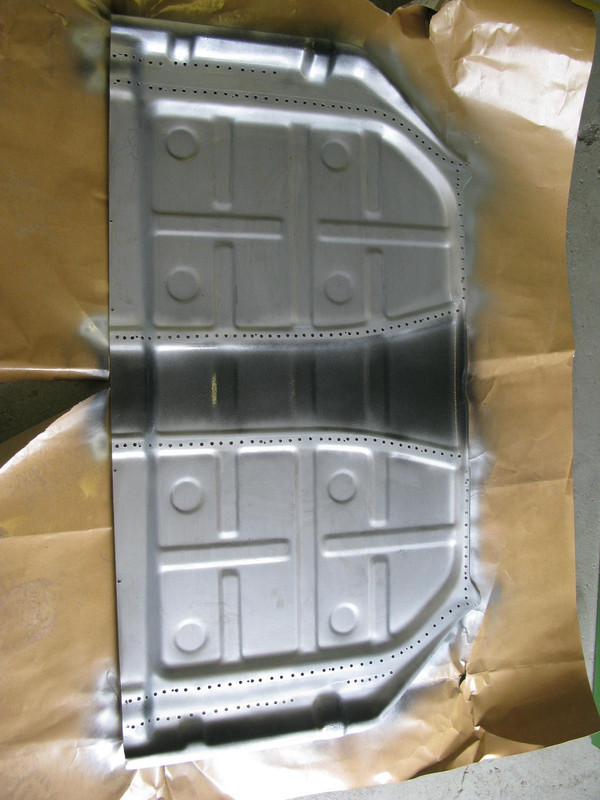
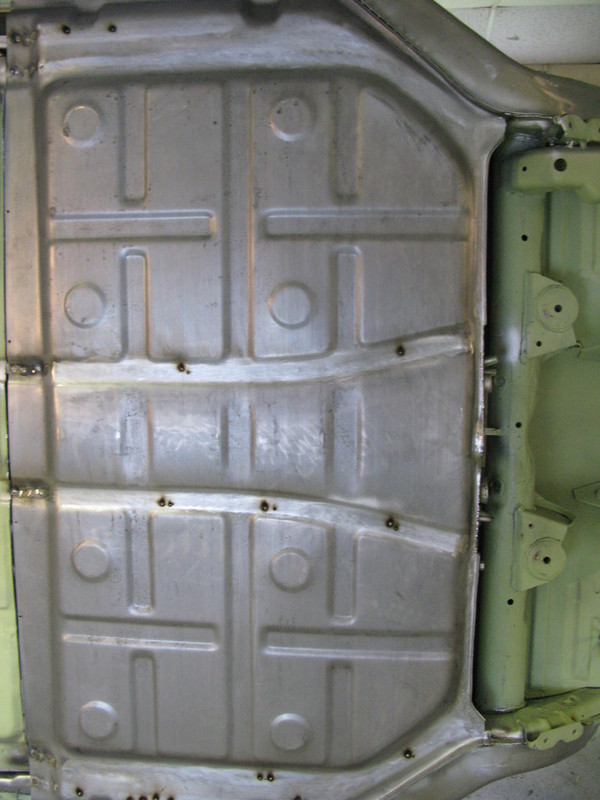
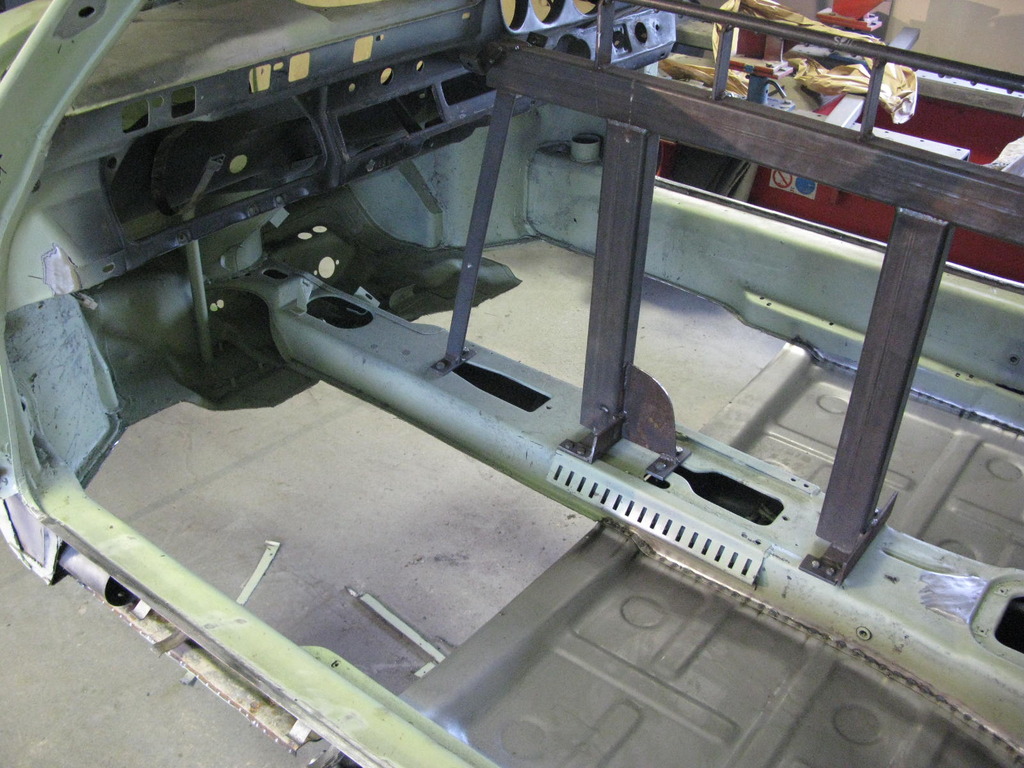
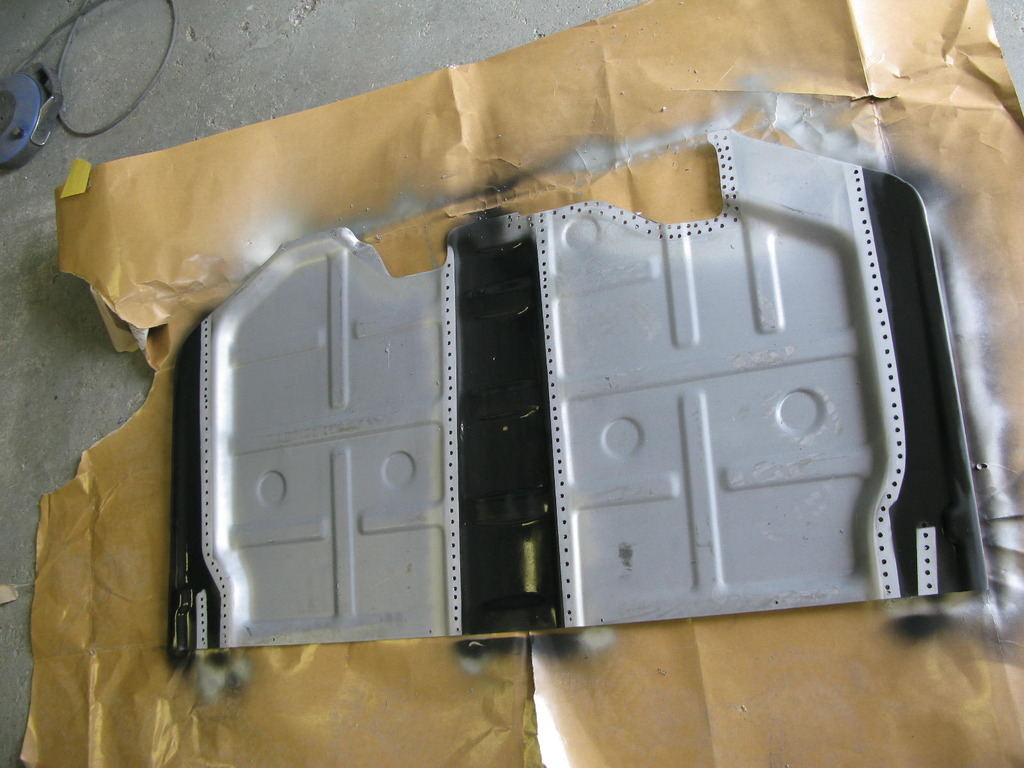
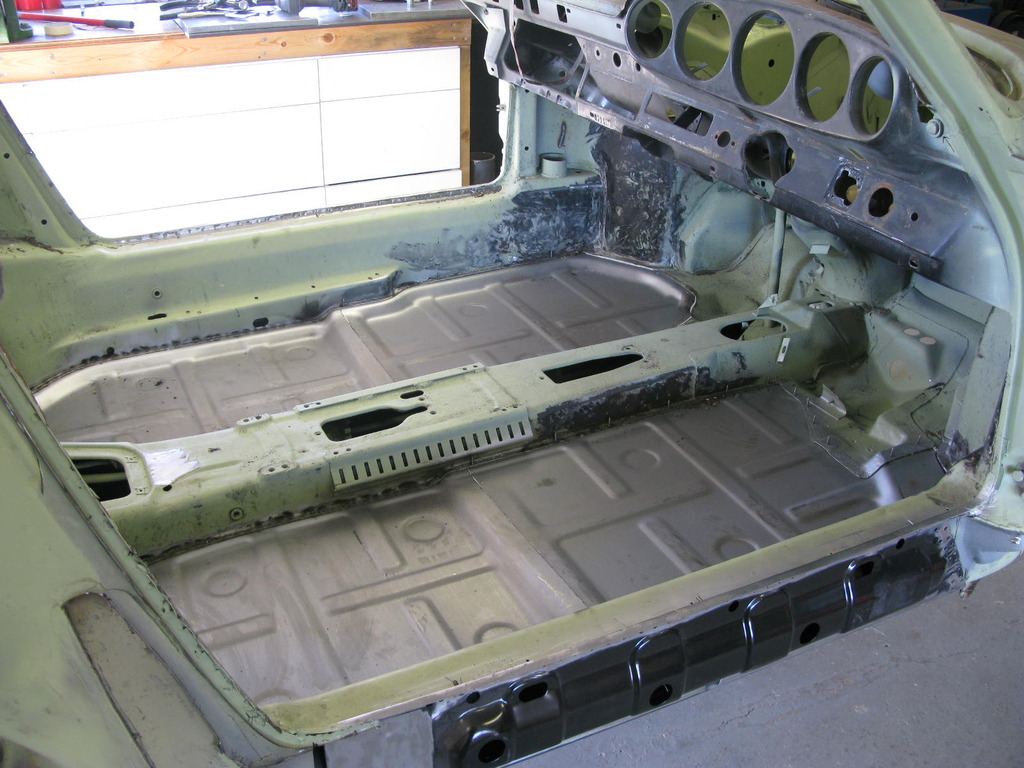
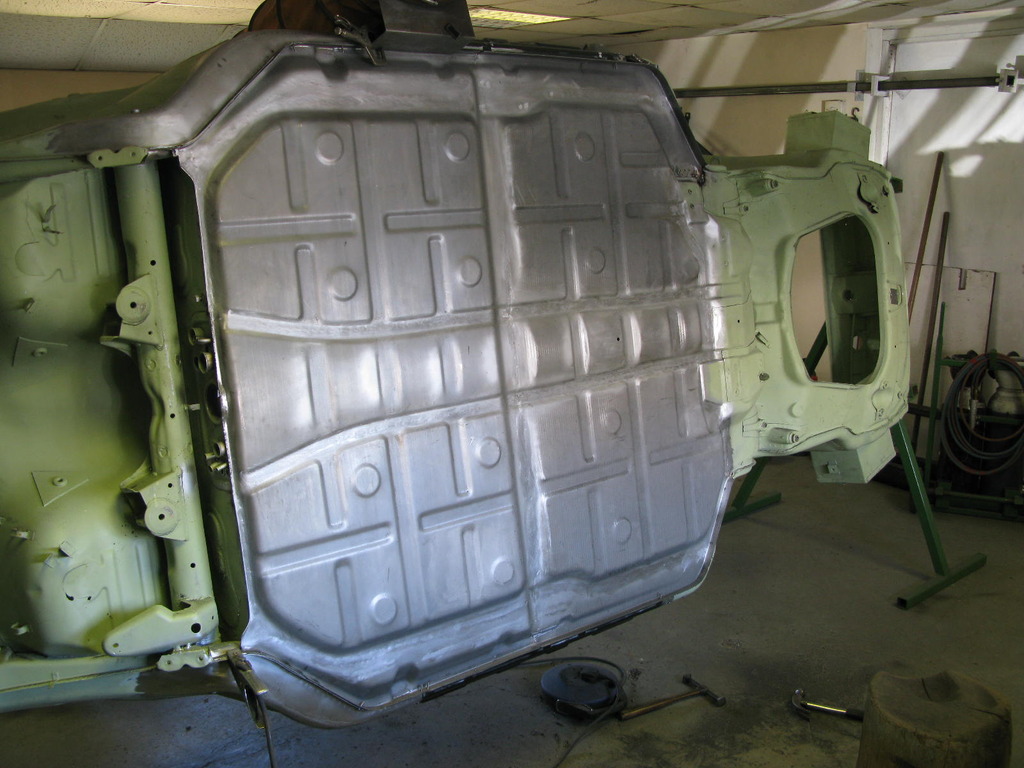
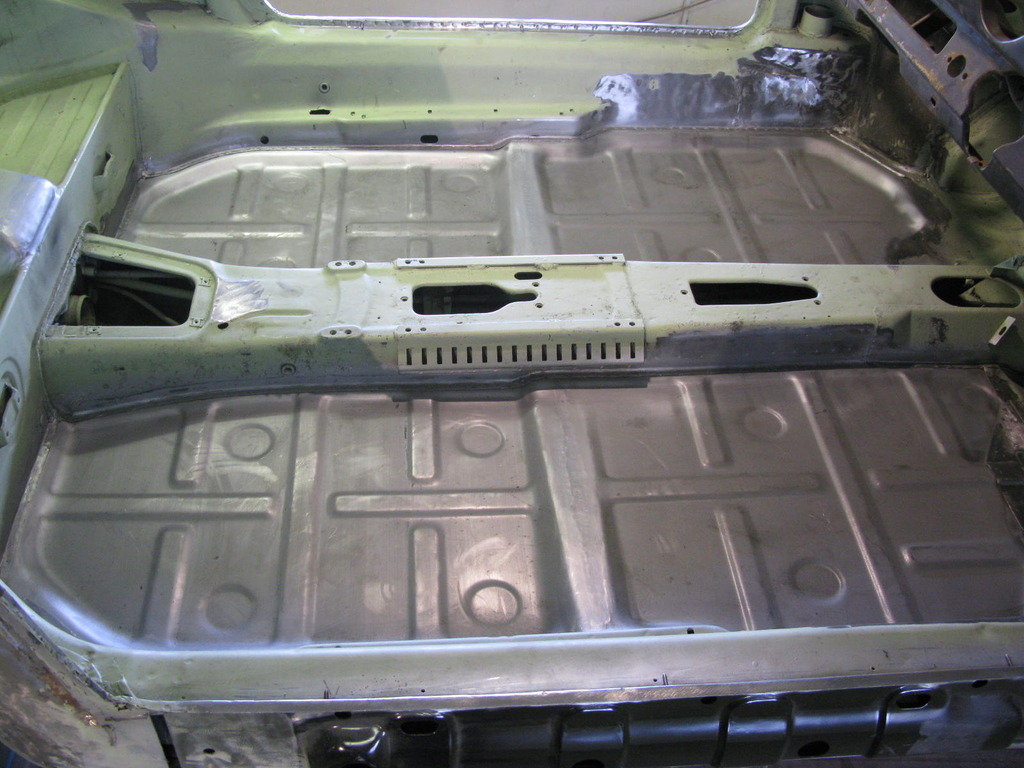
First fit of new floor to check tight to flanges......all good

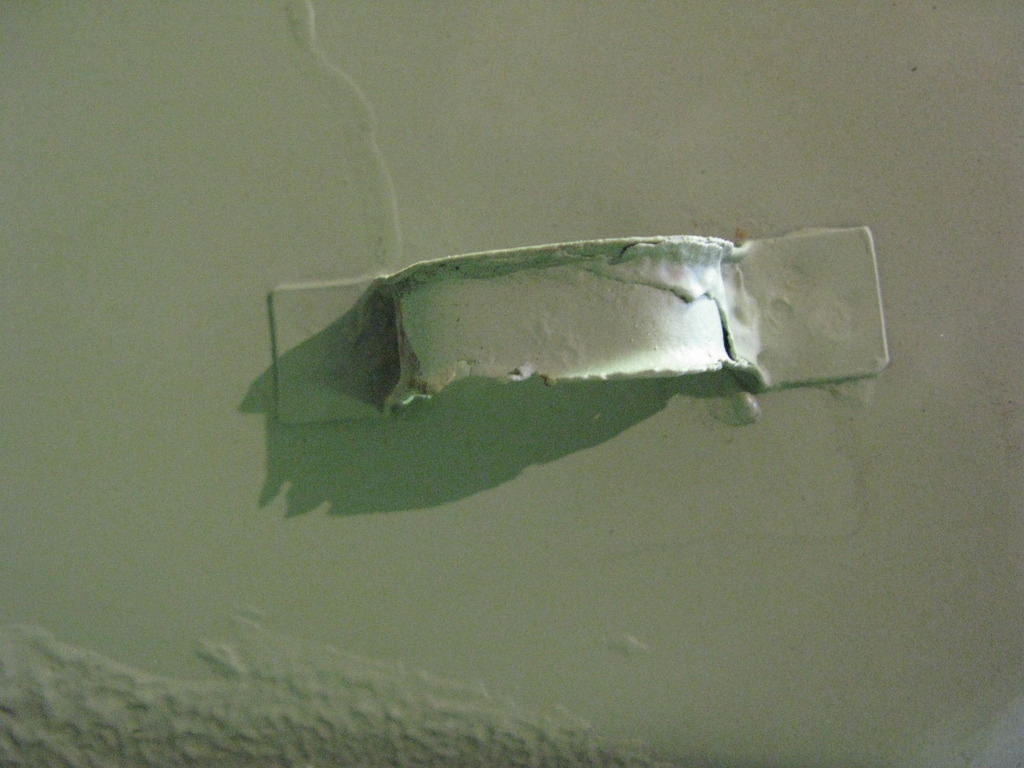
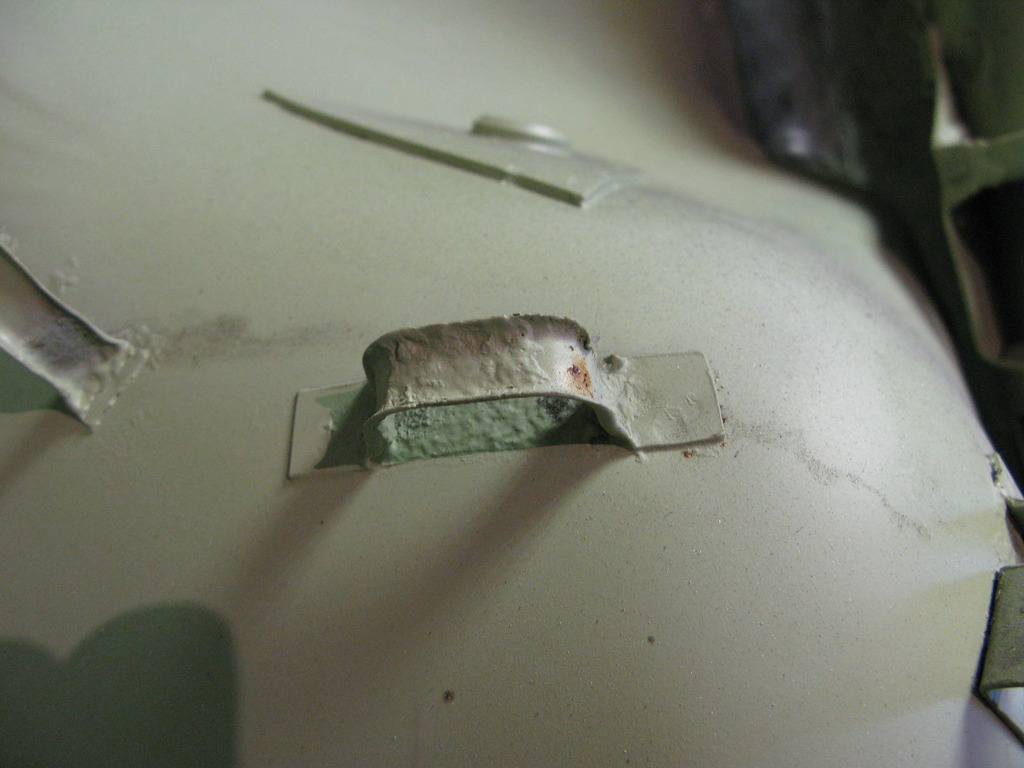
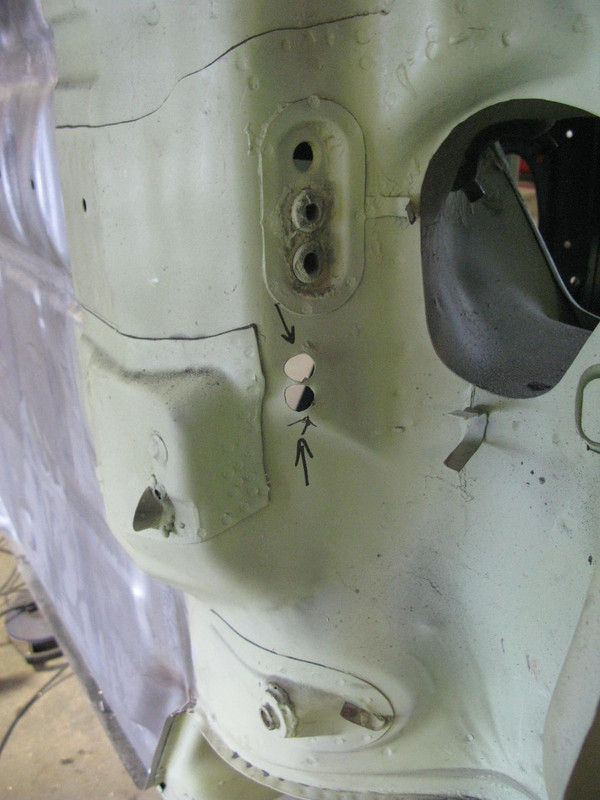
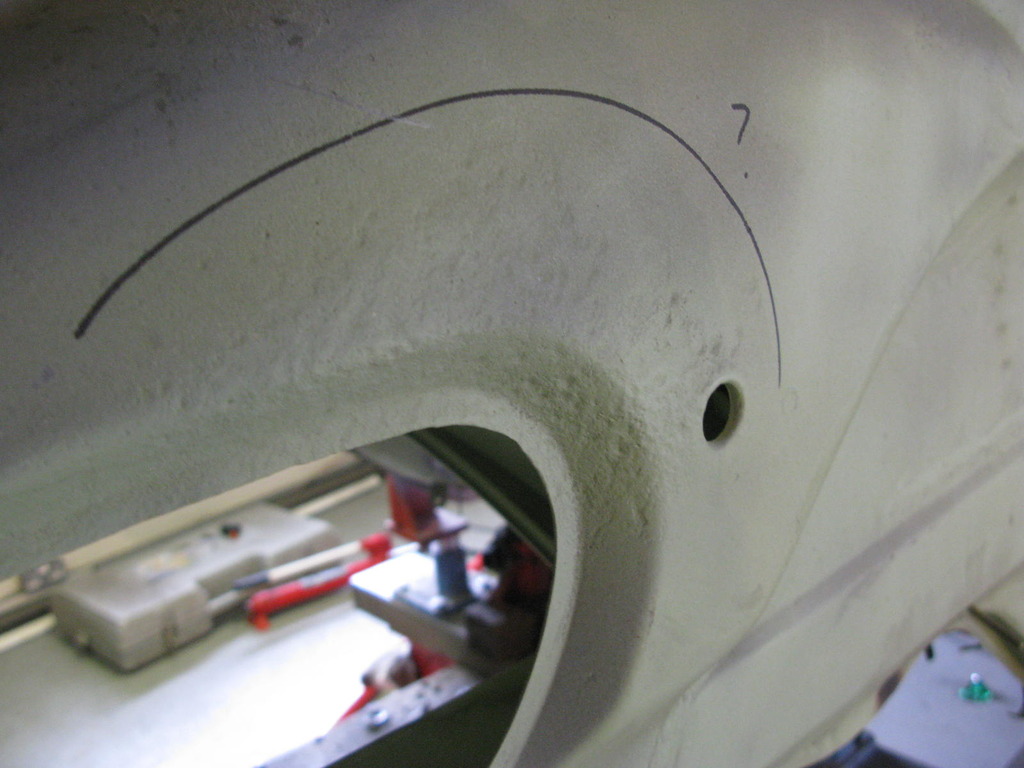
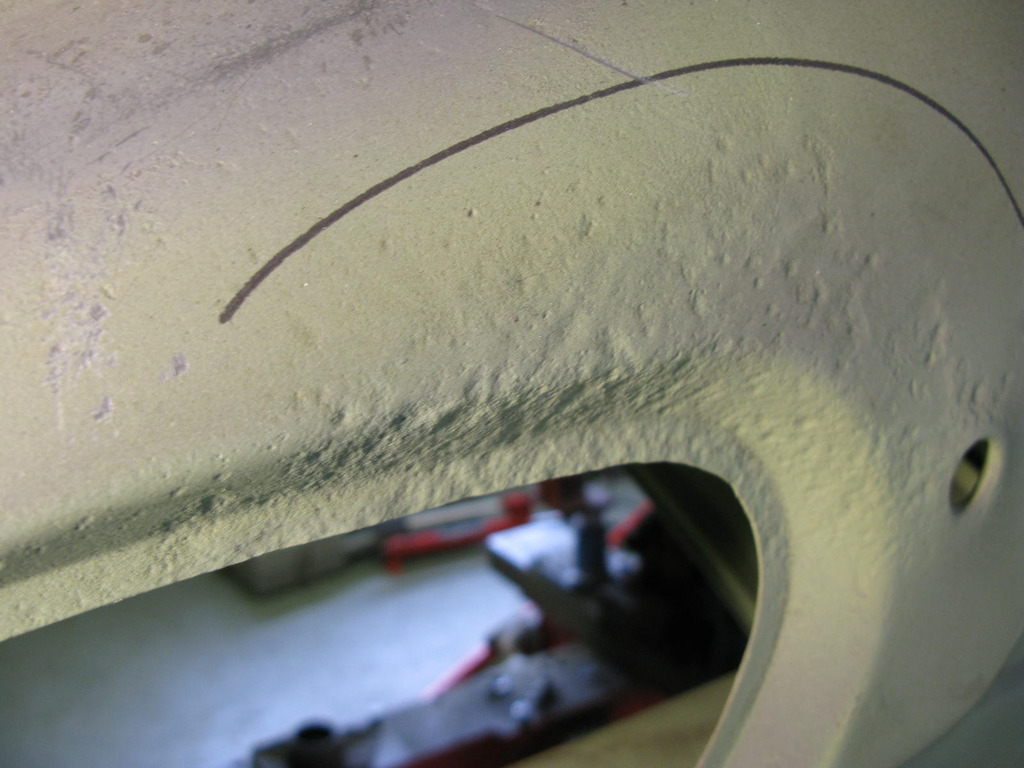
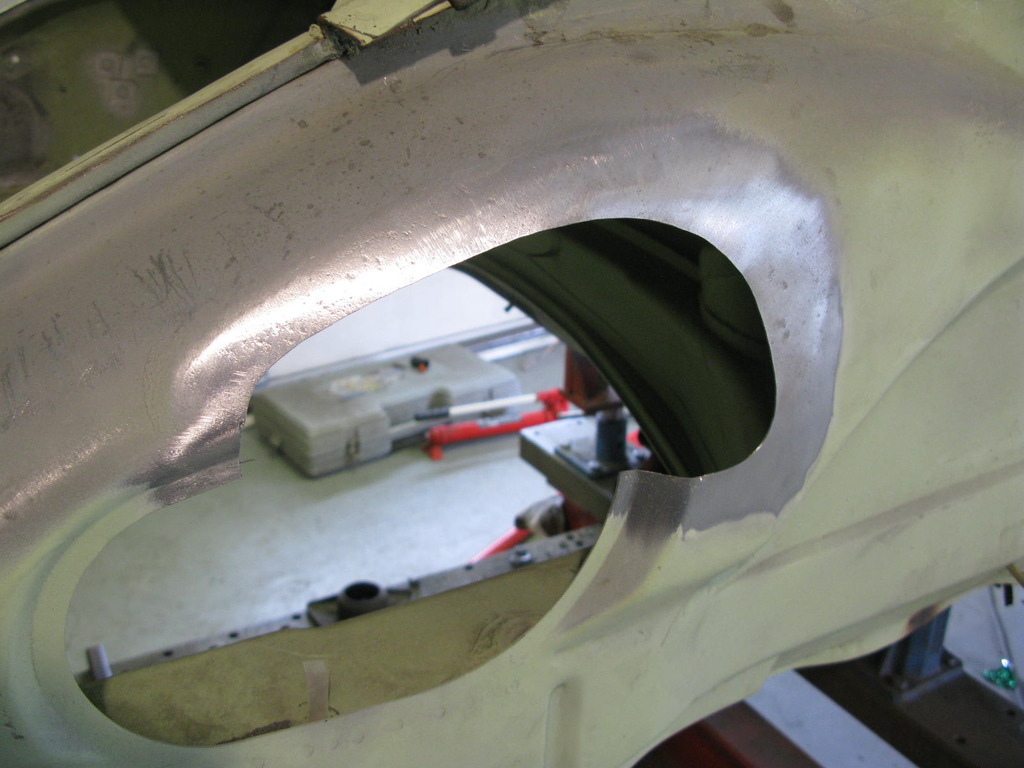
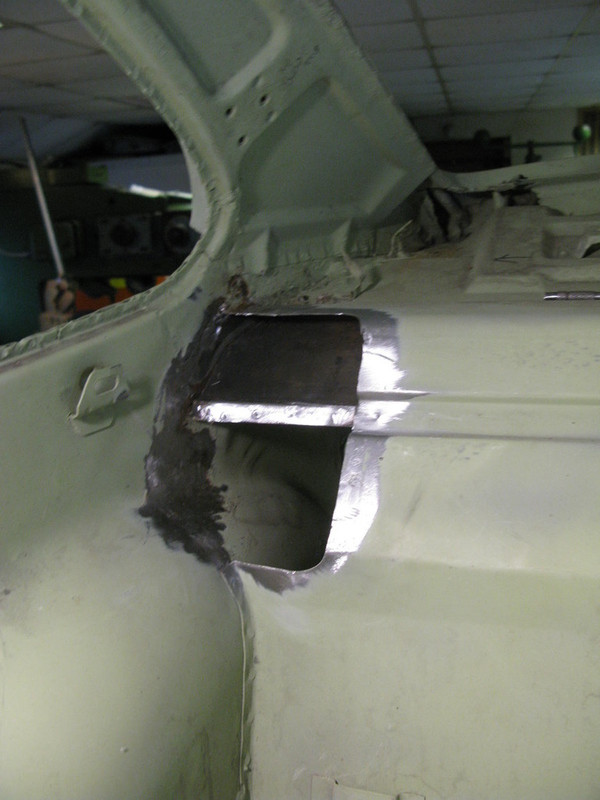
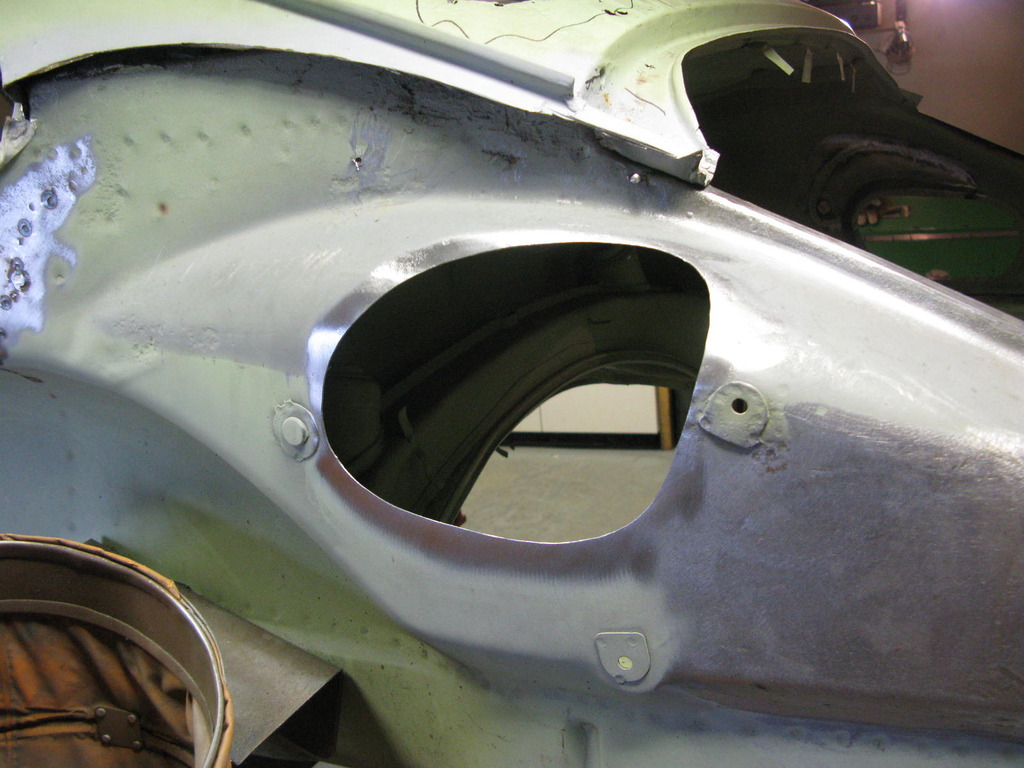
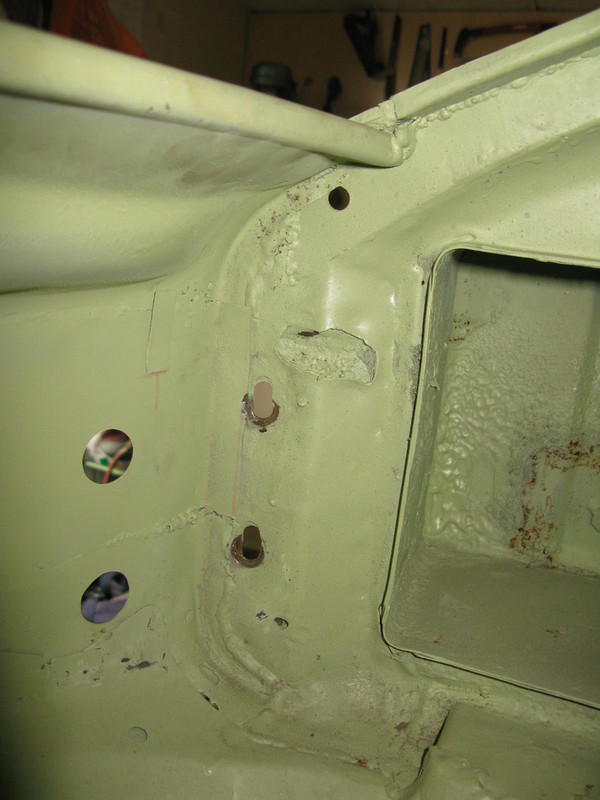
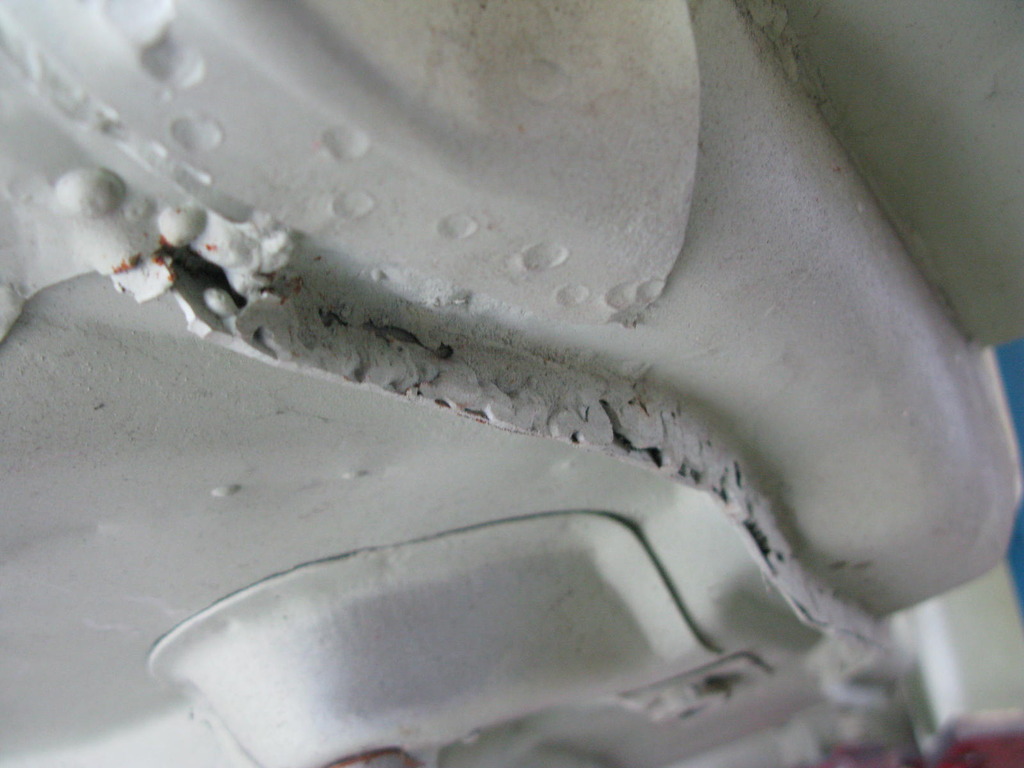
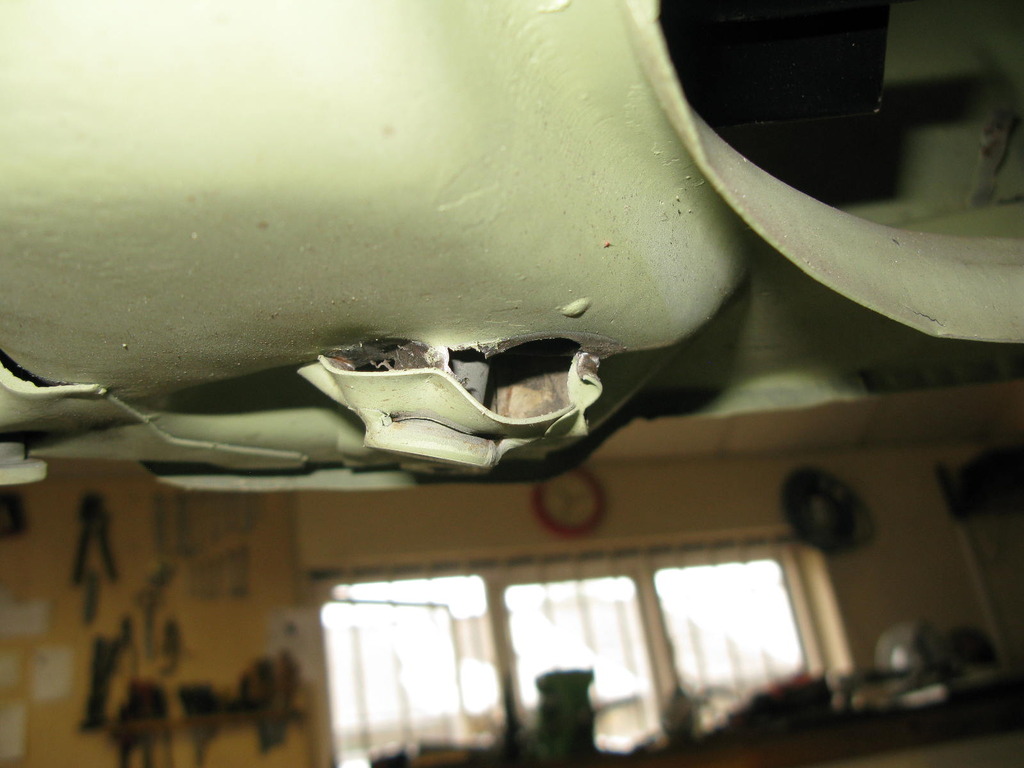
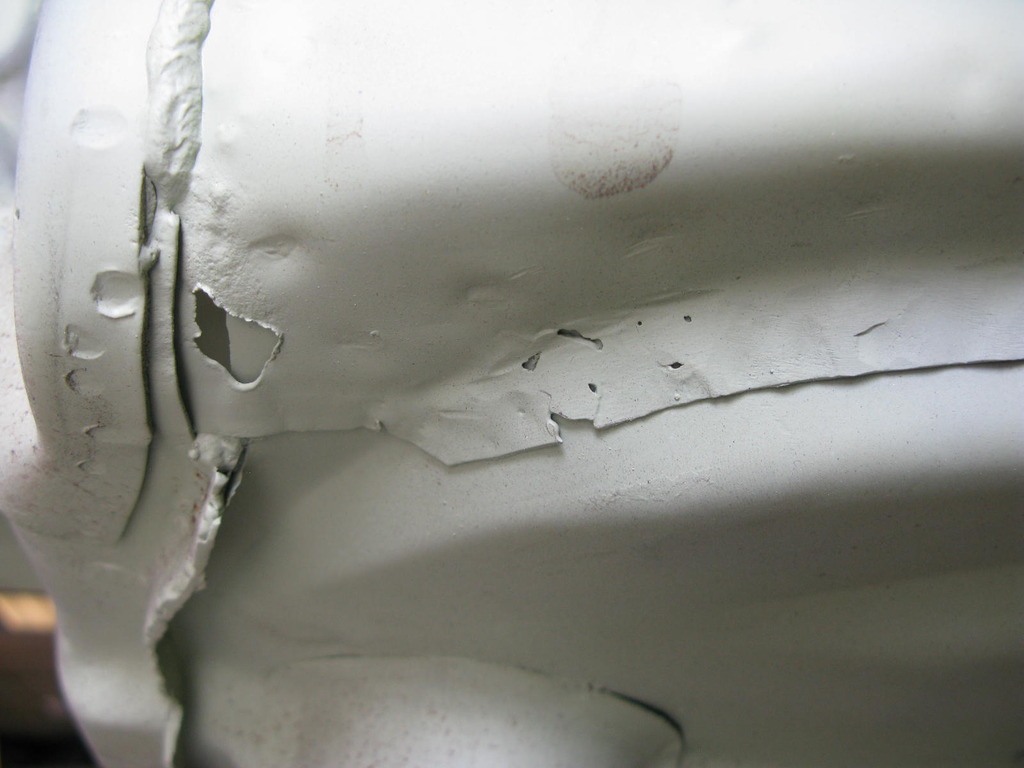
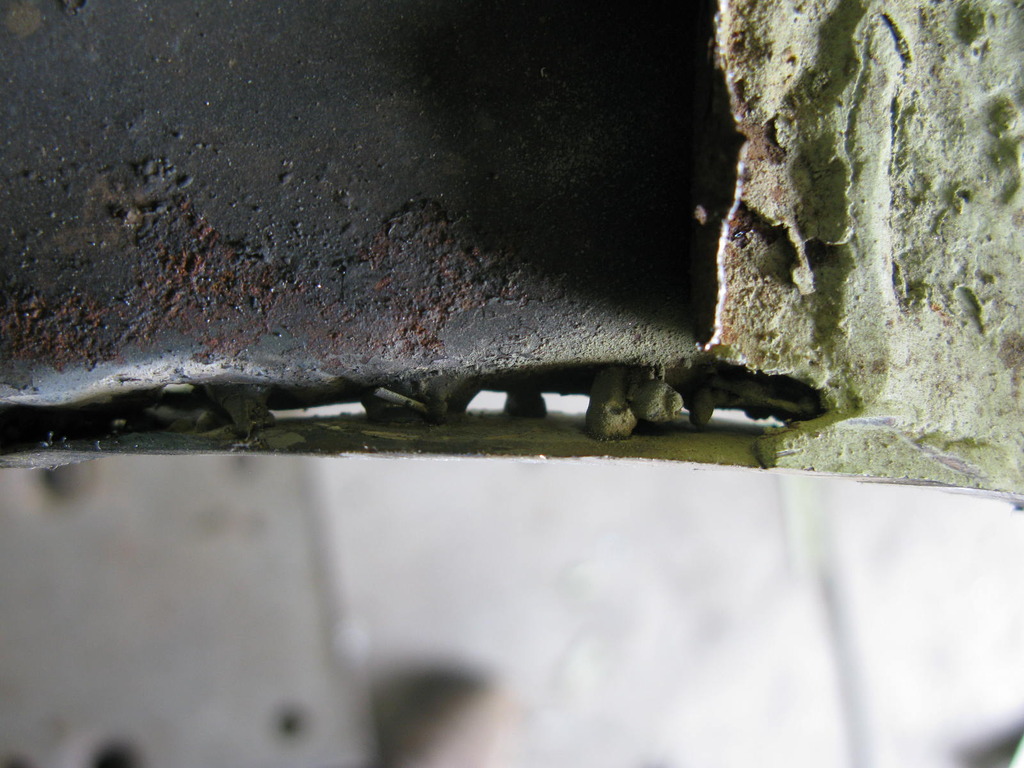
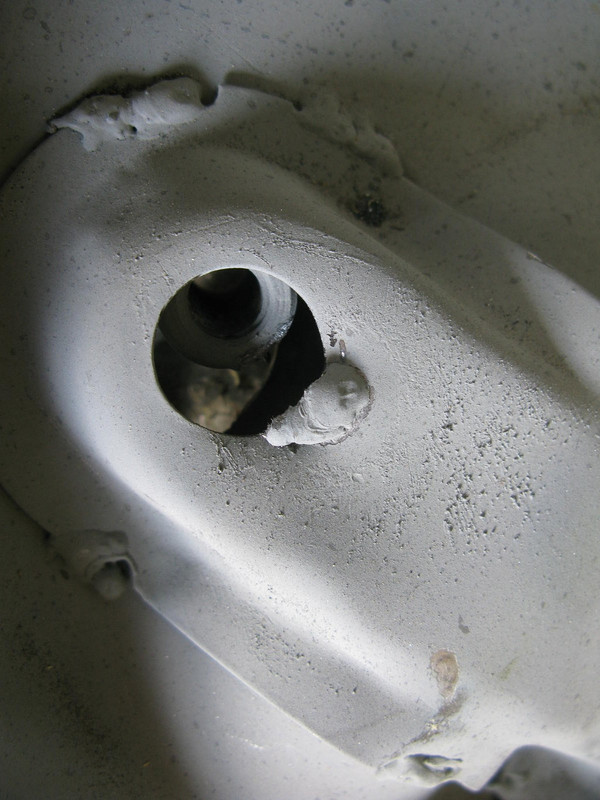
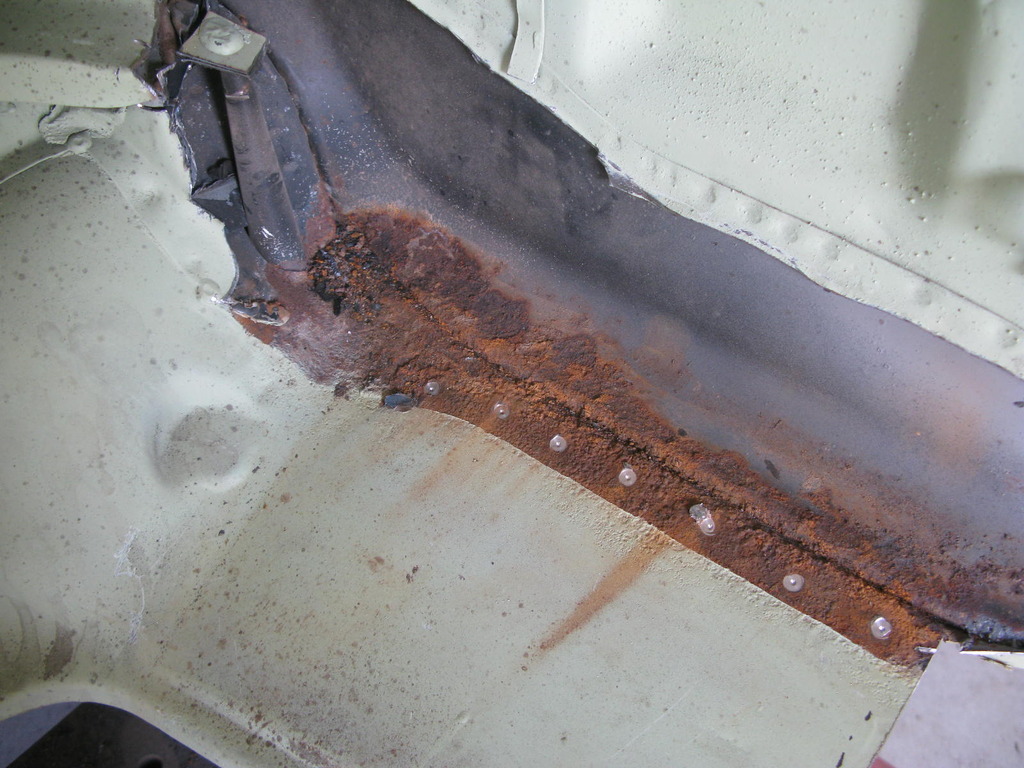
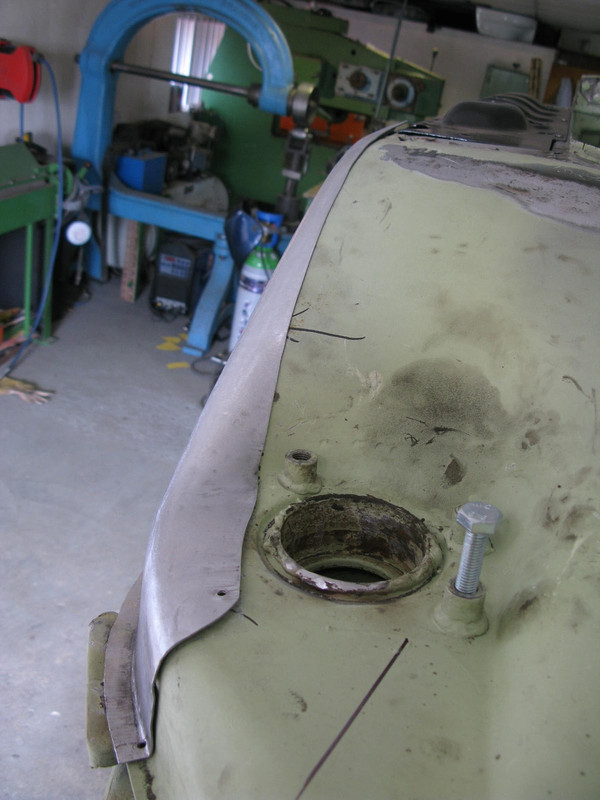
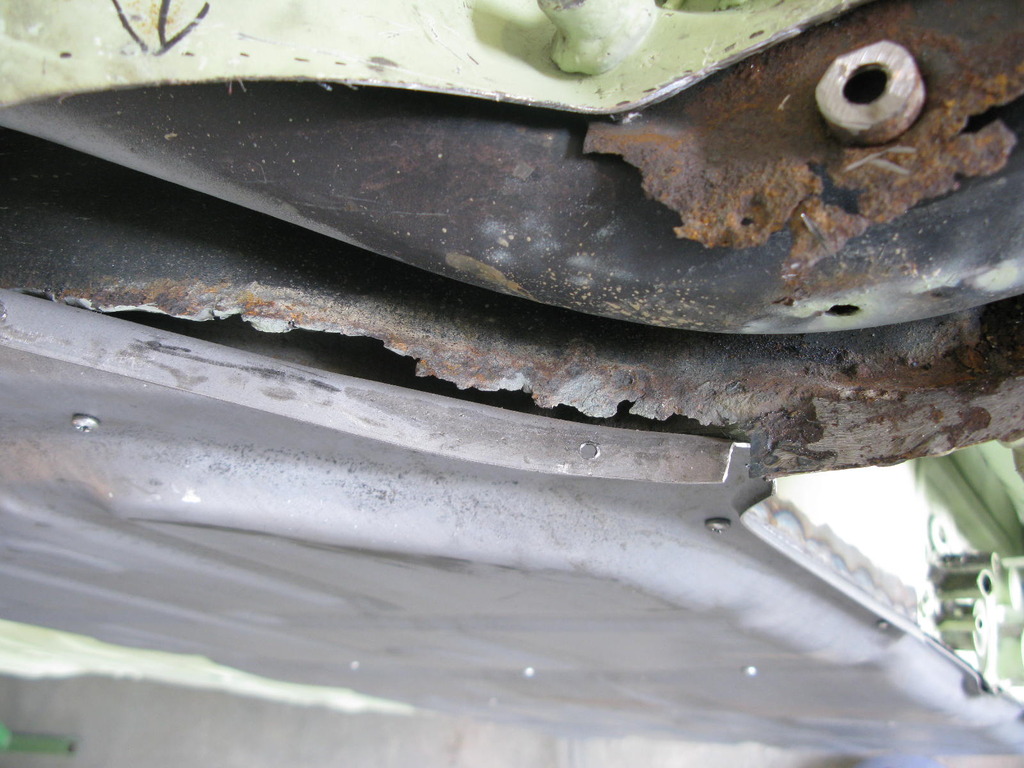
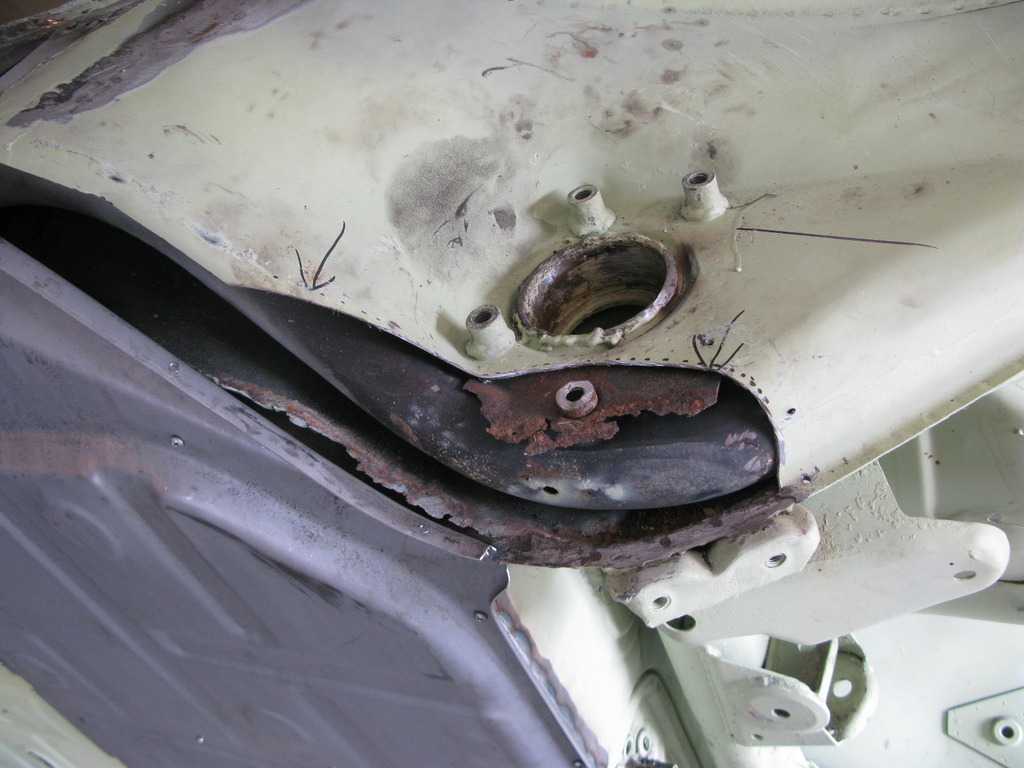
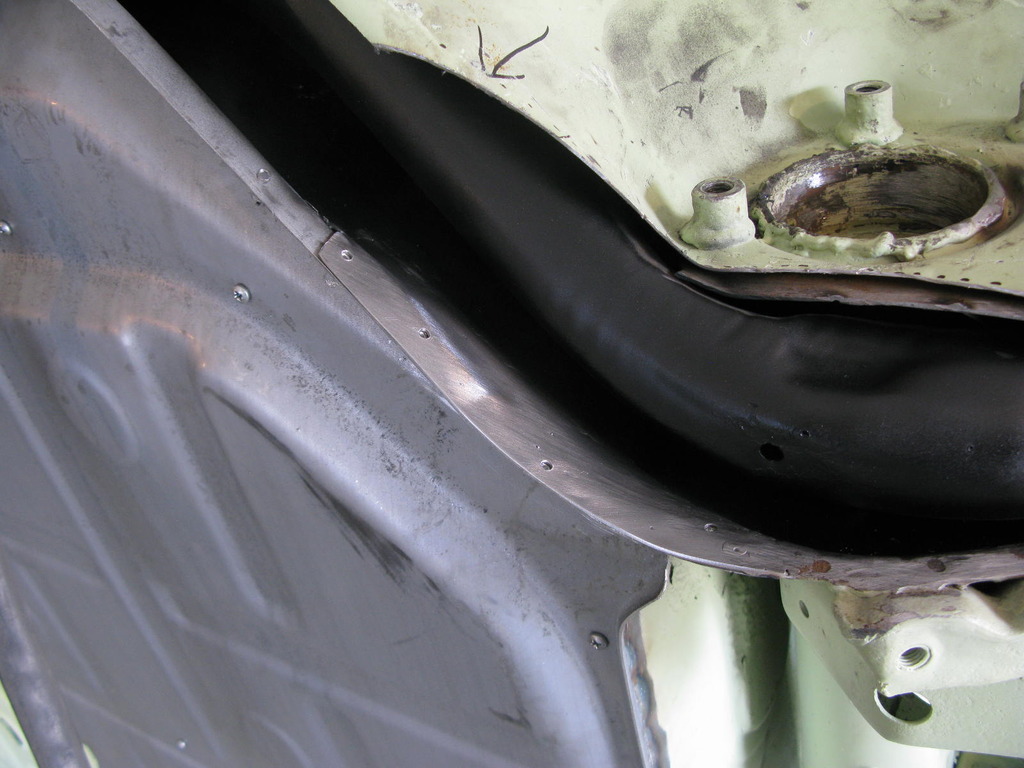
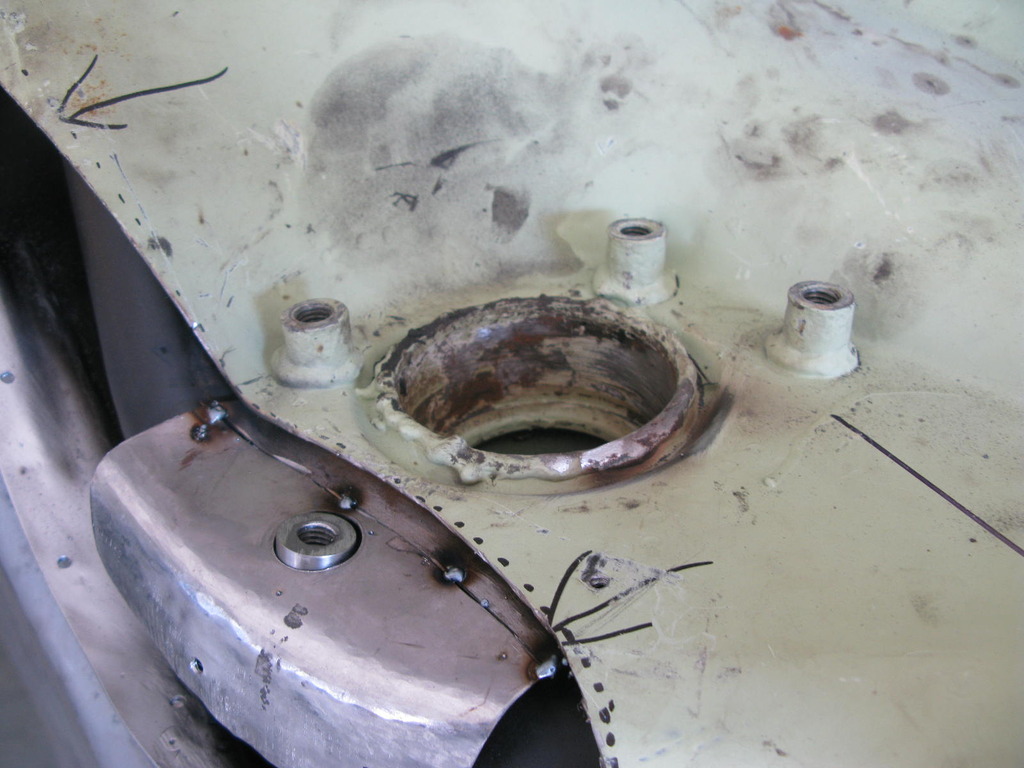
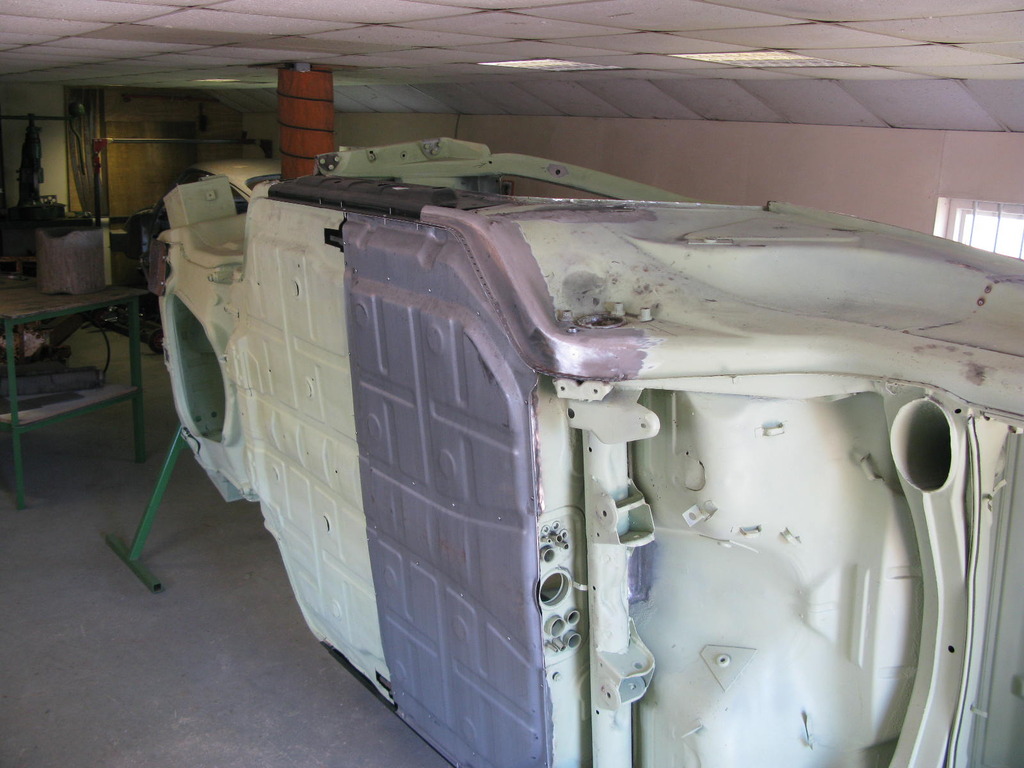
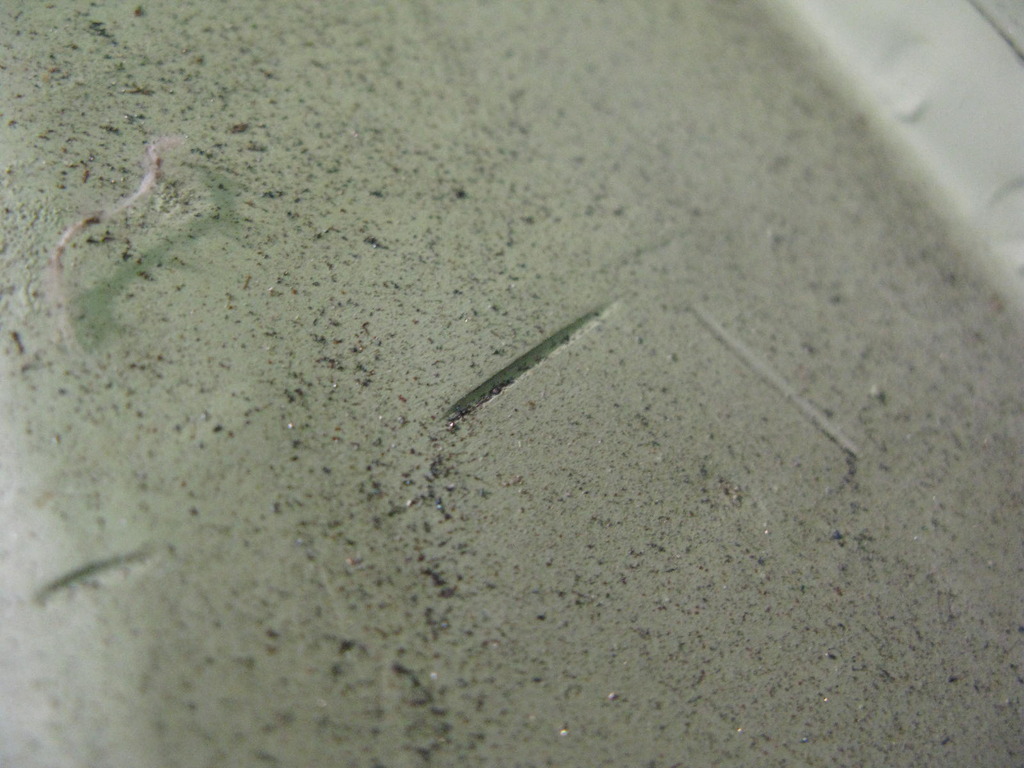
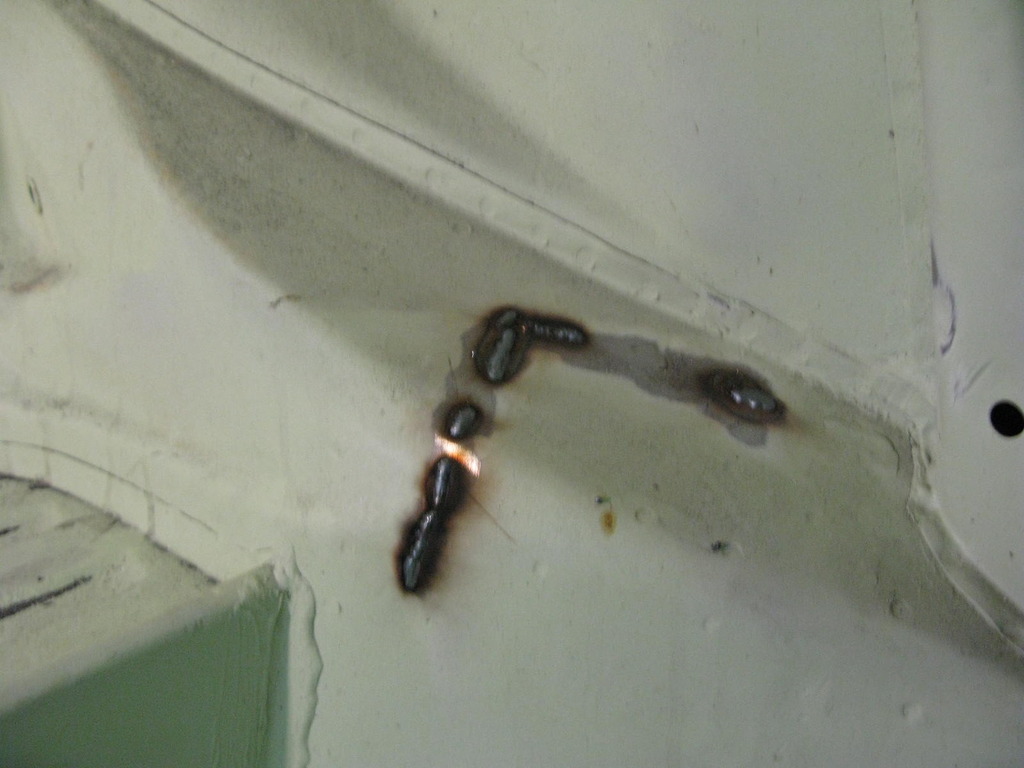
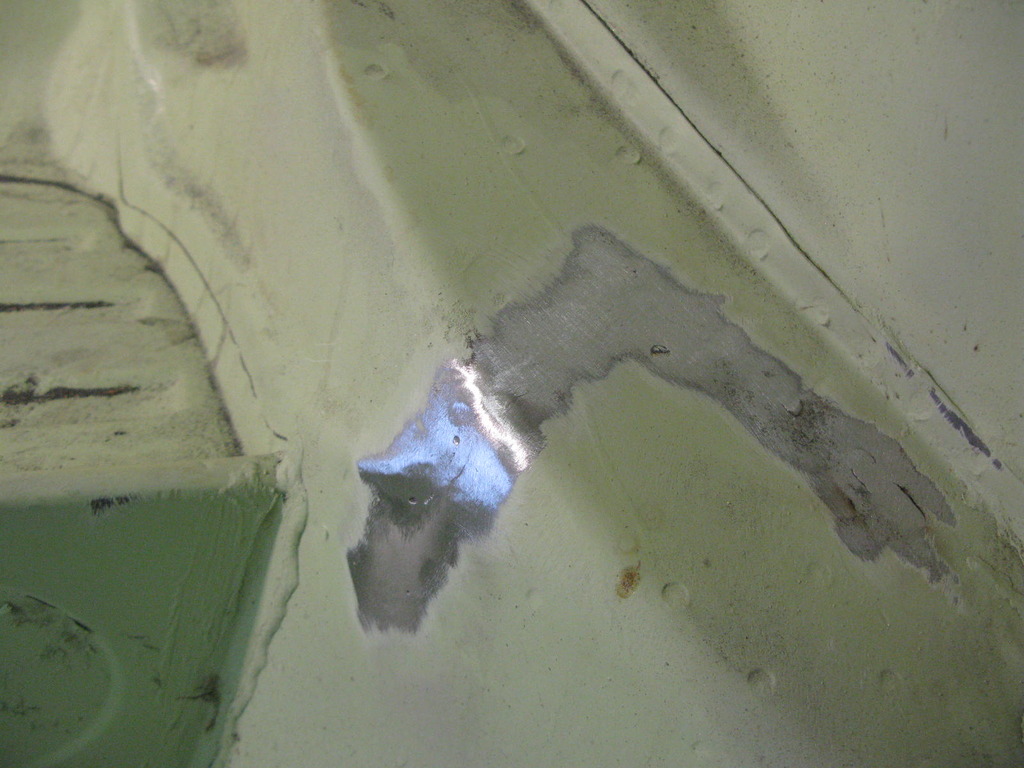
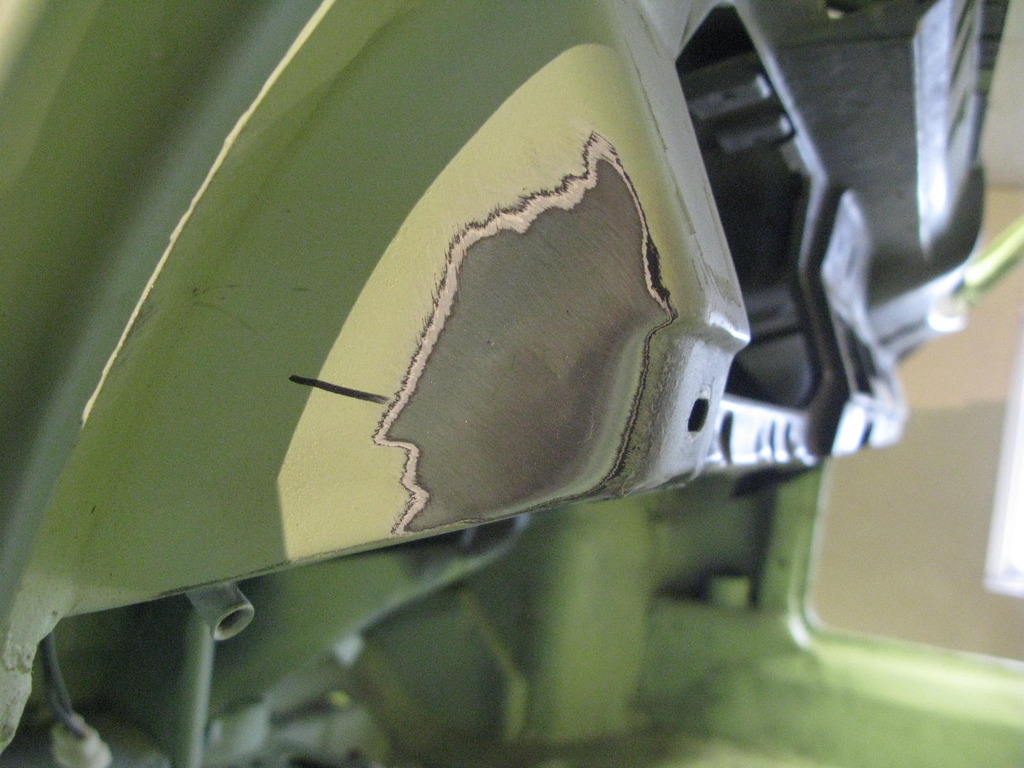
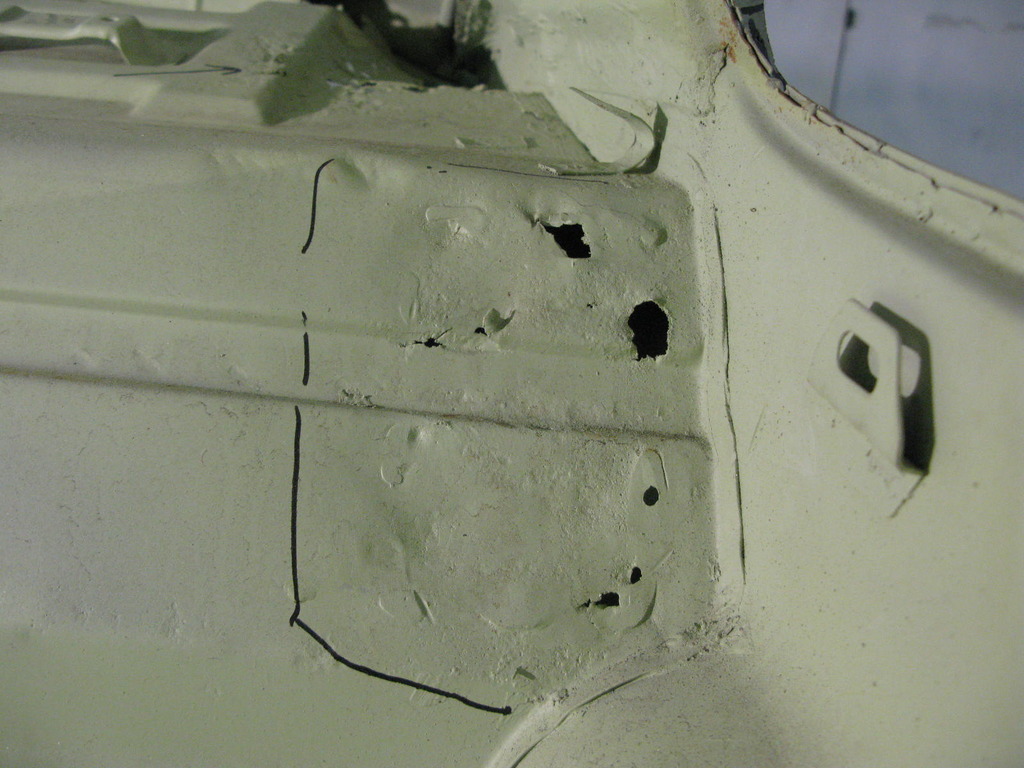
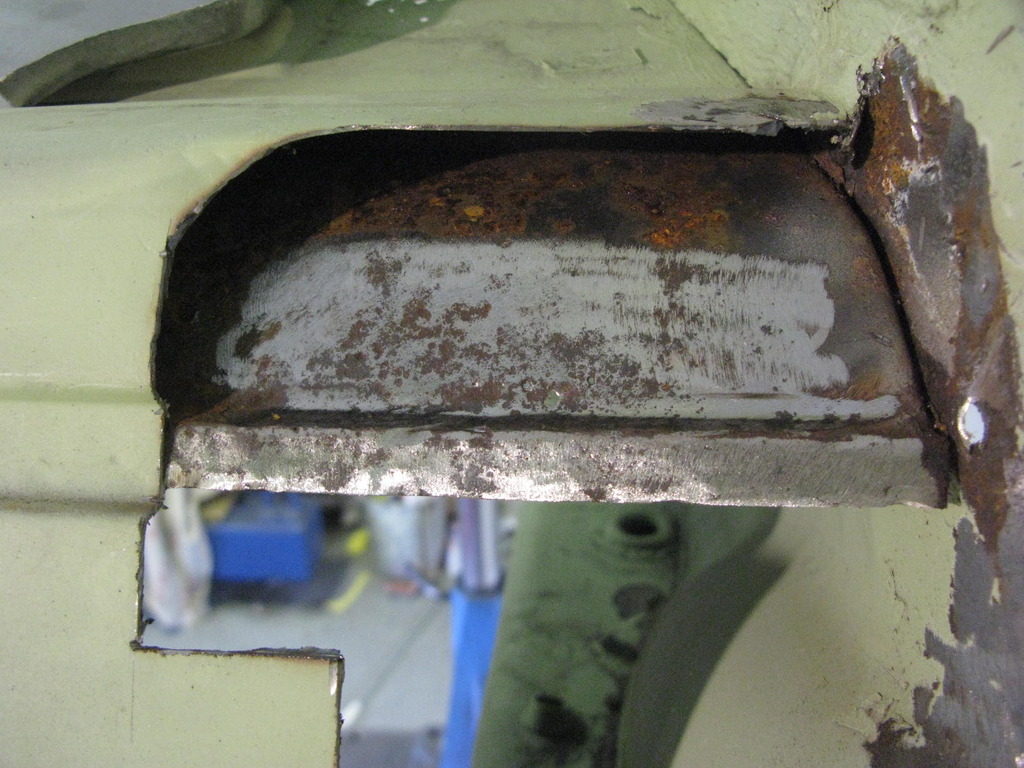
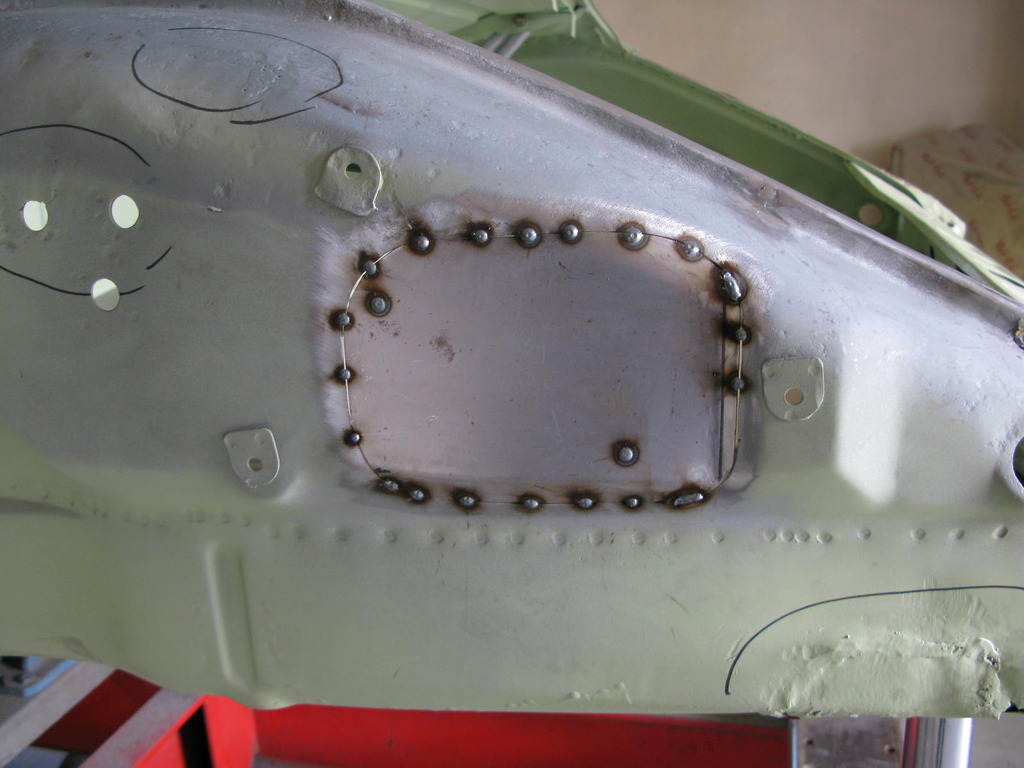
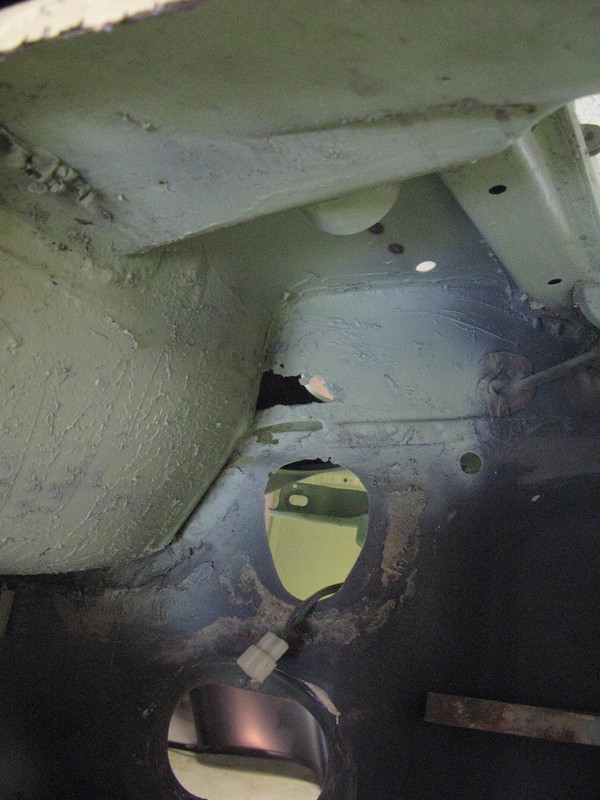
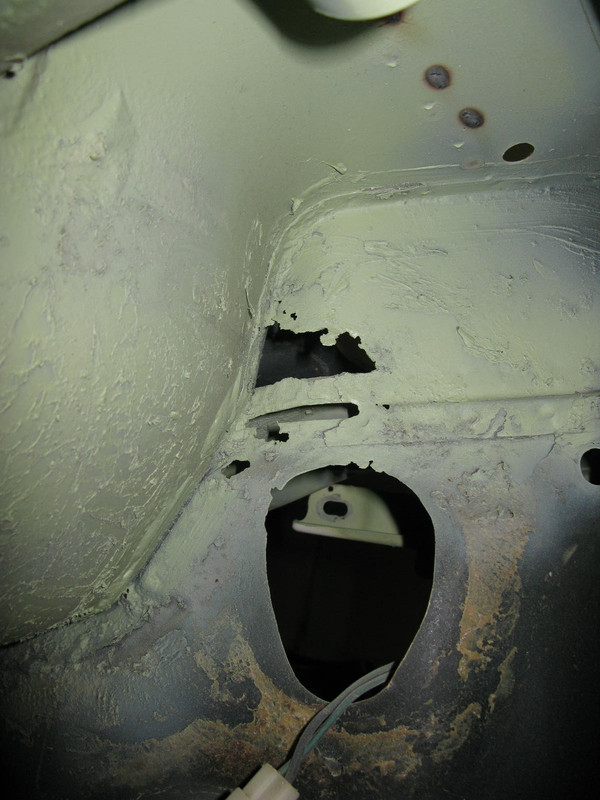
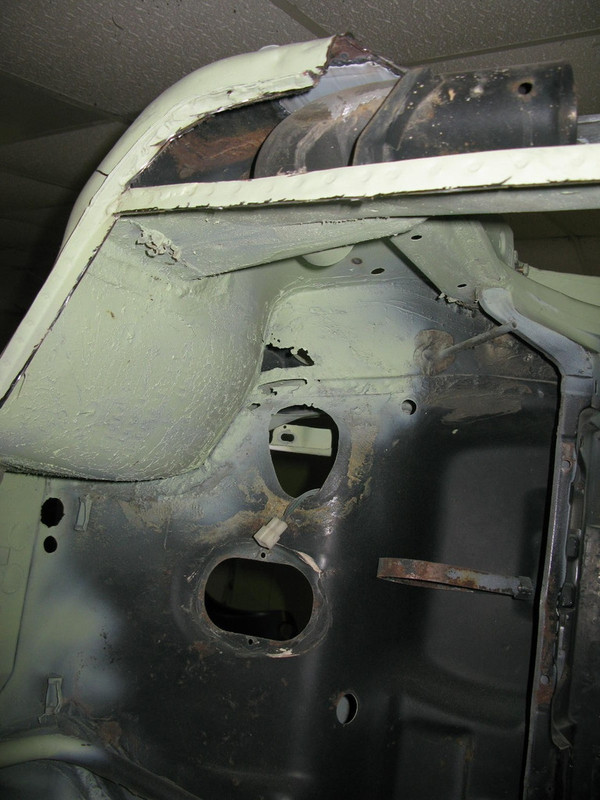
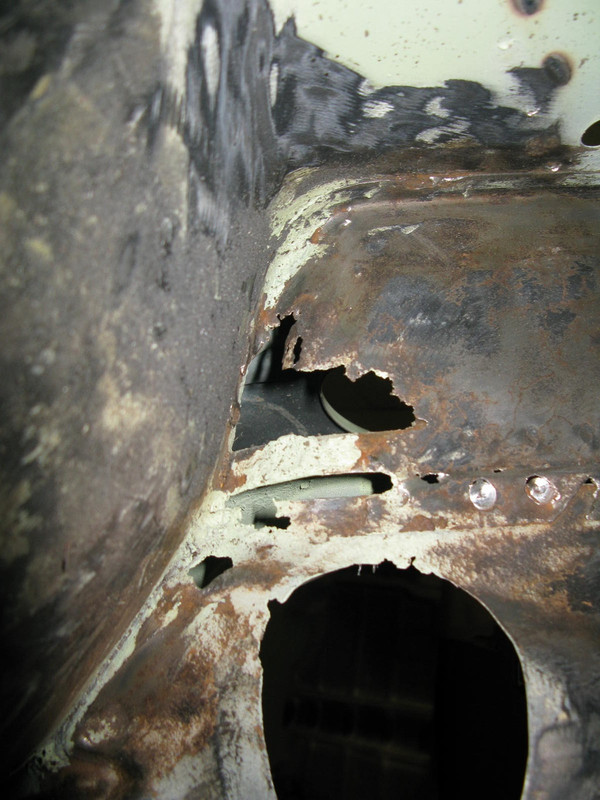
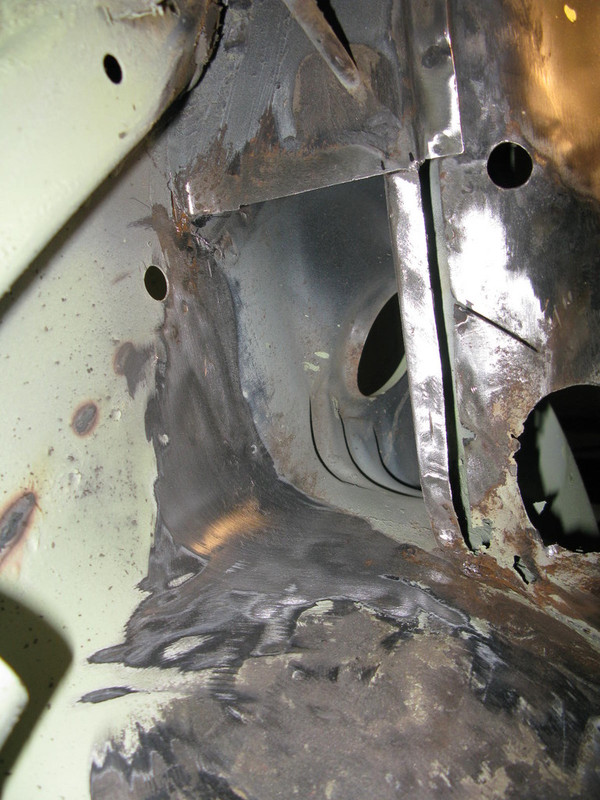
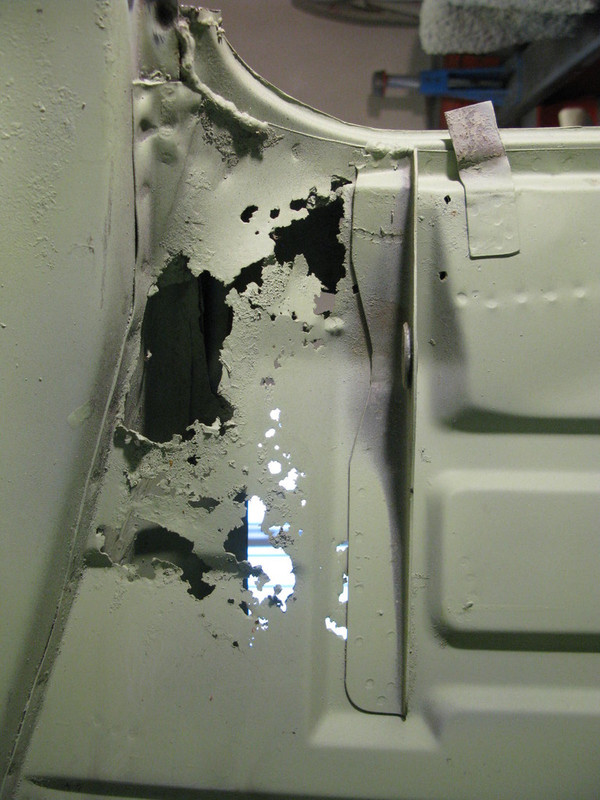
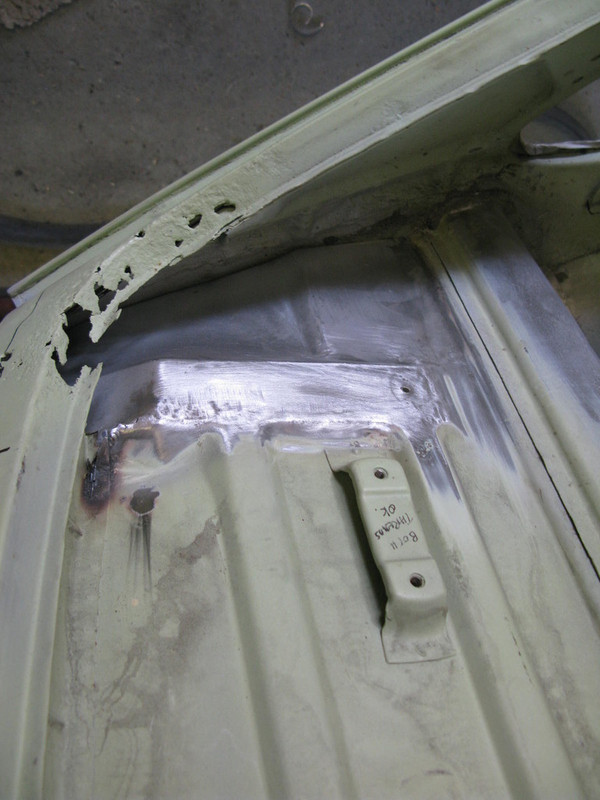
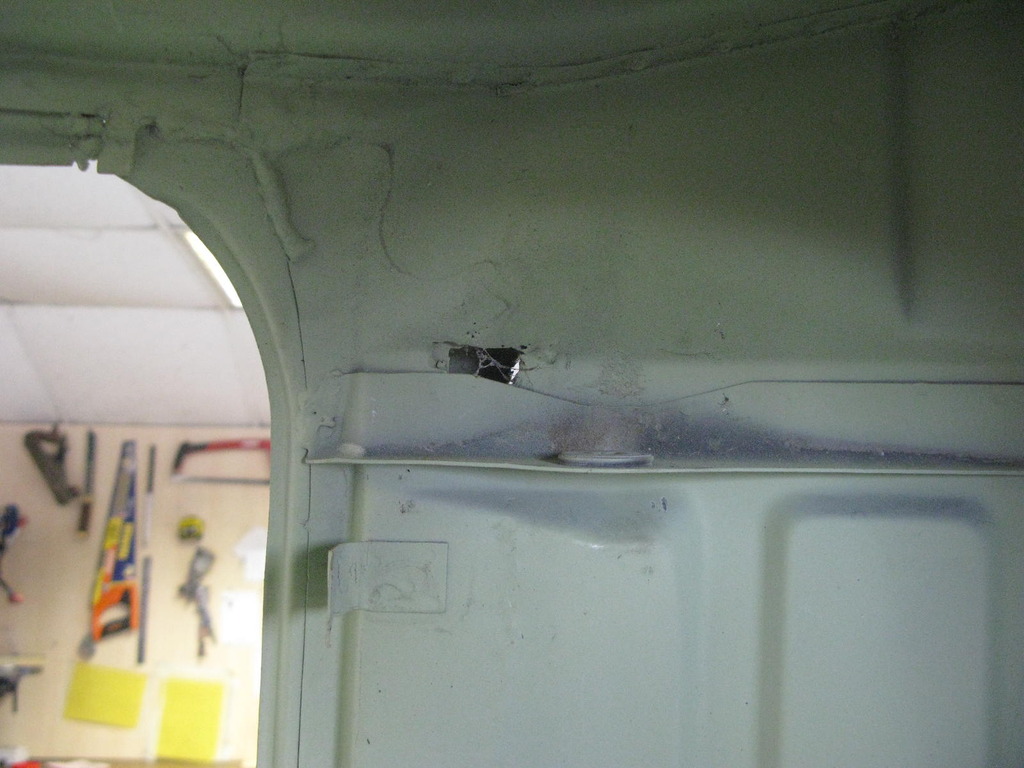
N/S rear inner wing repairs - just a few pinholes so lets just weld them up! Perhaps not, better take a look inside, just in case.
In fact, they all do this, and it's one of the areas Barry usually allows for unless it looks (and sounds) perfect on the outside.
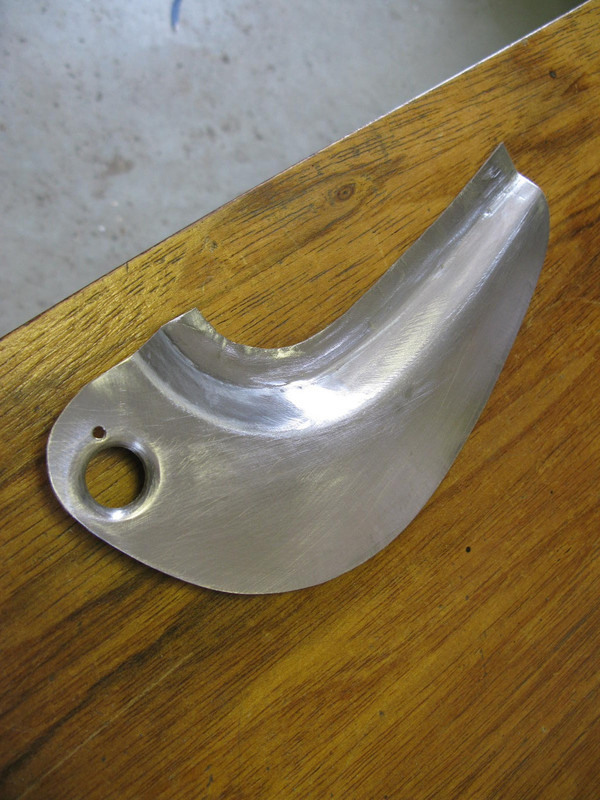
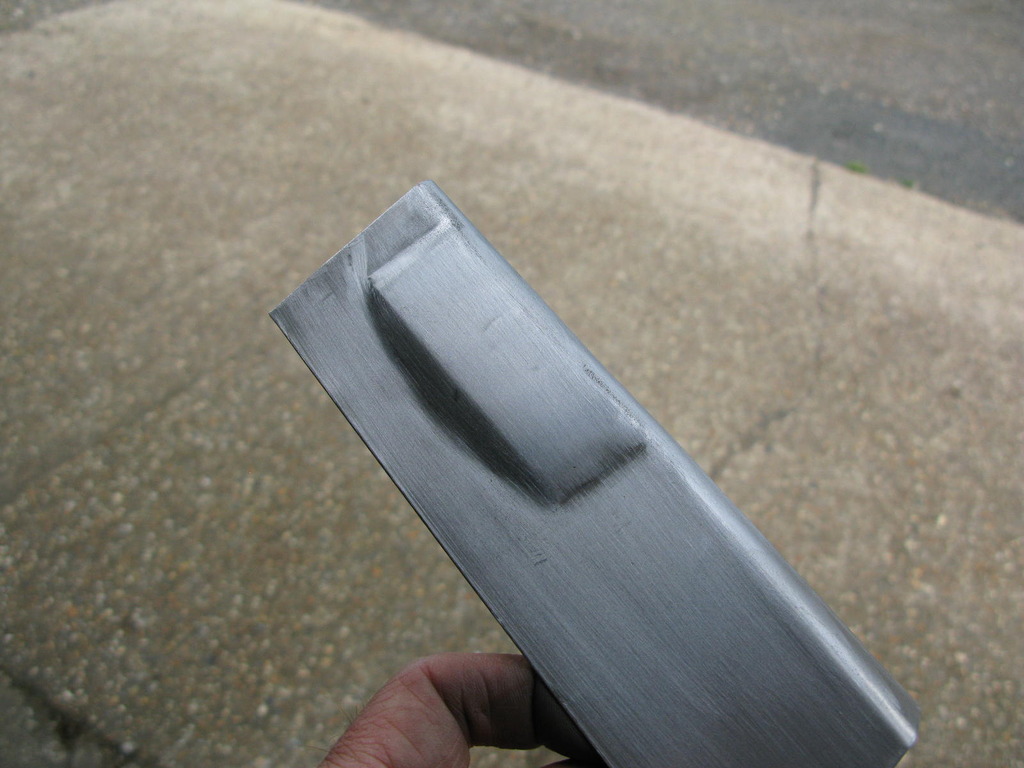
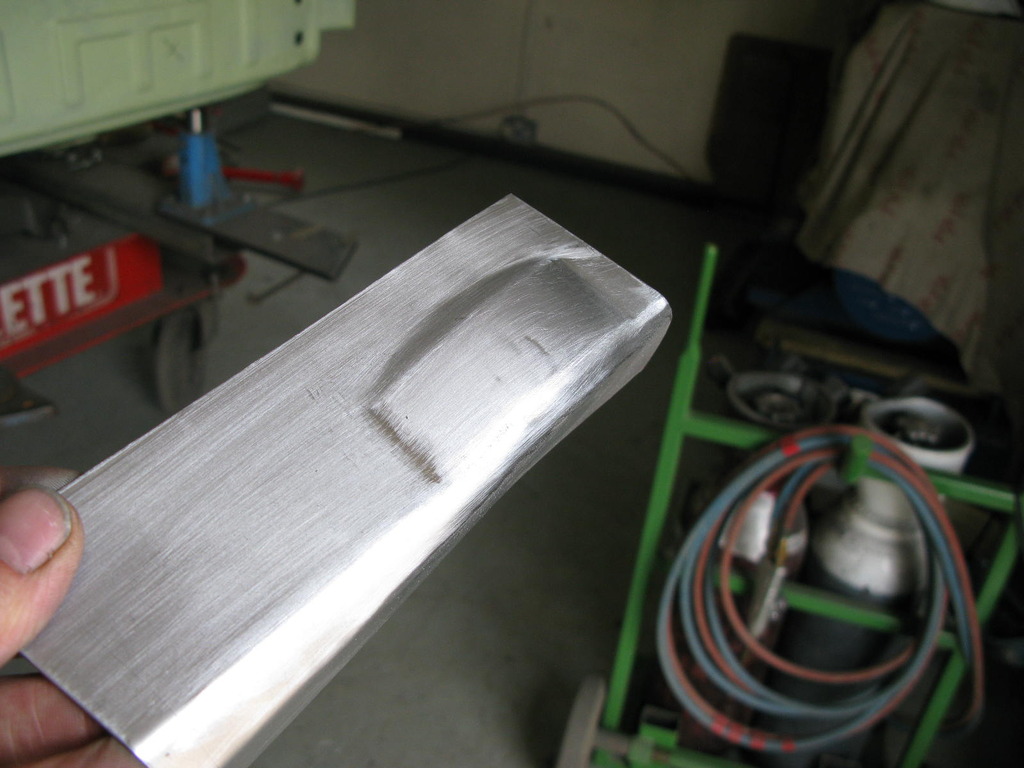
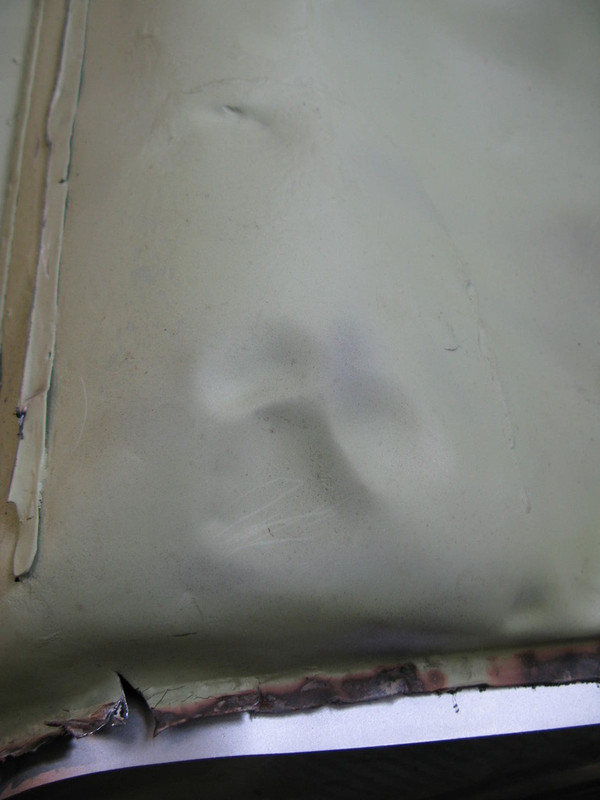
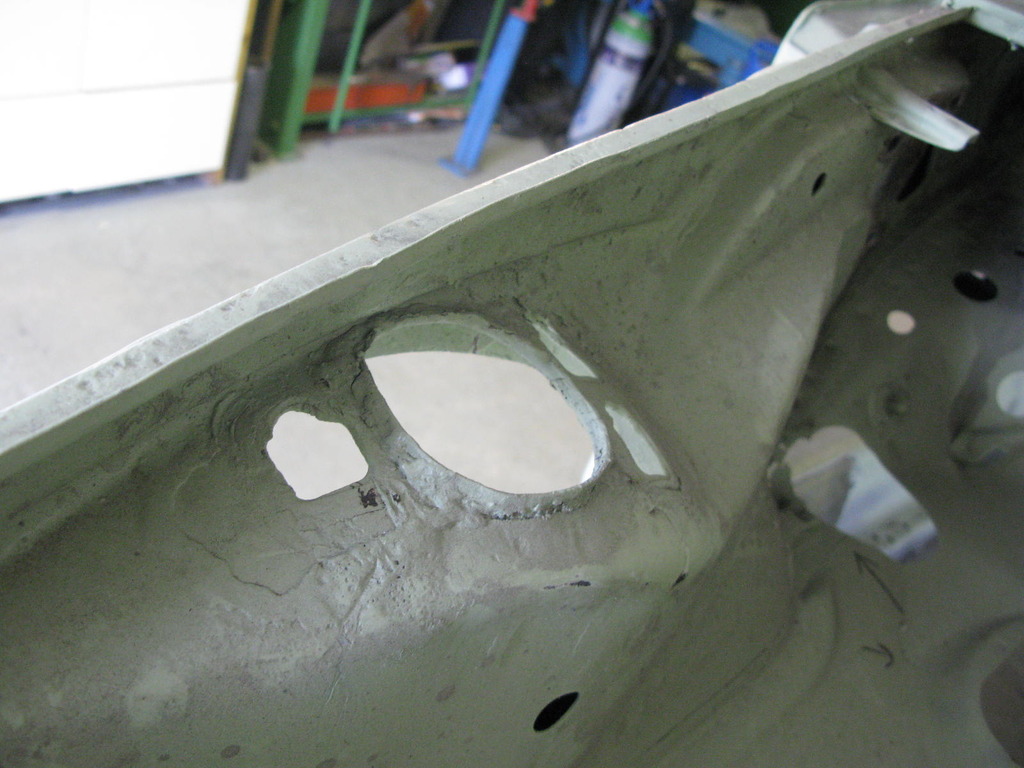
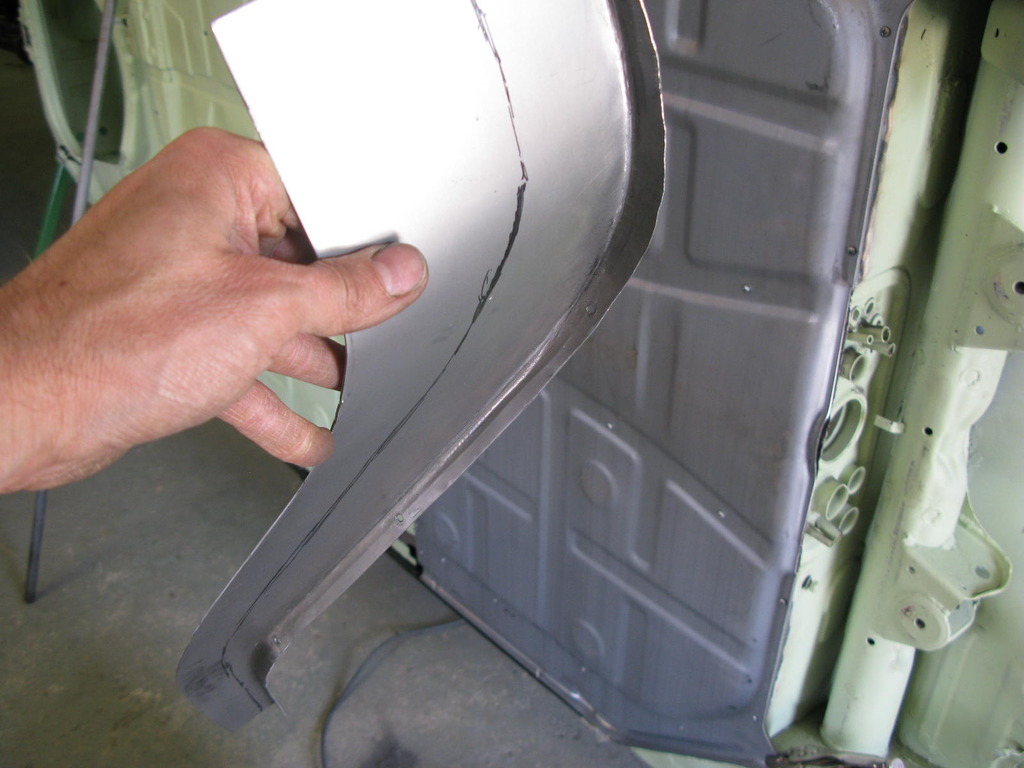
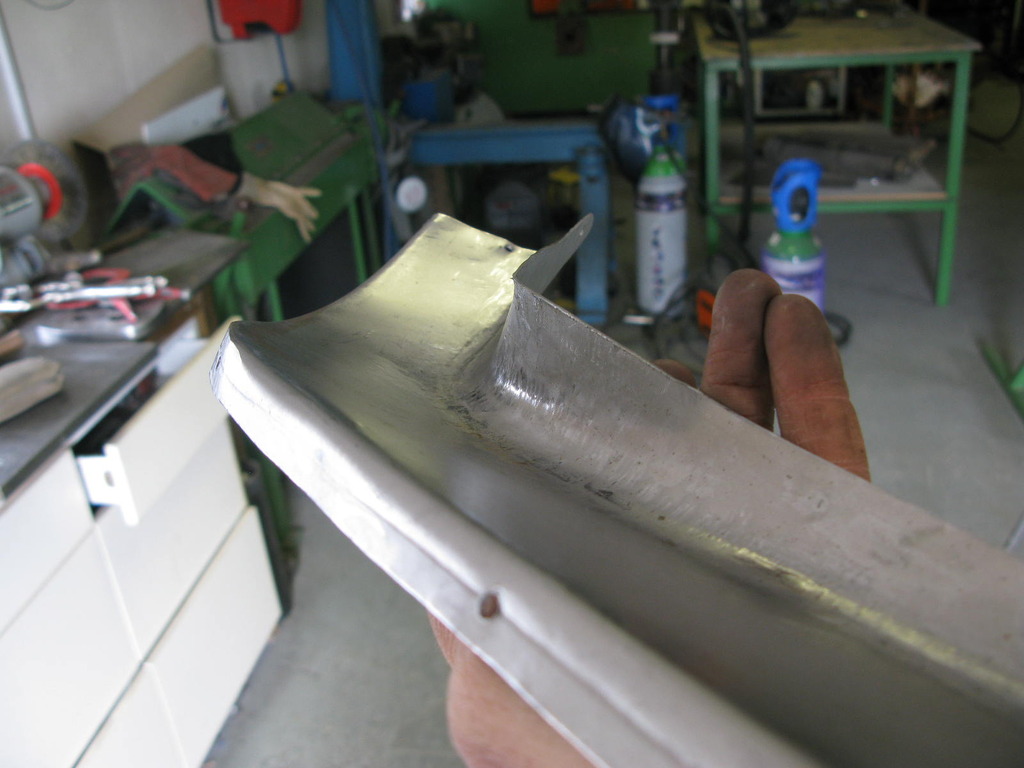
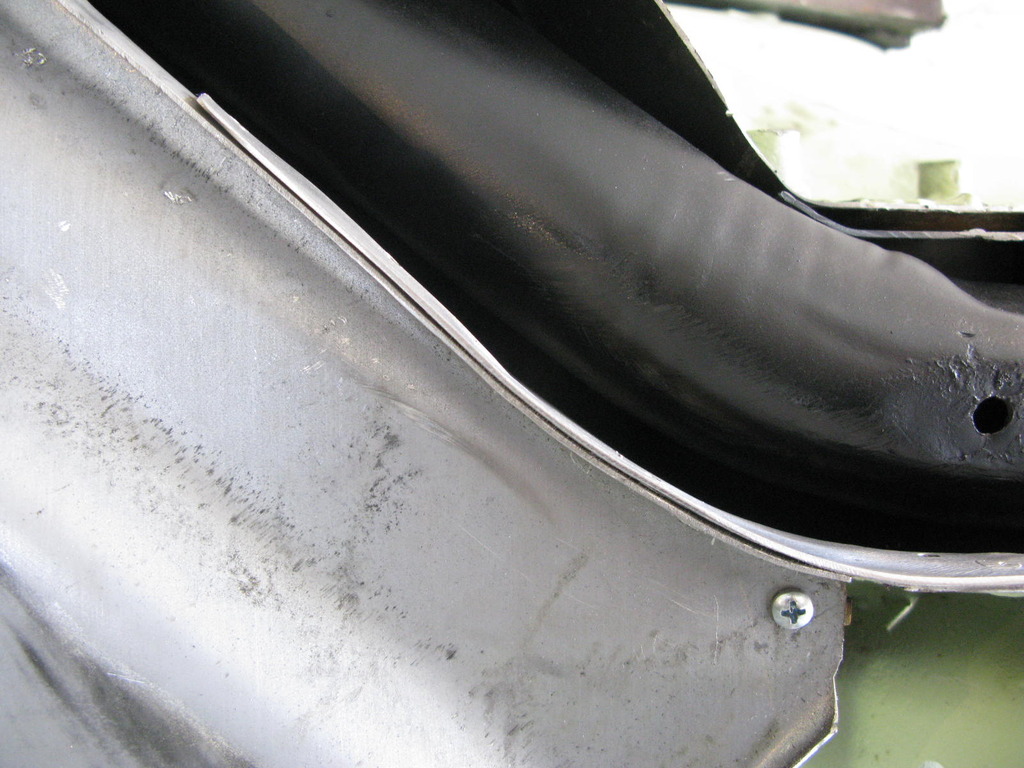
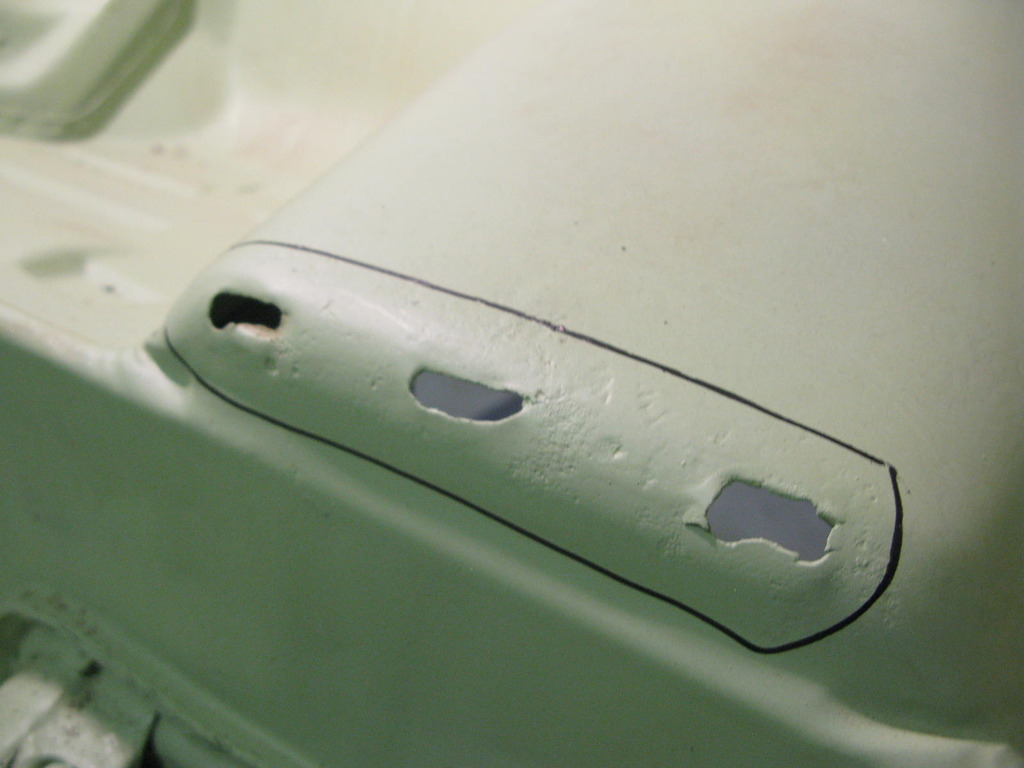
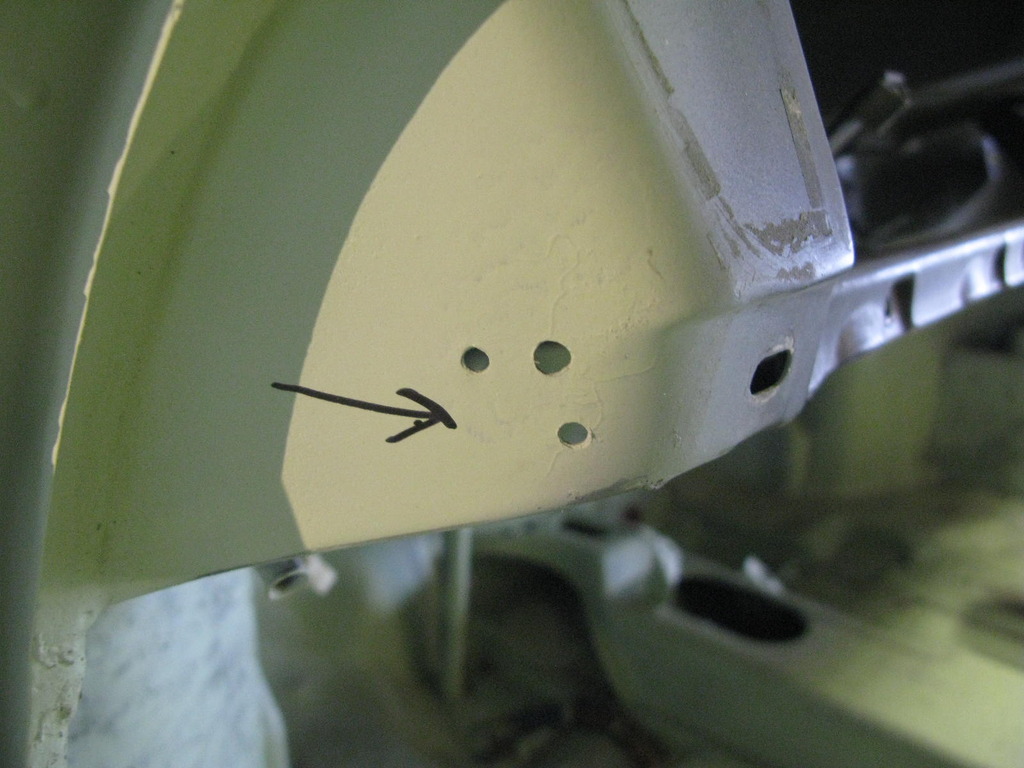
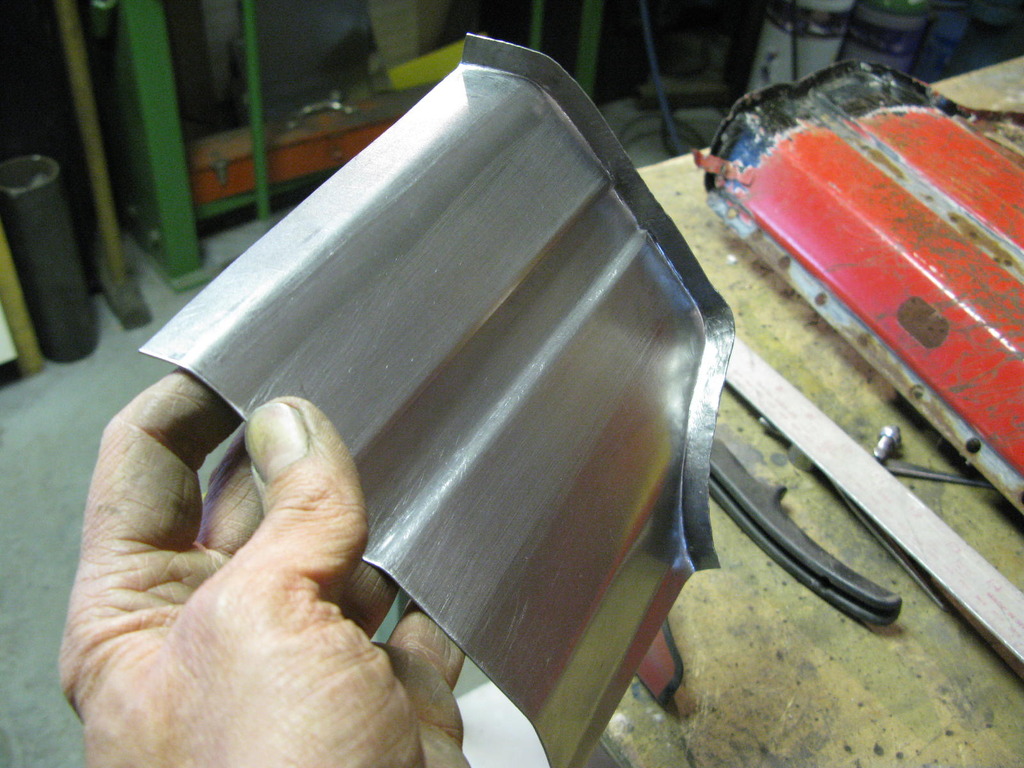
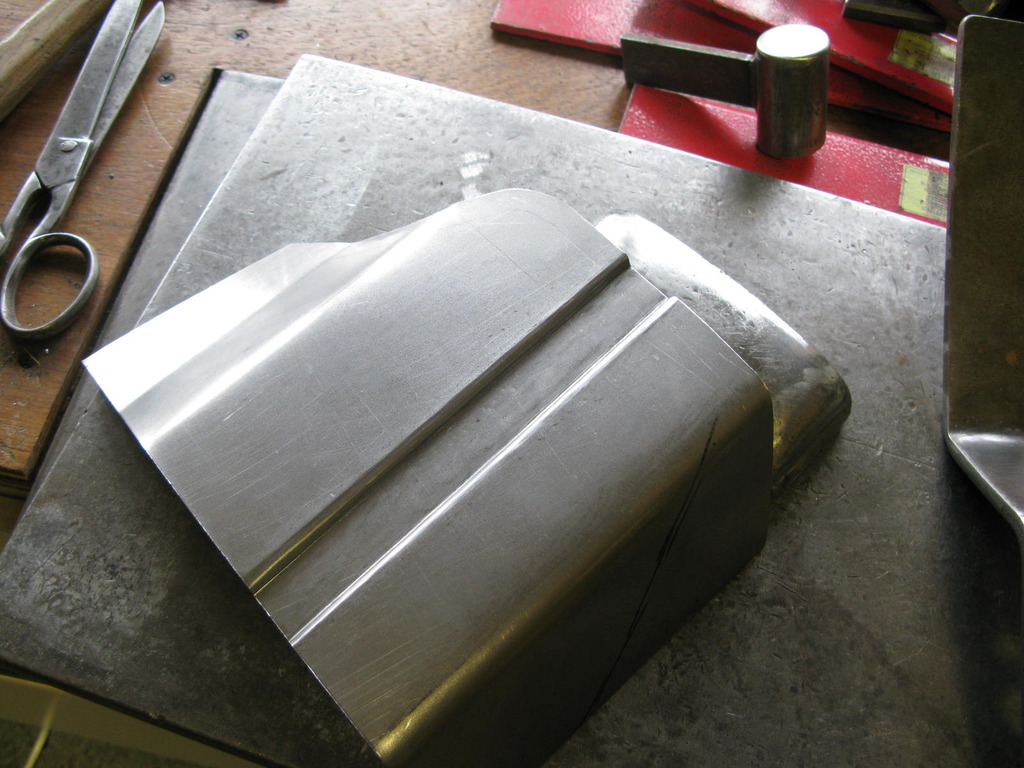
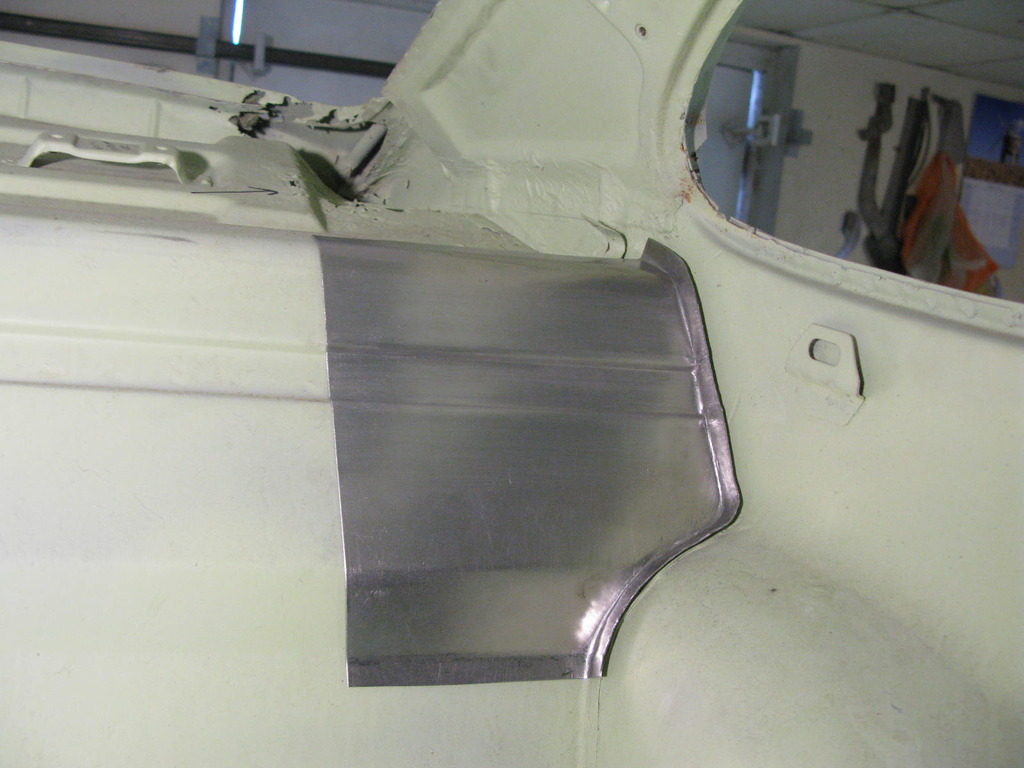
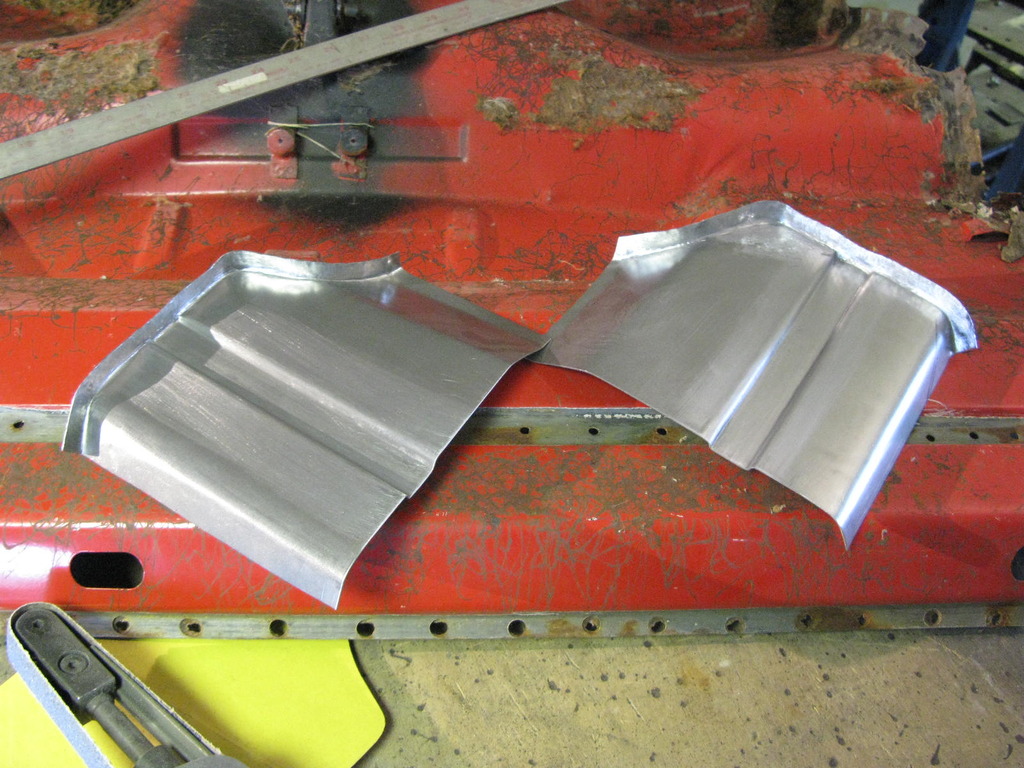
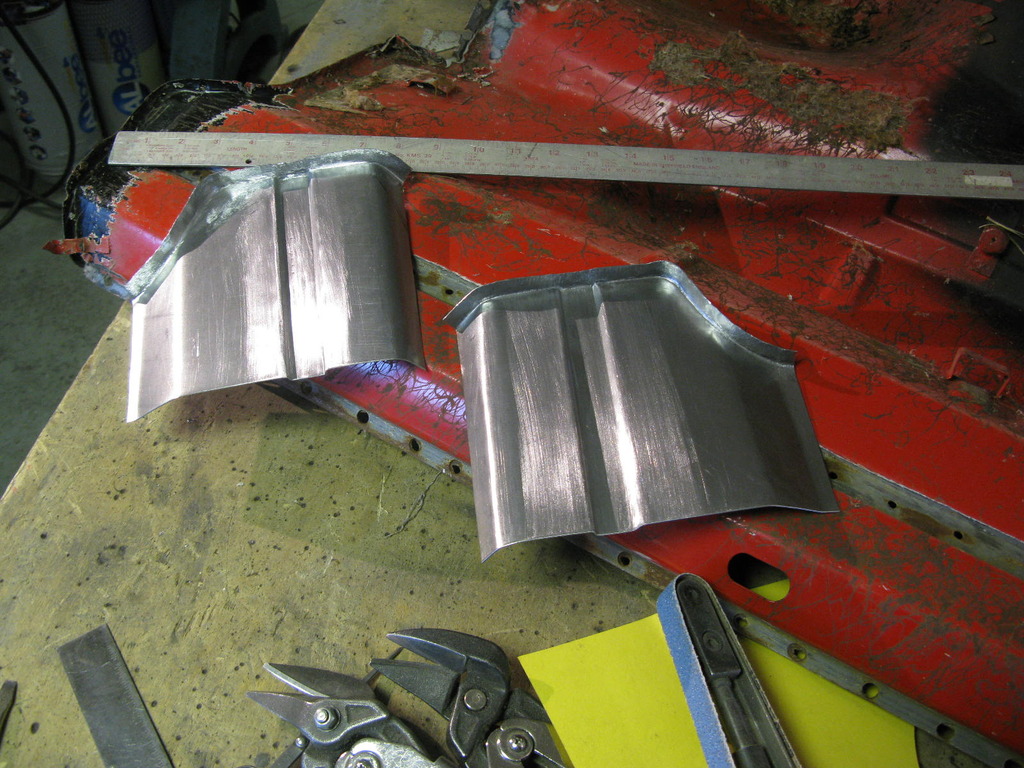
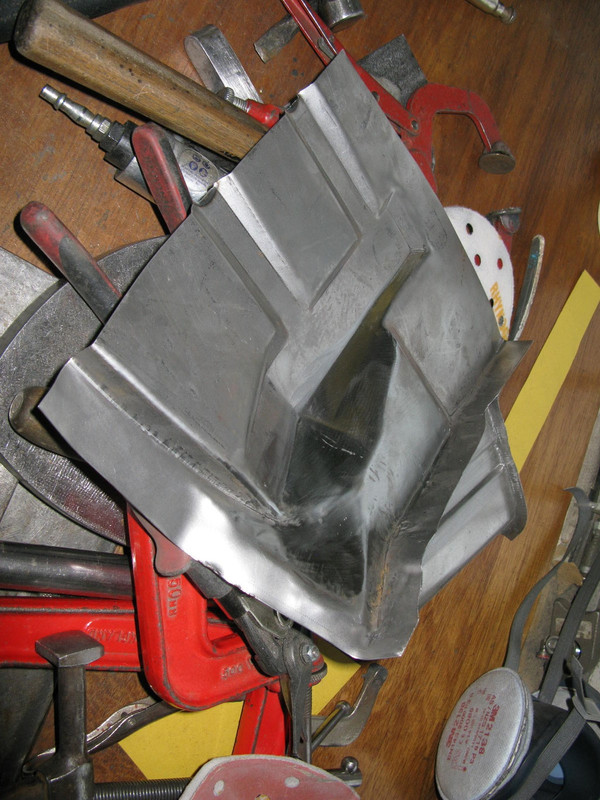
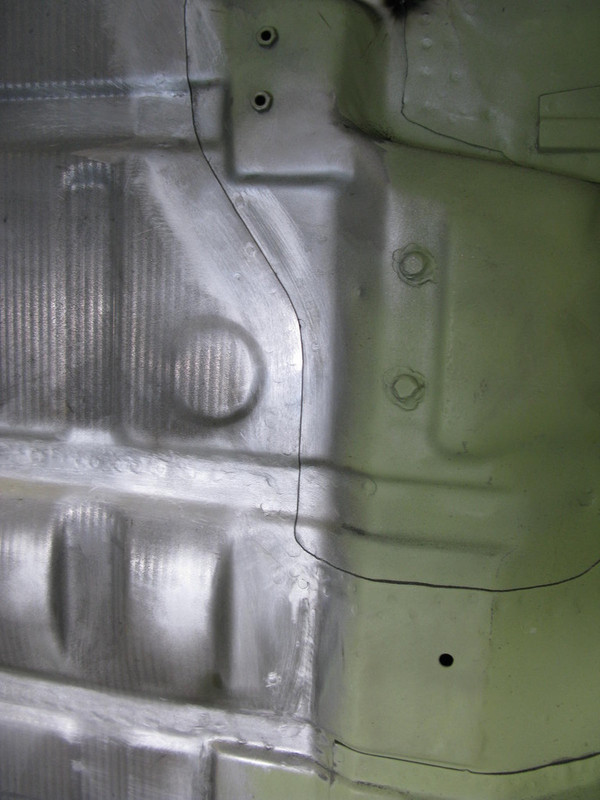
Barry already had a starting point with an old template, which he just remarked with tape where required. That showed him the shape of the blank, to which he added enough for a new mounting flange at the base, and enough metal to curve up to the vertical on the outside.
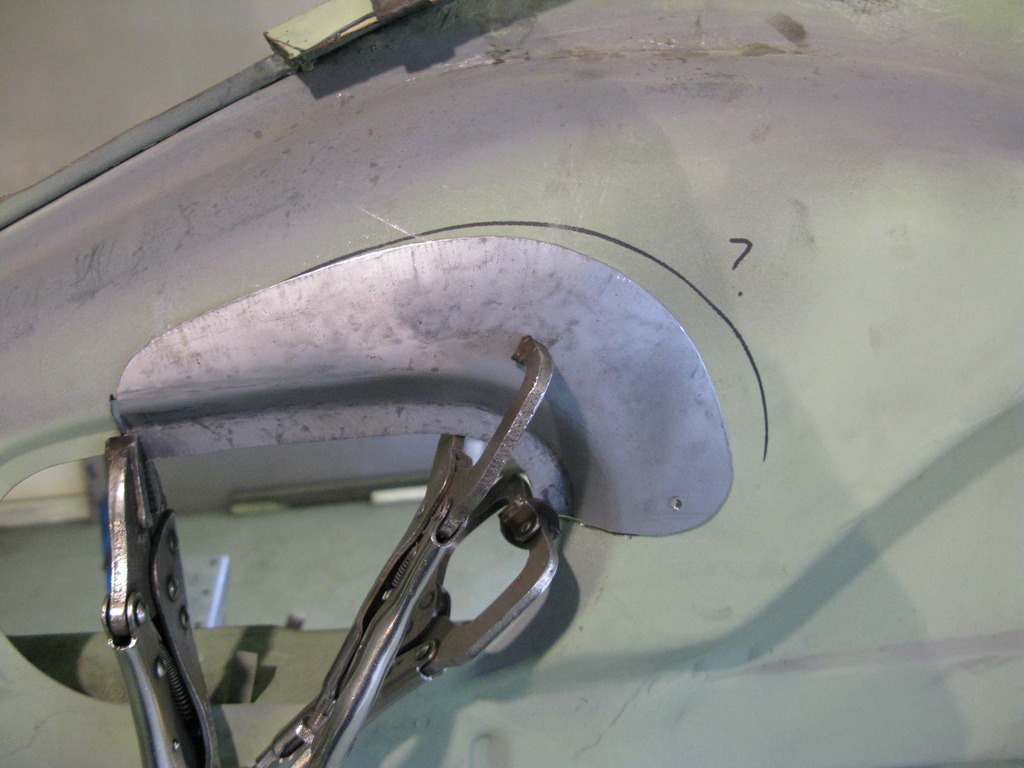
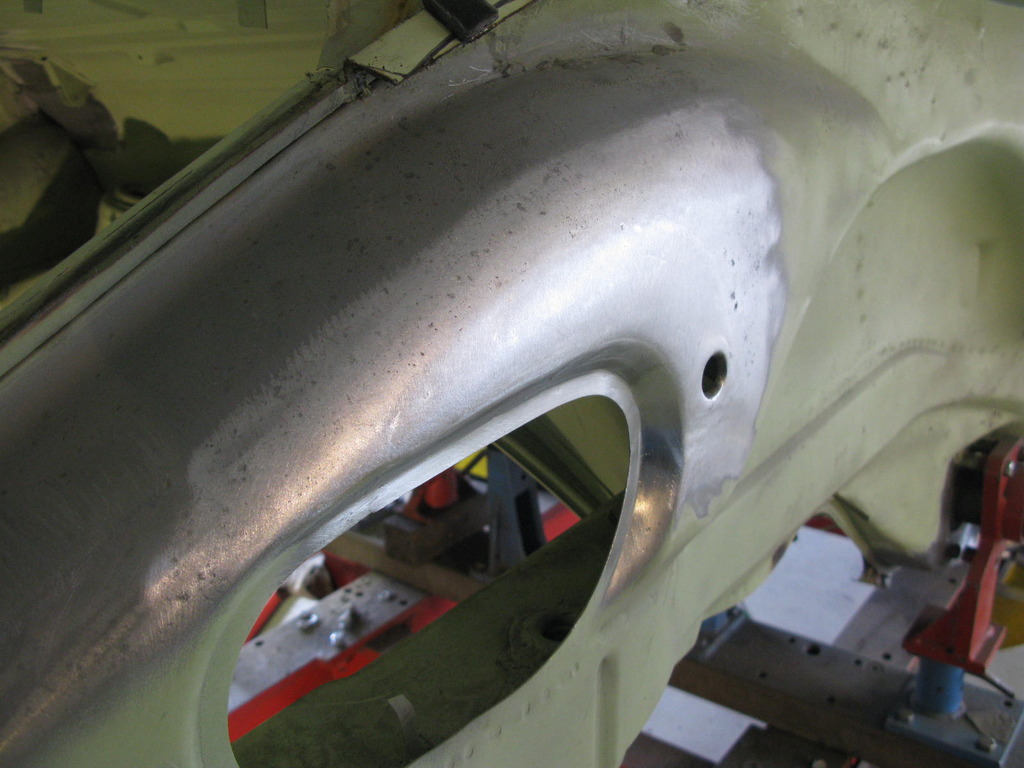
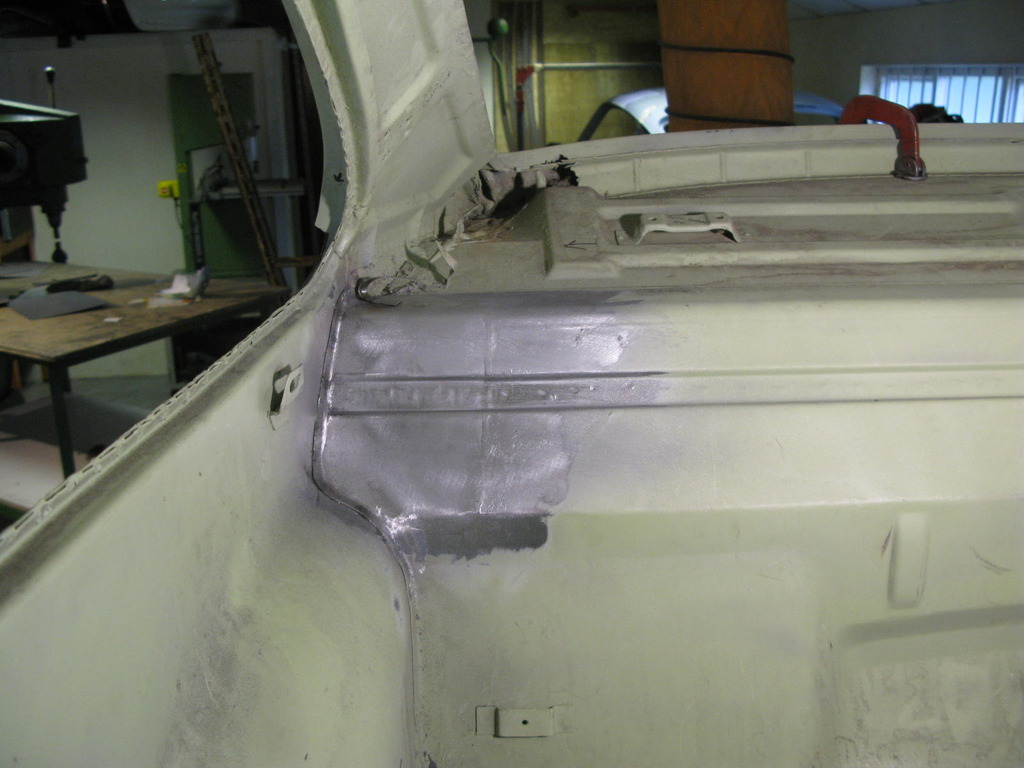
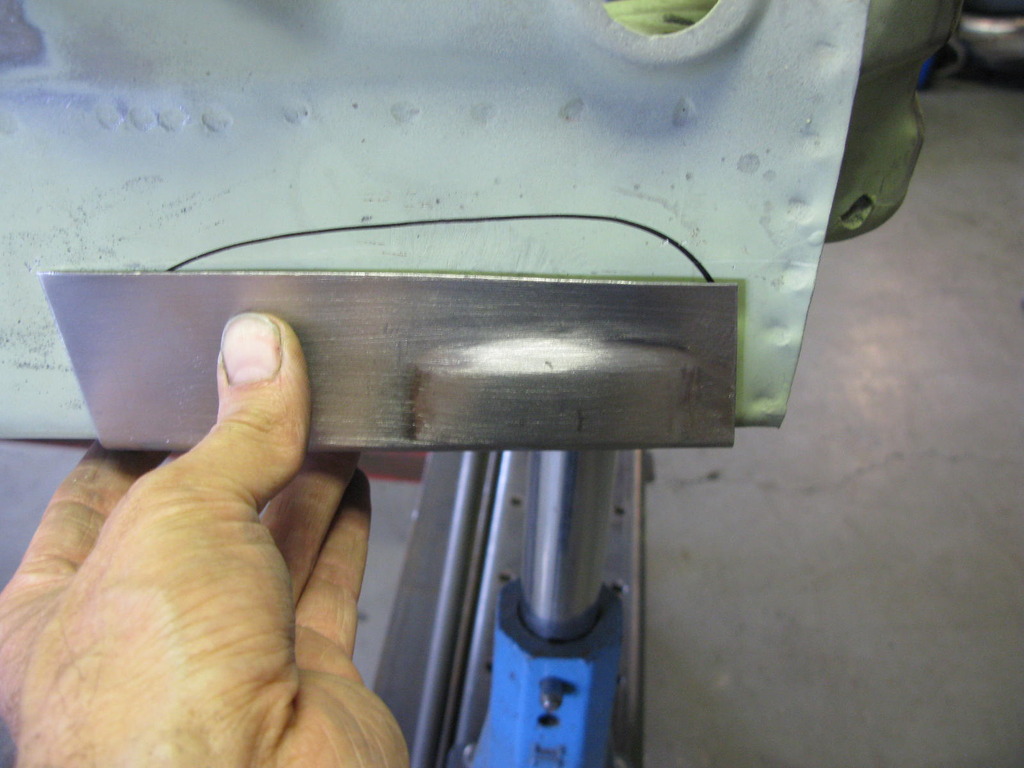
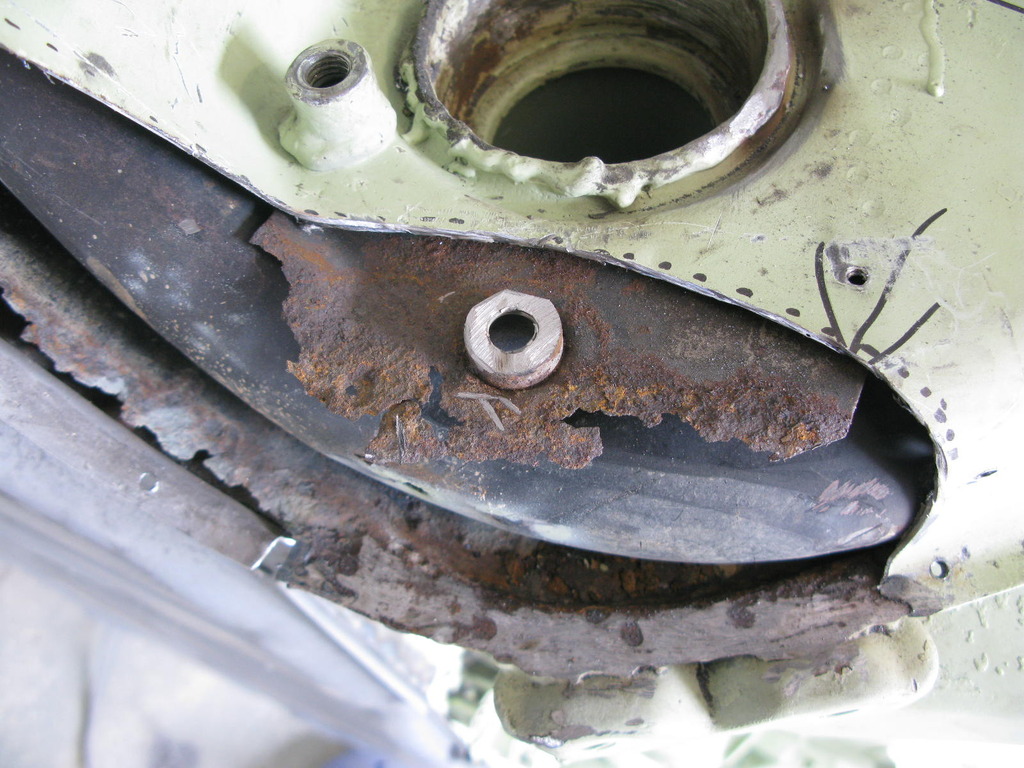
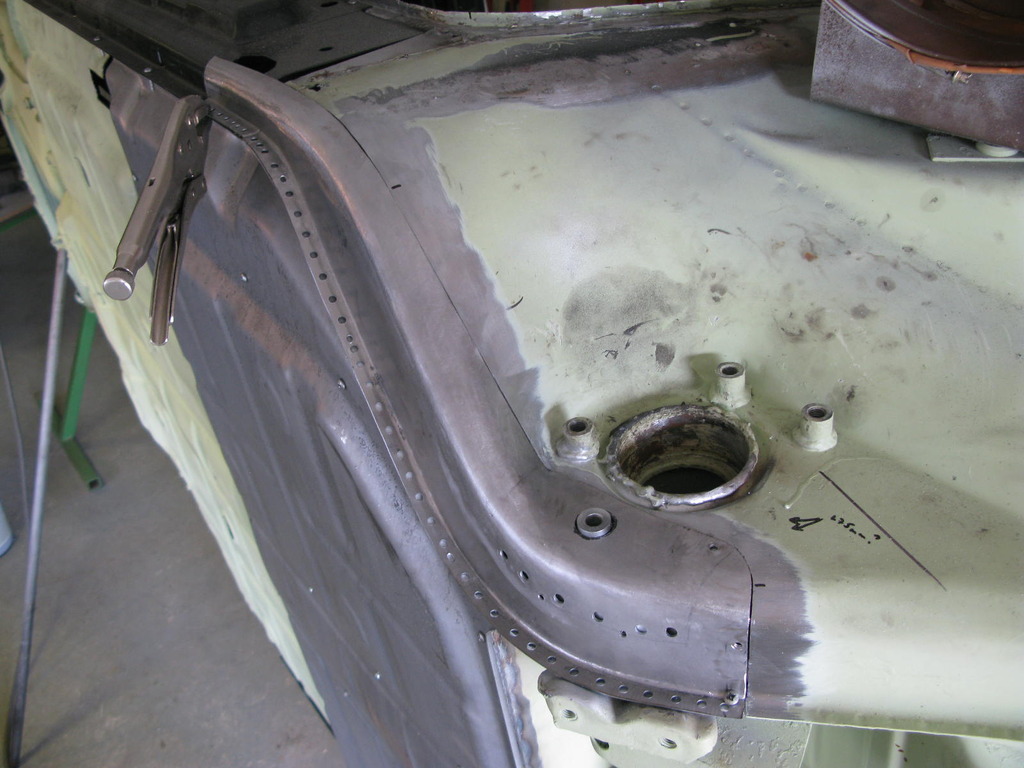
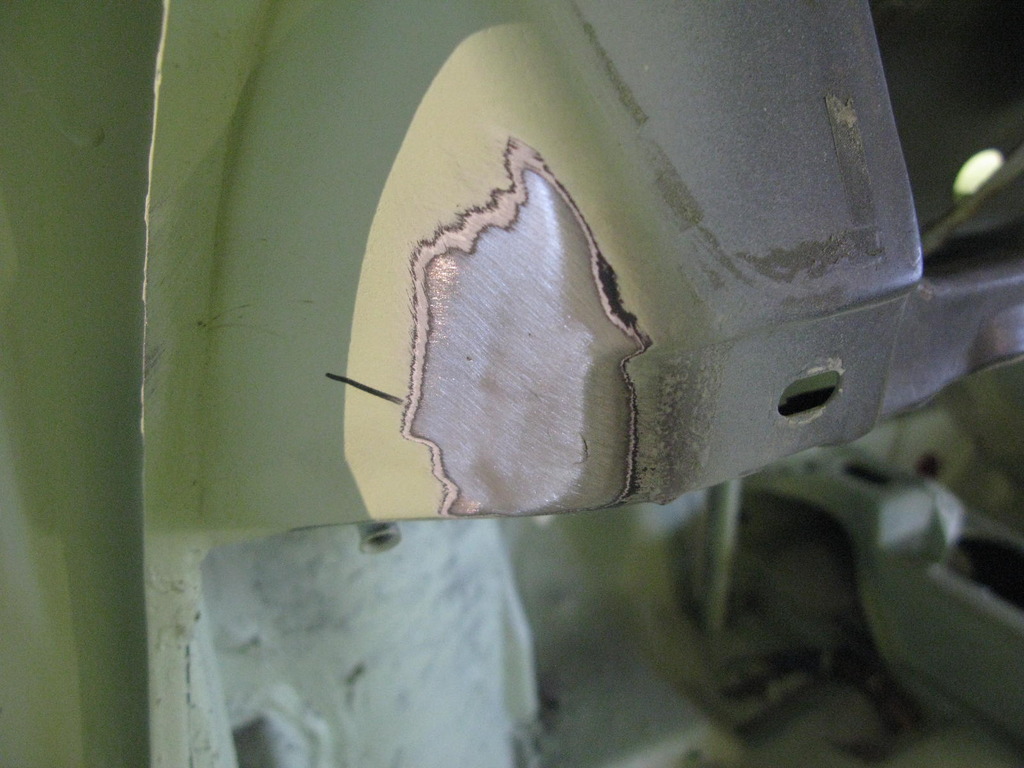
The repair panel was finished with curves to blend into the remaining inner wing. With this done, the two could be scribed together, and another bite of inner wing removed, exposing the failed reinforcing area.
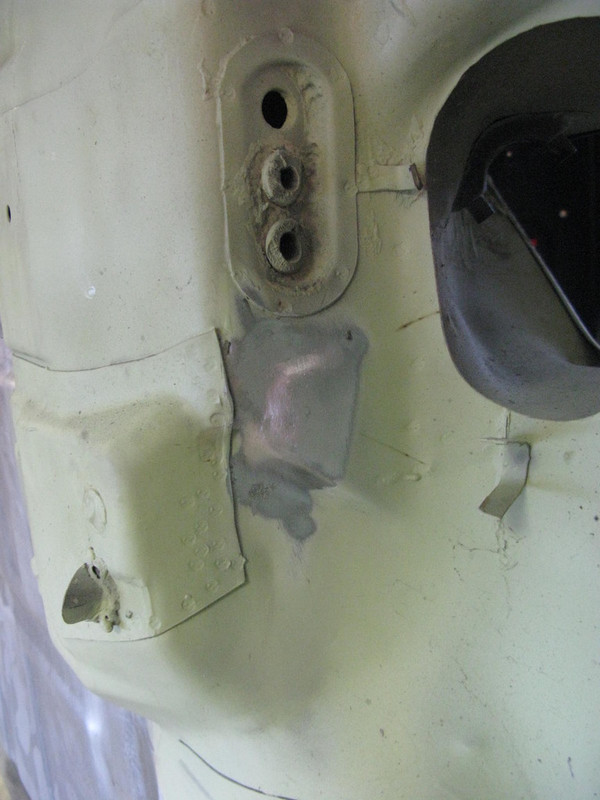
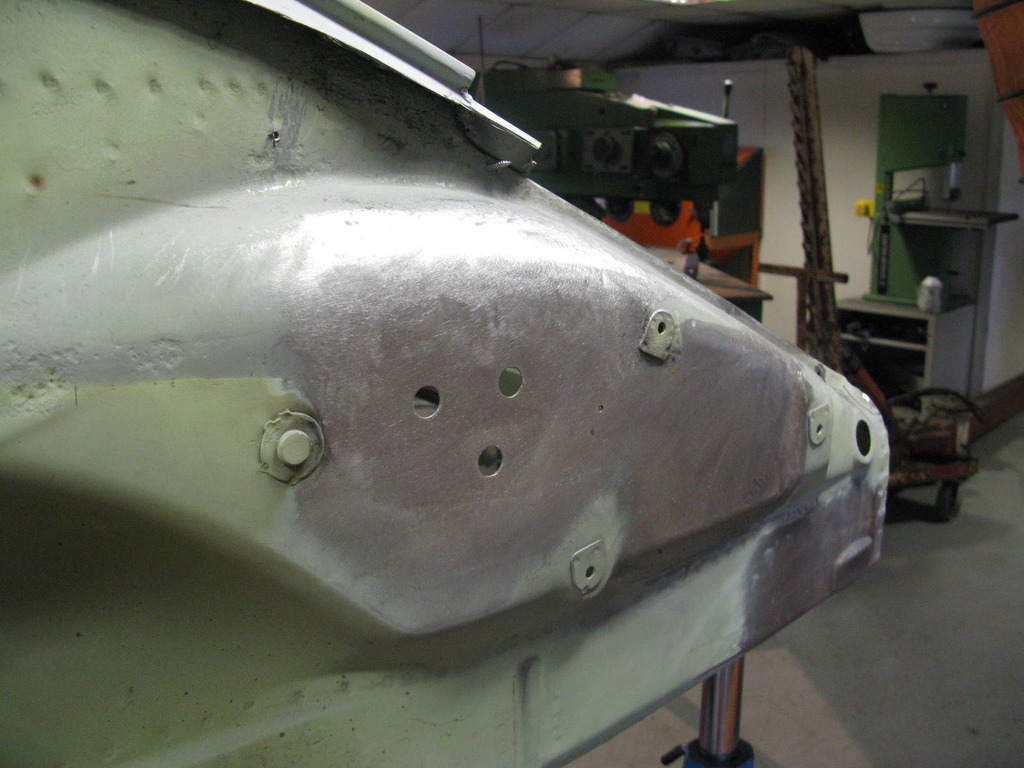
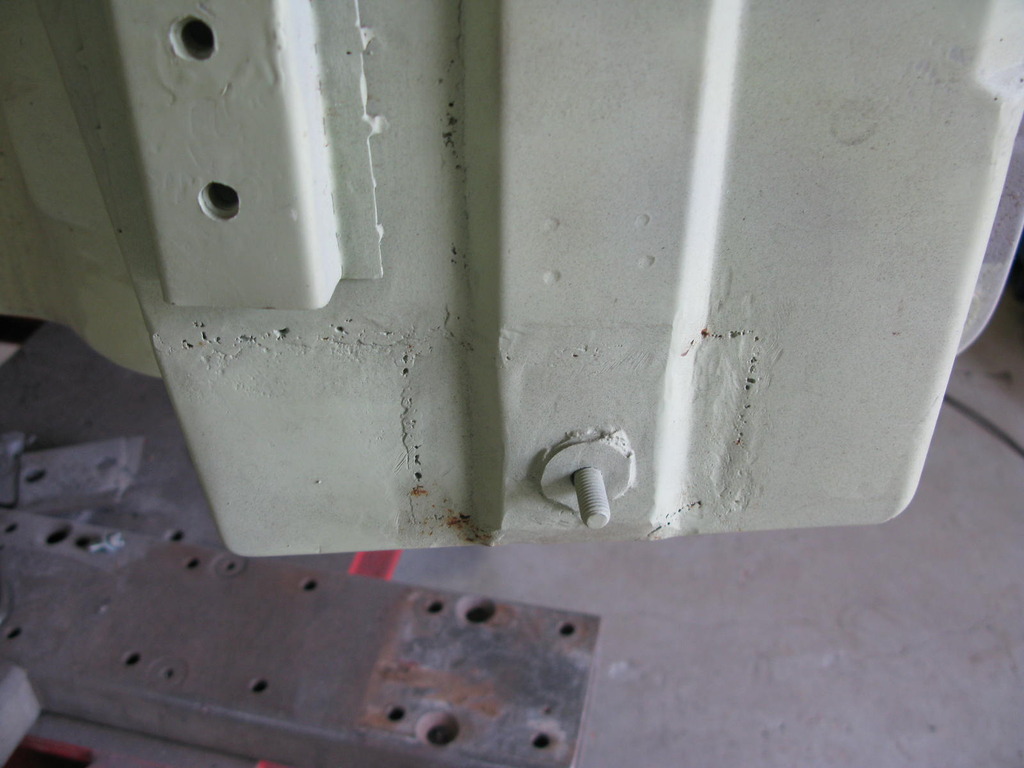
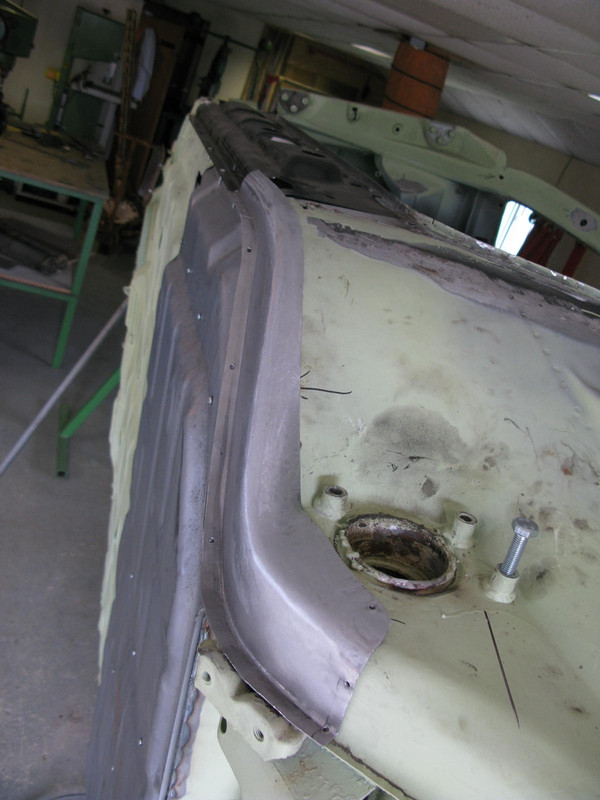
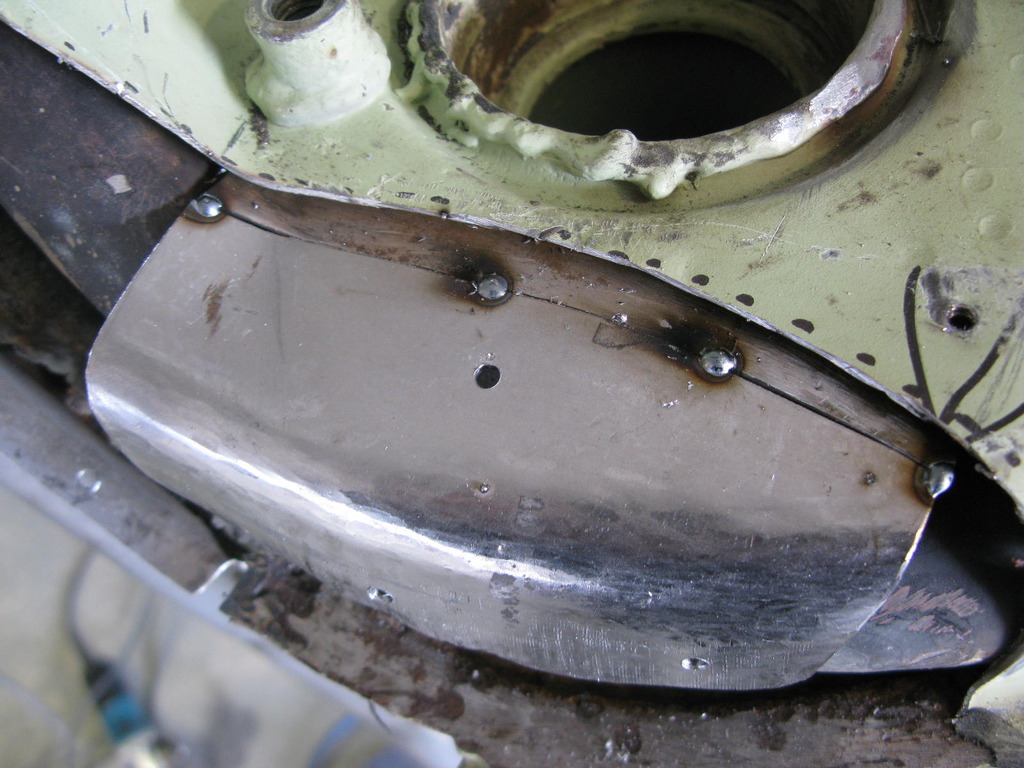
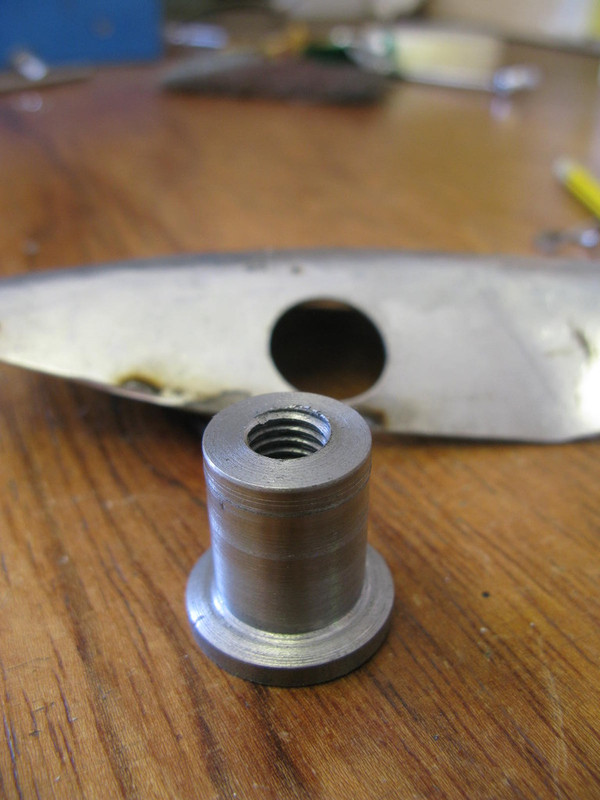
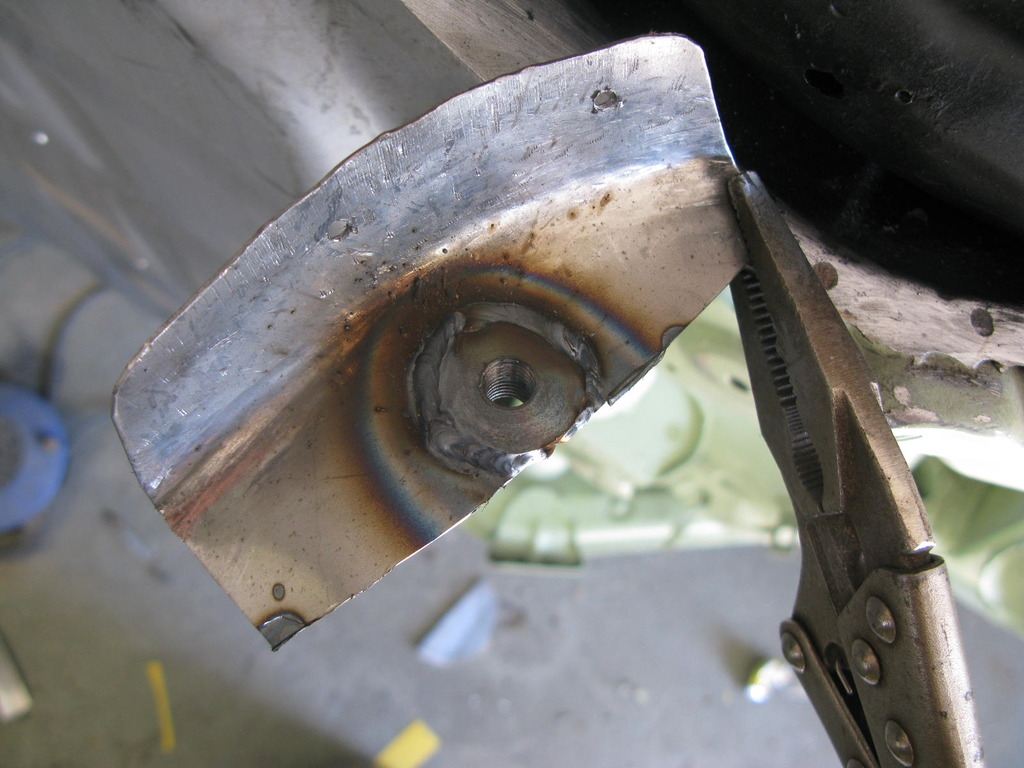
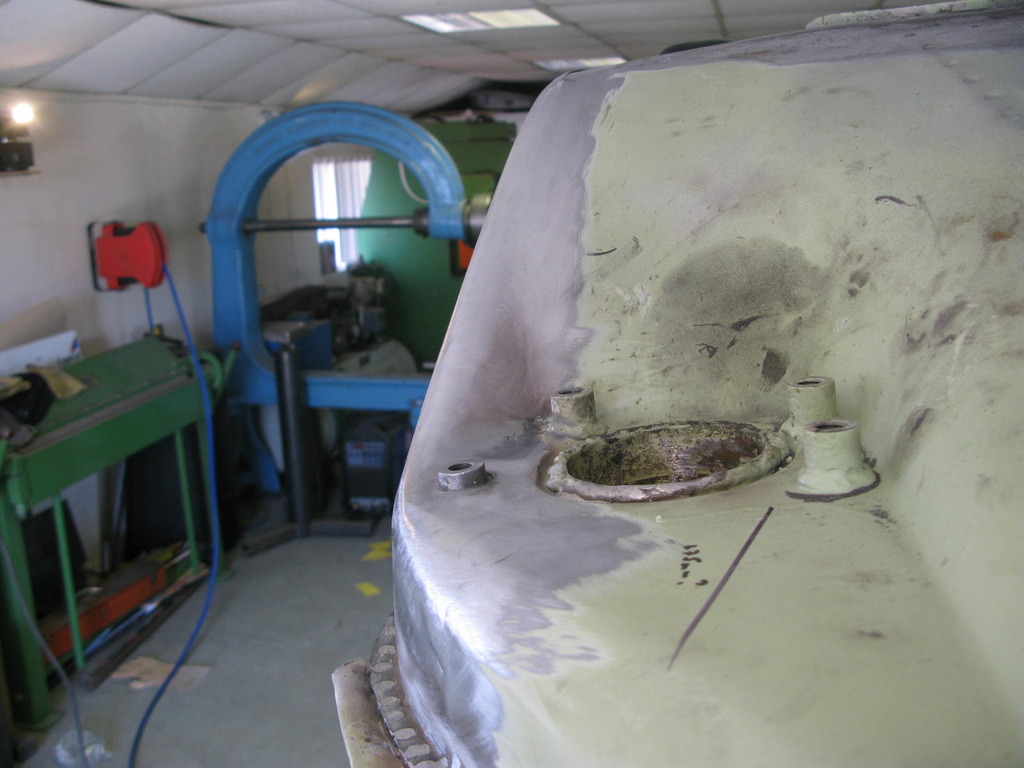
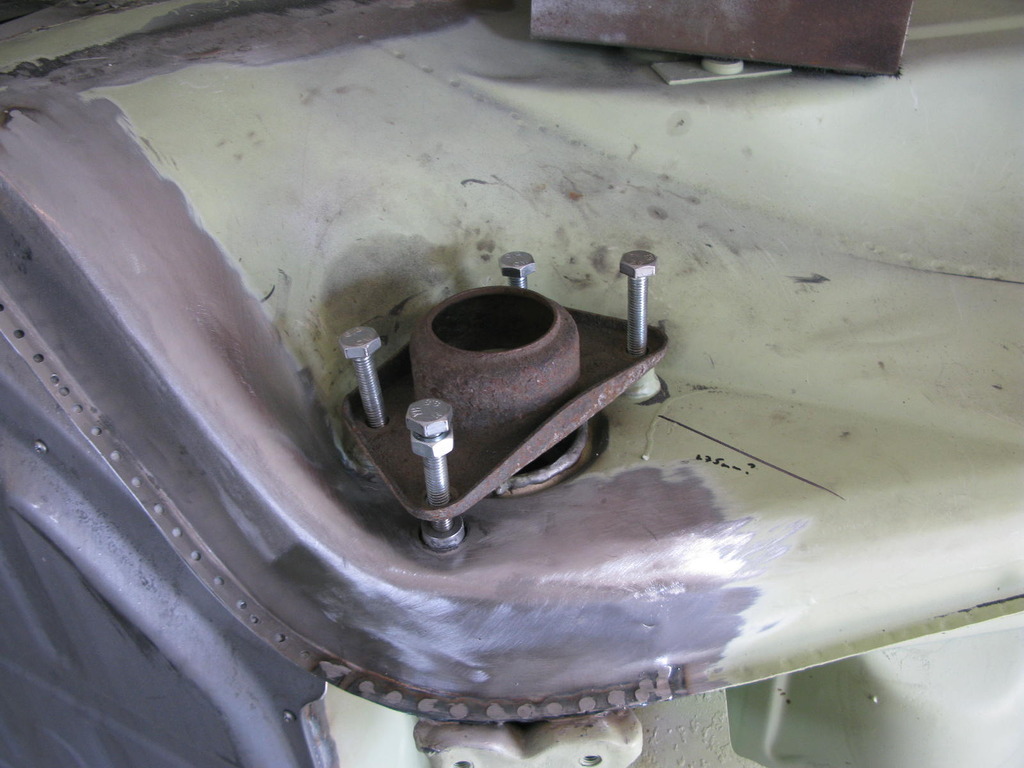
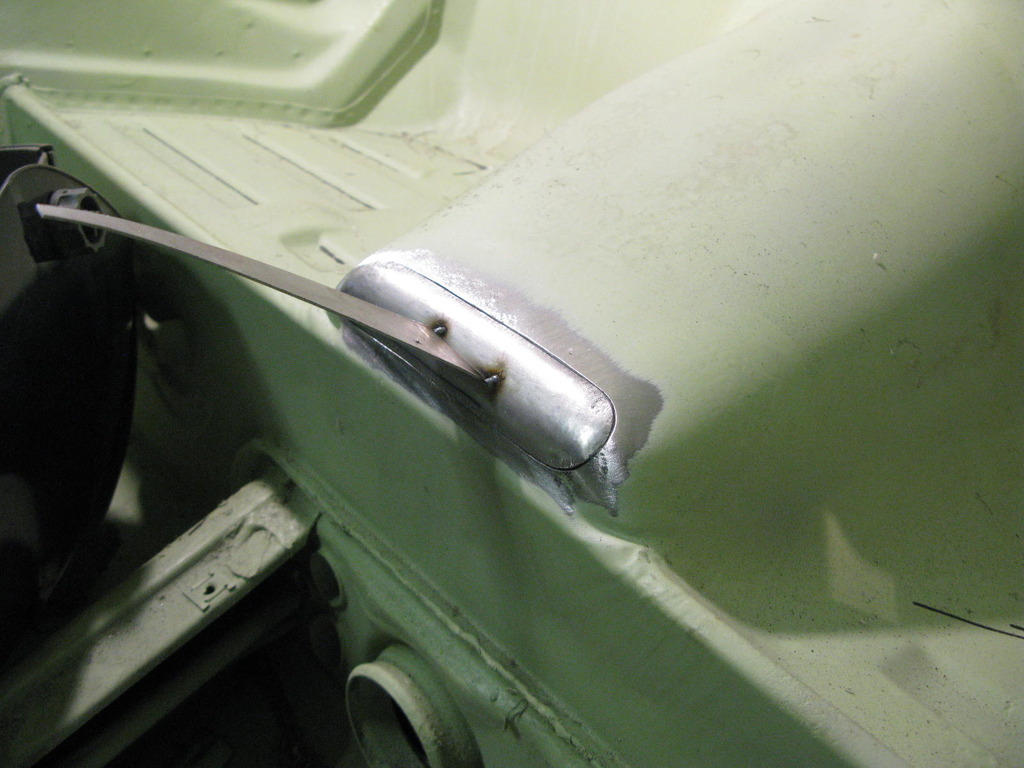
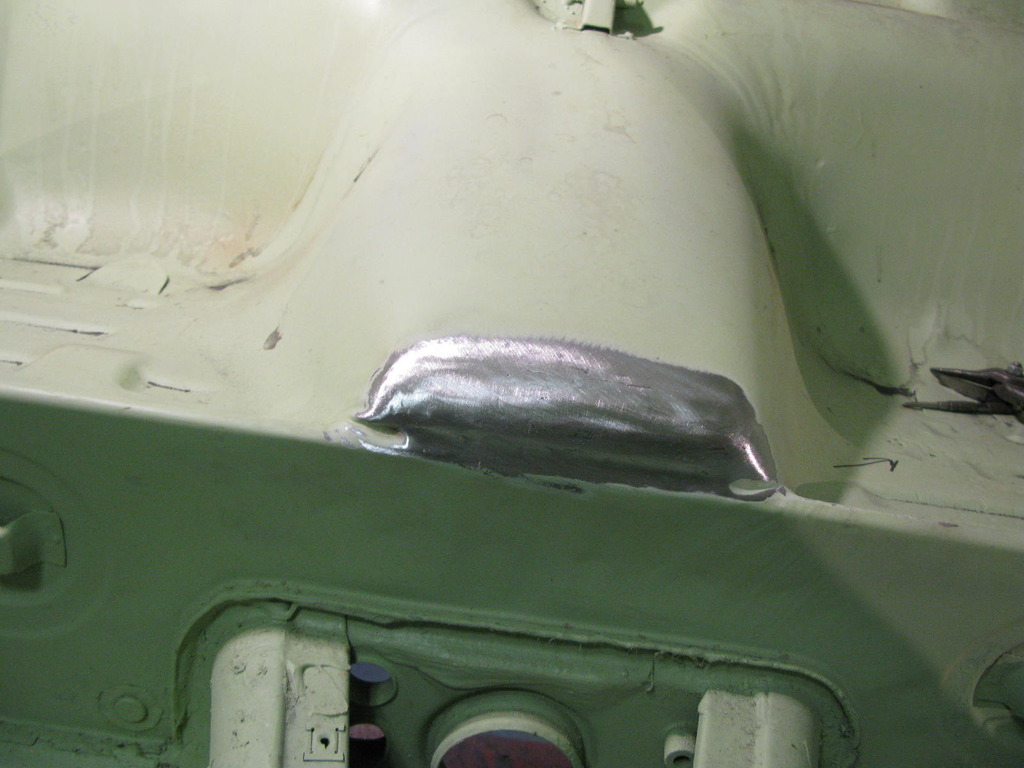
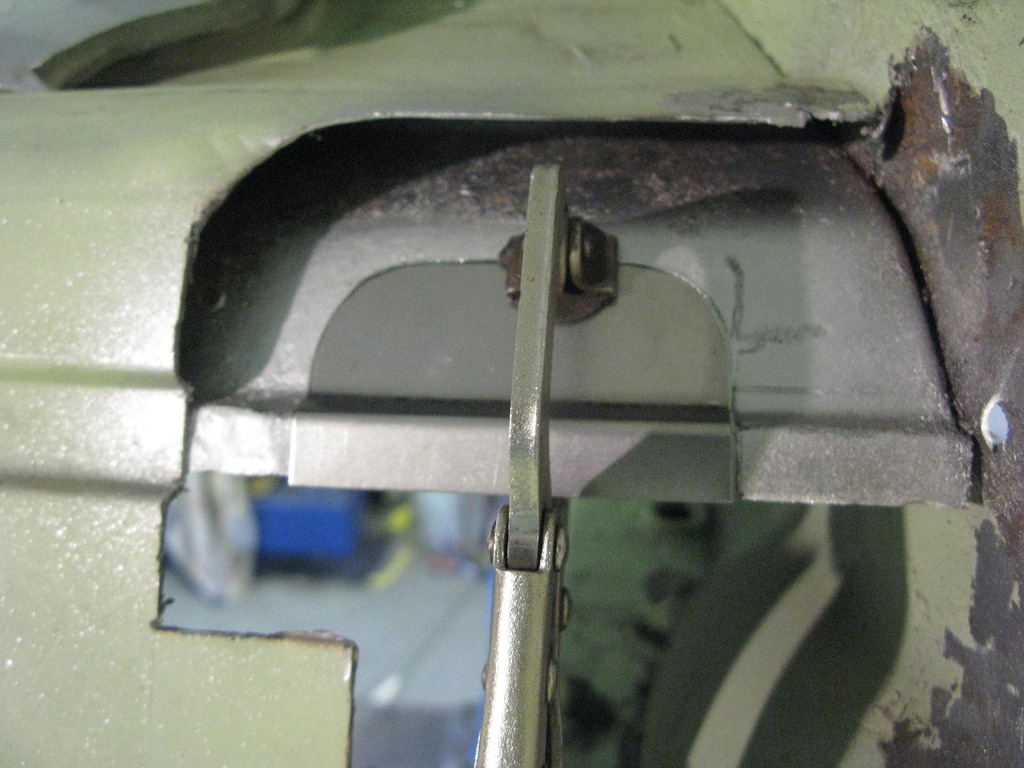
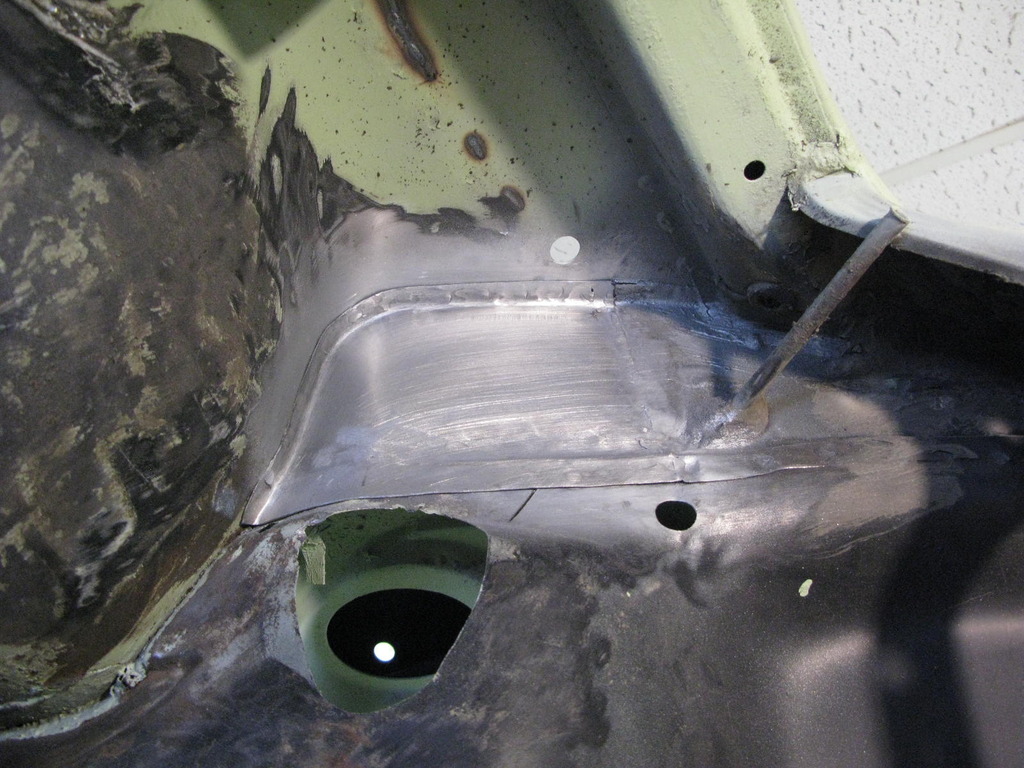
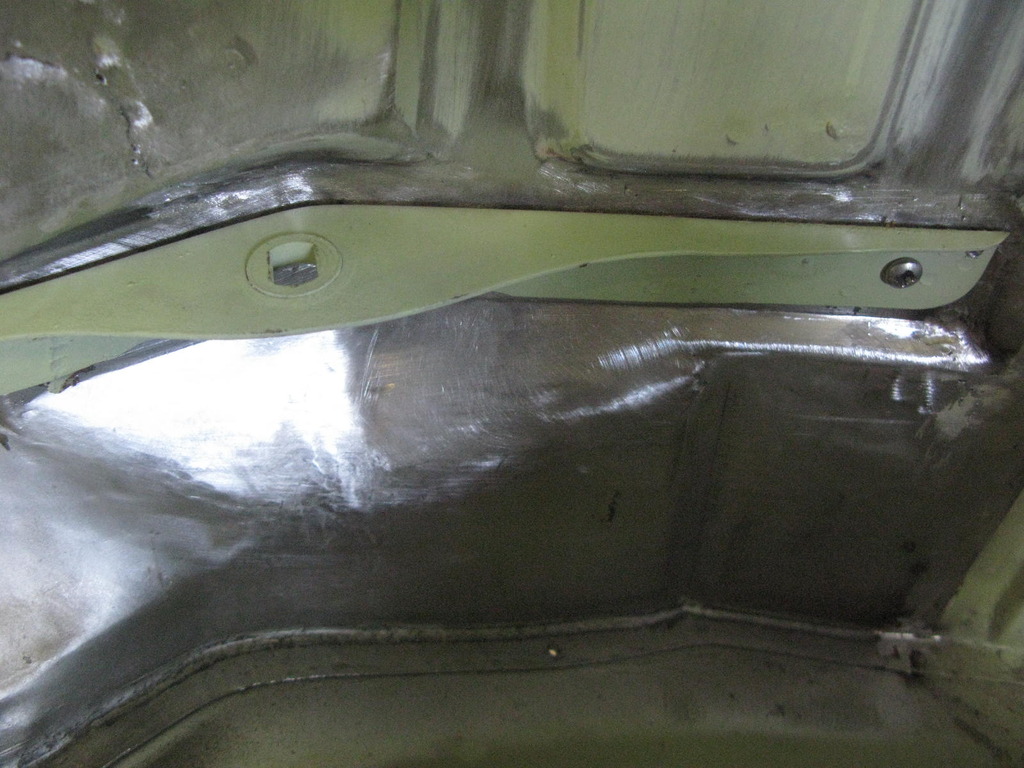
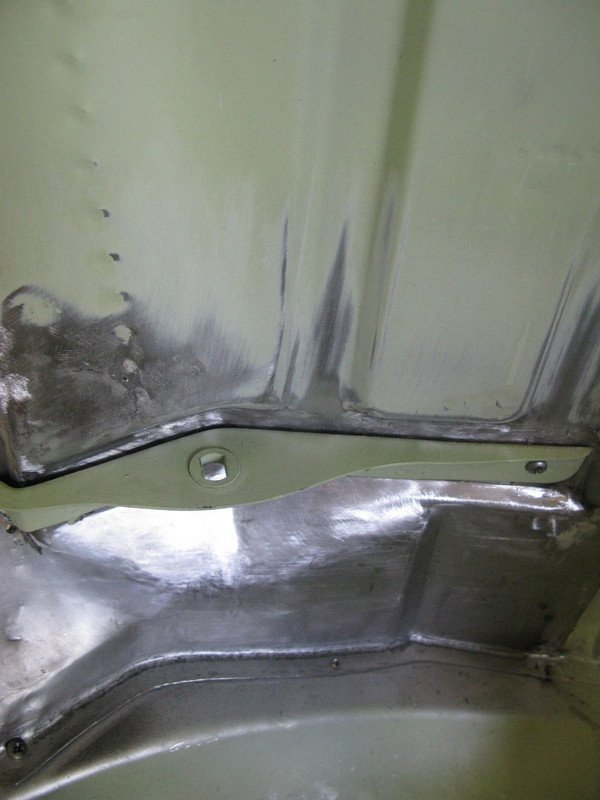
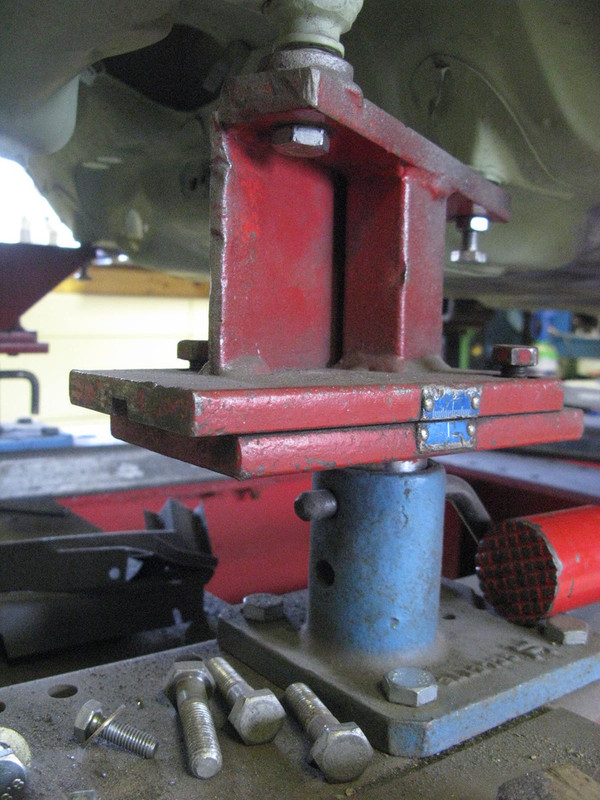
A new reinforcement base was made, and a new torsion tube cover bolt socket turned up over-length to allow for cutting down once the sheet metal was tacked in. The socket was made from EN8 which is a fairly strong steel which won't micro fracture when welded. Onto the reverse of it Barry turned a top hat section, in order to spread the loading out a little further than original as you often find stress cracks in this area.
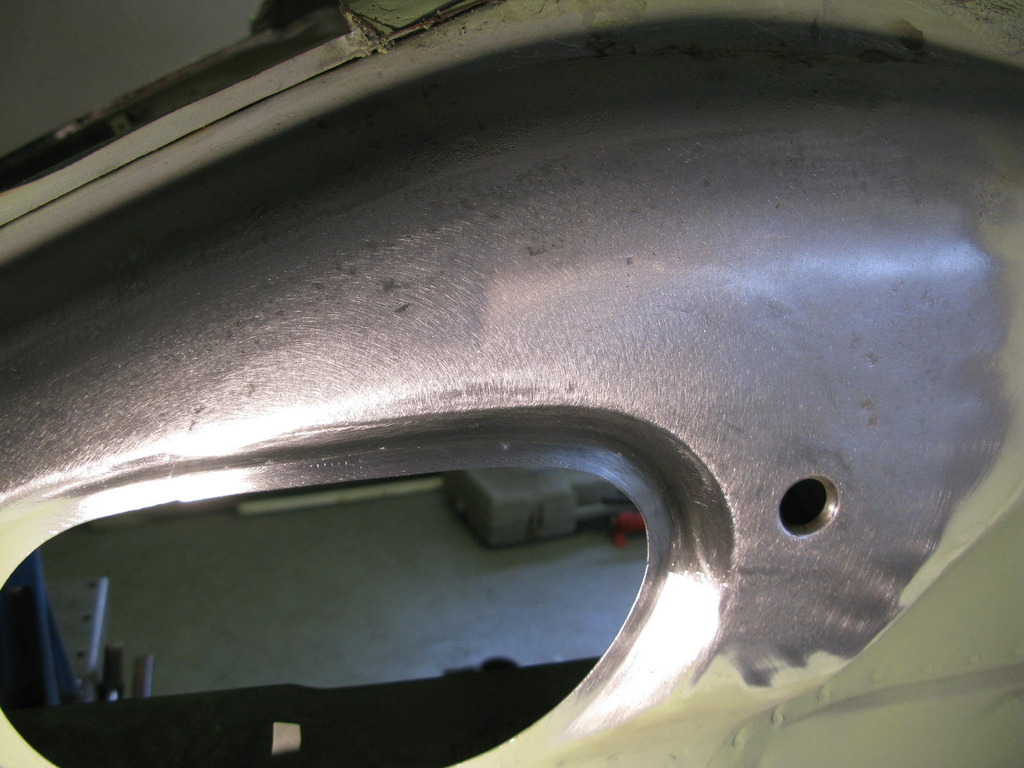
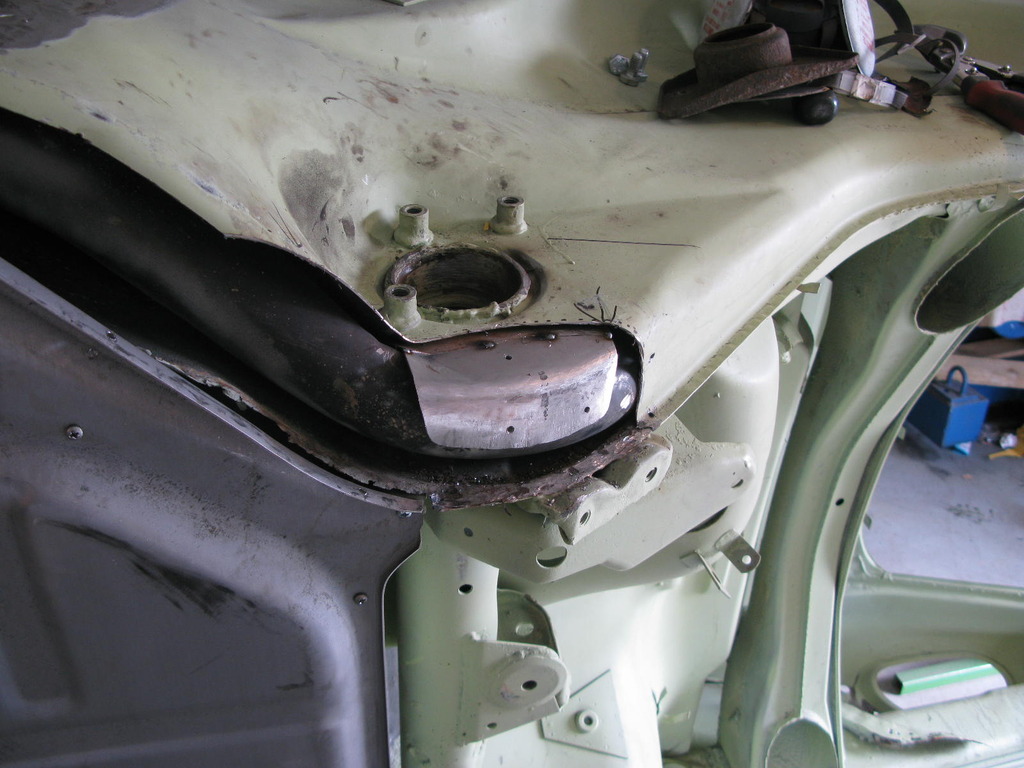
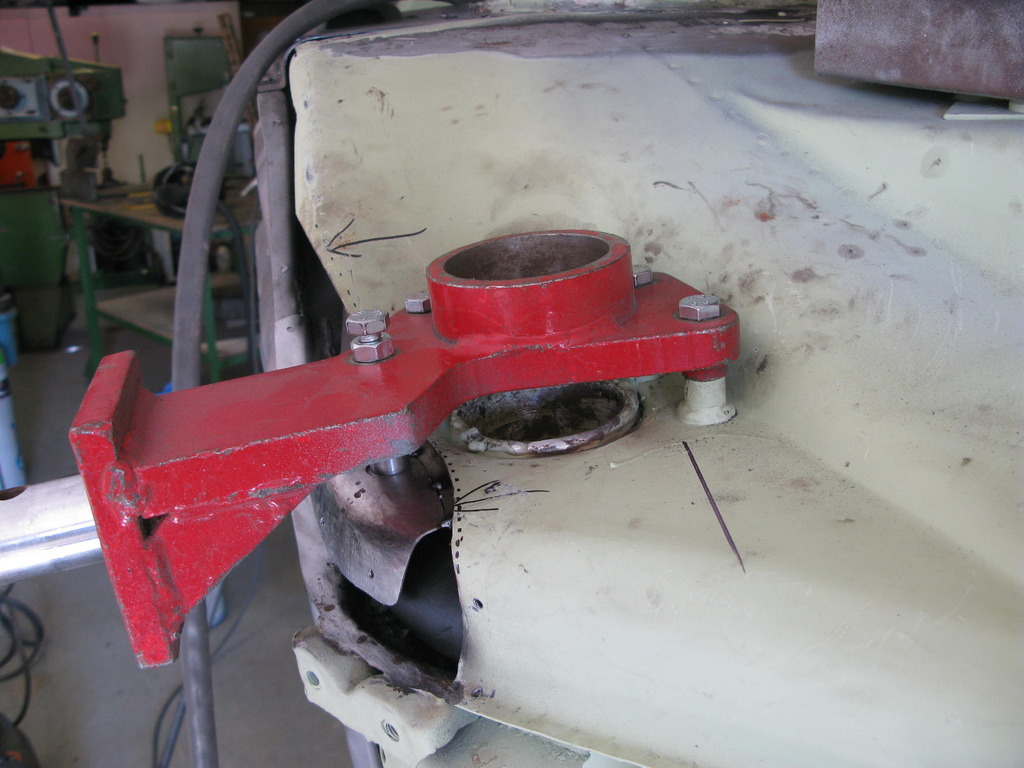
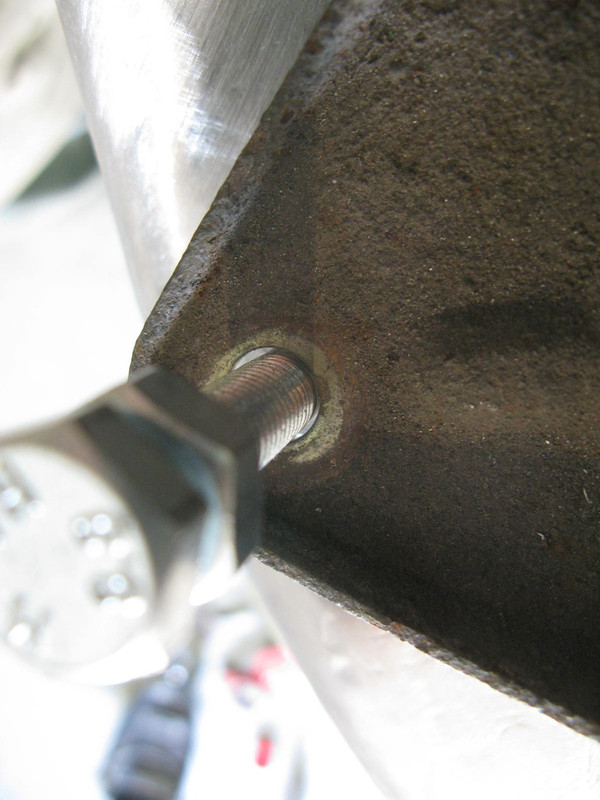
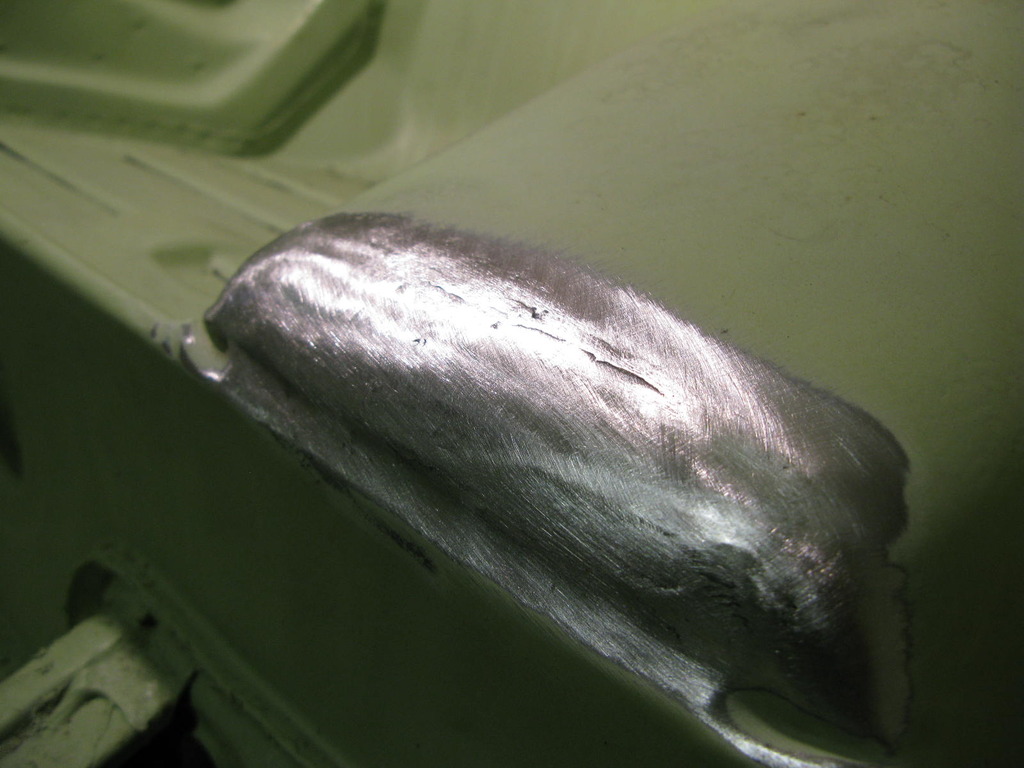
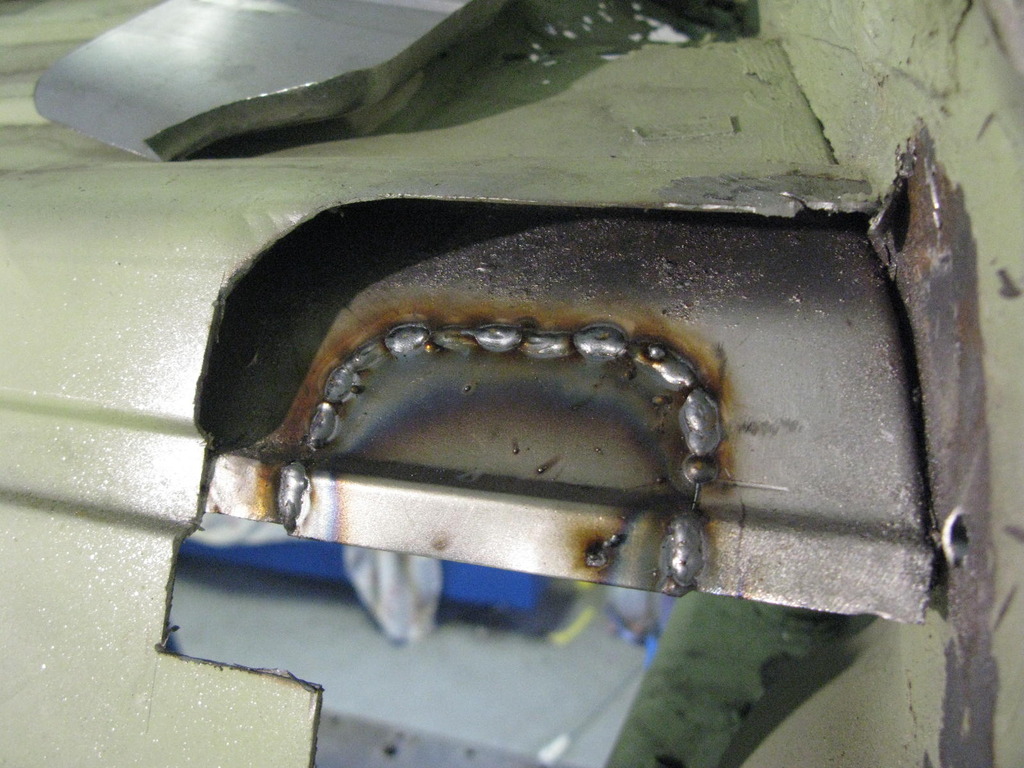
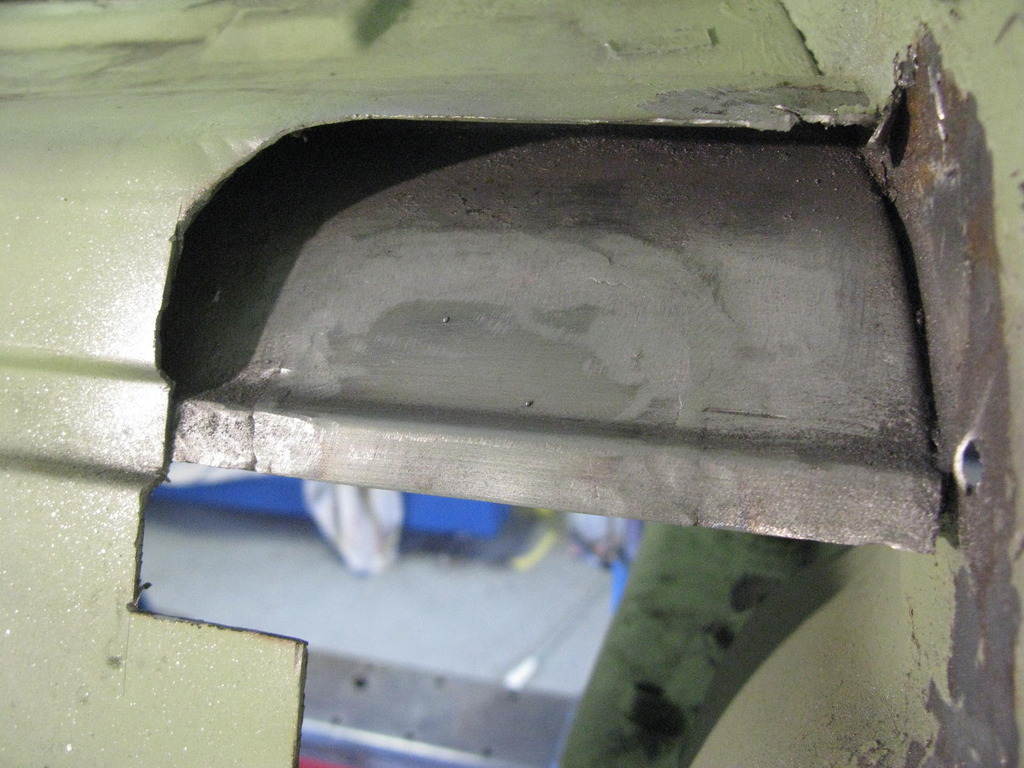
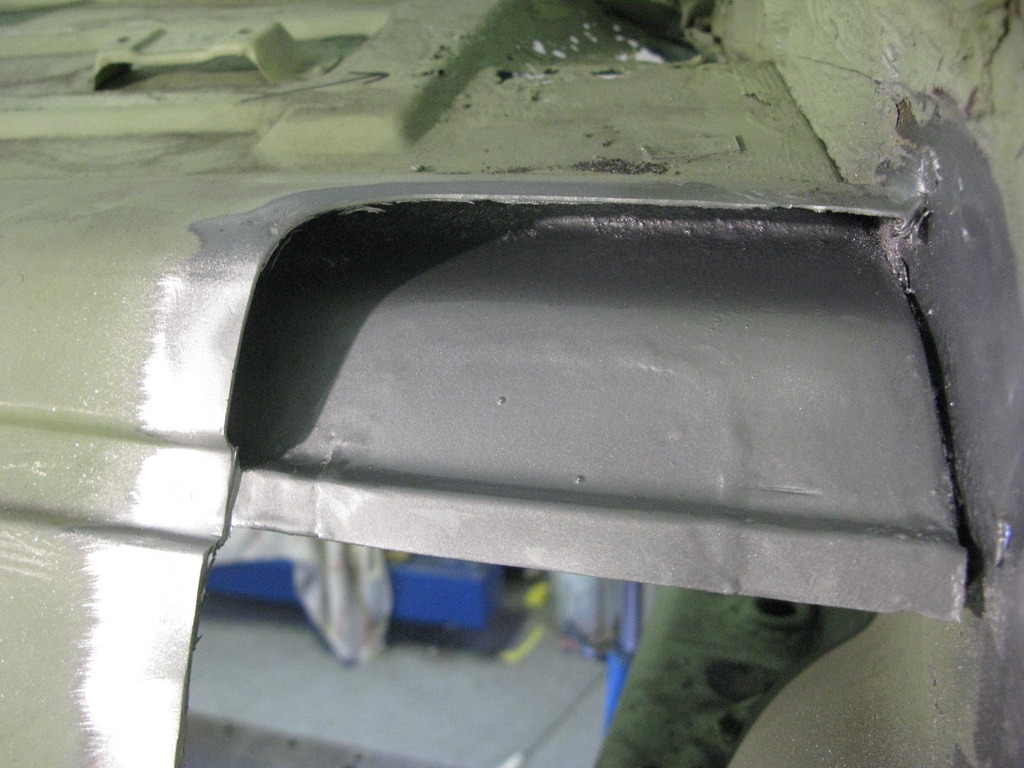
There then followed some tricks to get the socket into a place that was the correct height and orientation so that it would fit the jig bracket and his test cover. He got there in the end, and with it welded to the reinforcement, and that assembly welded to the car, the inner wing outer repair could be tacked in before being fully welded. Well not quite fully welded as obviously he can't weld to the floor yet, as that's coming out again, and also he's replacing an area to the front of the inner wing as well, so he will do a final weld session much later on.
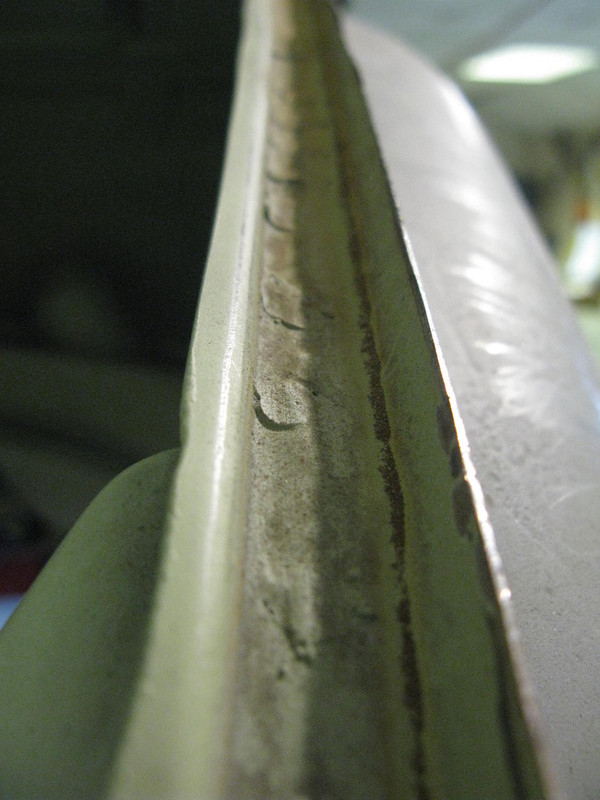
Also, he repaired the second inner skin that shares some of the stresses with the inner wing skin you normally see.

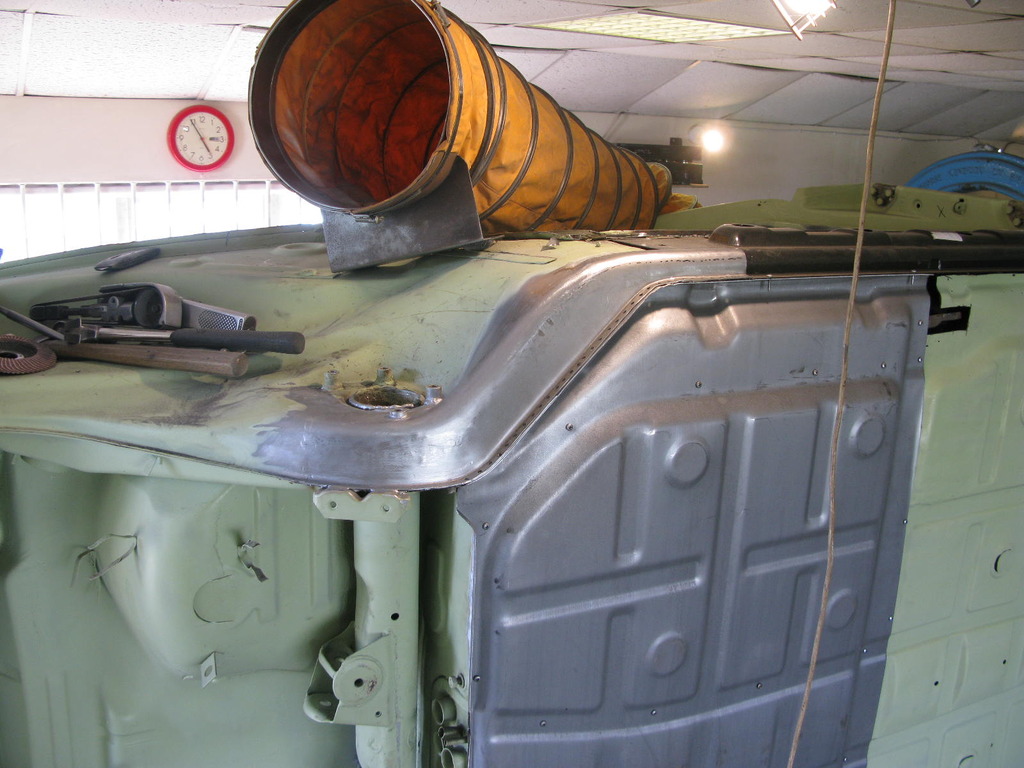
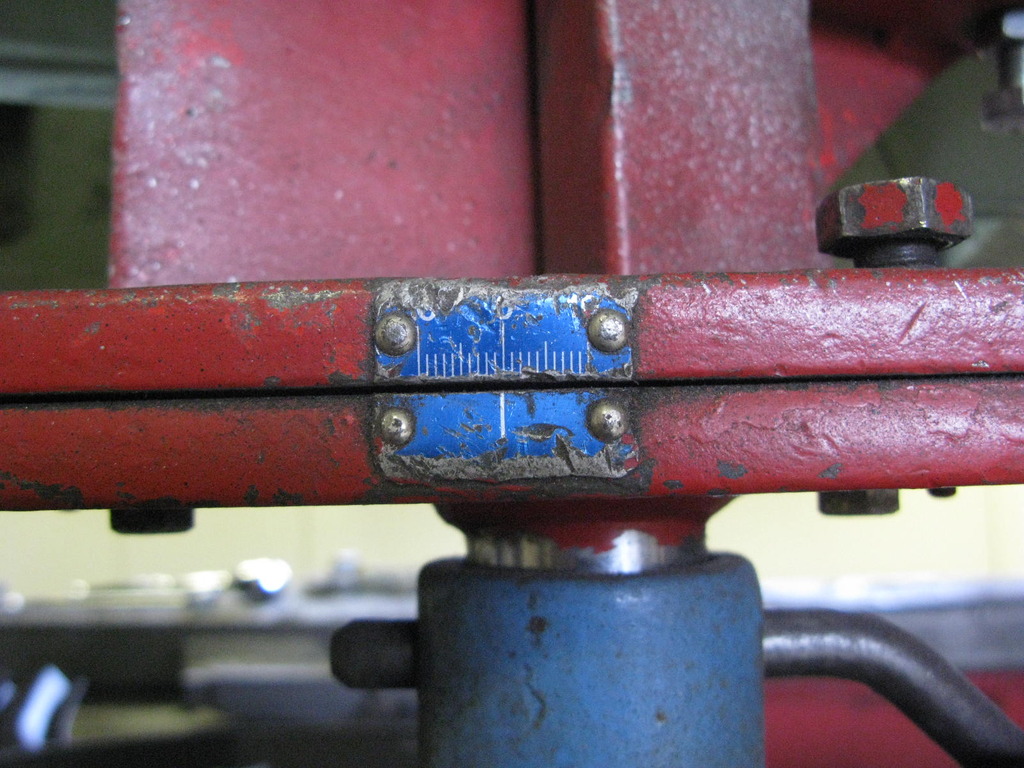
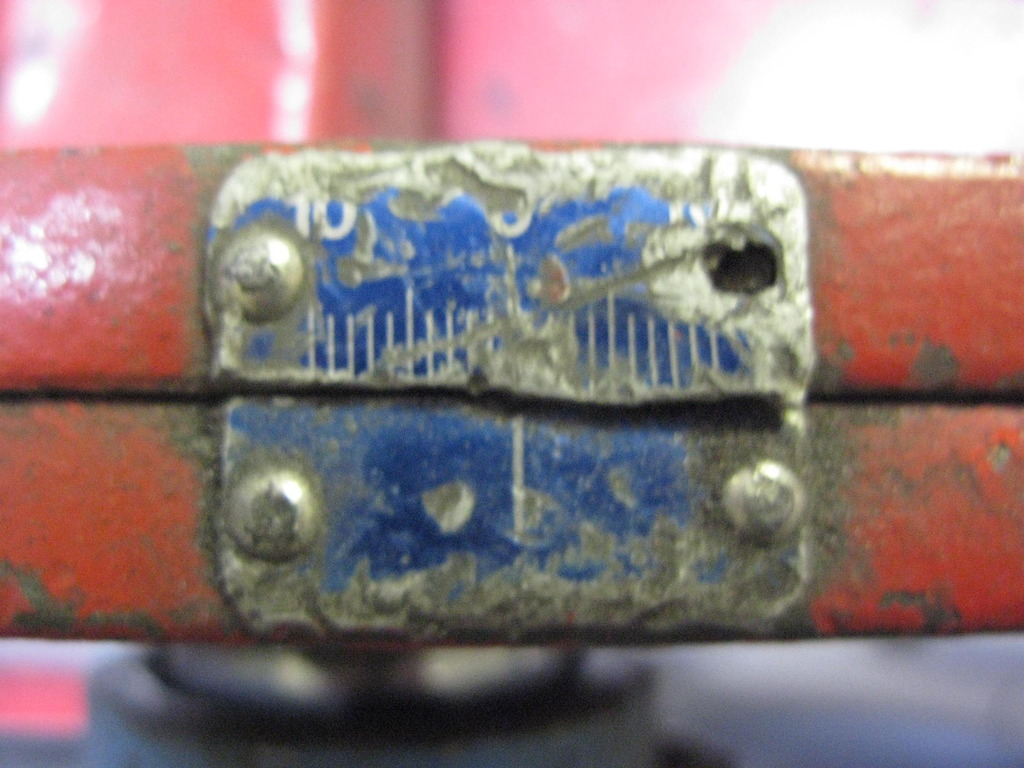
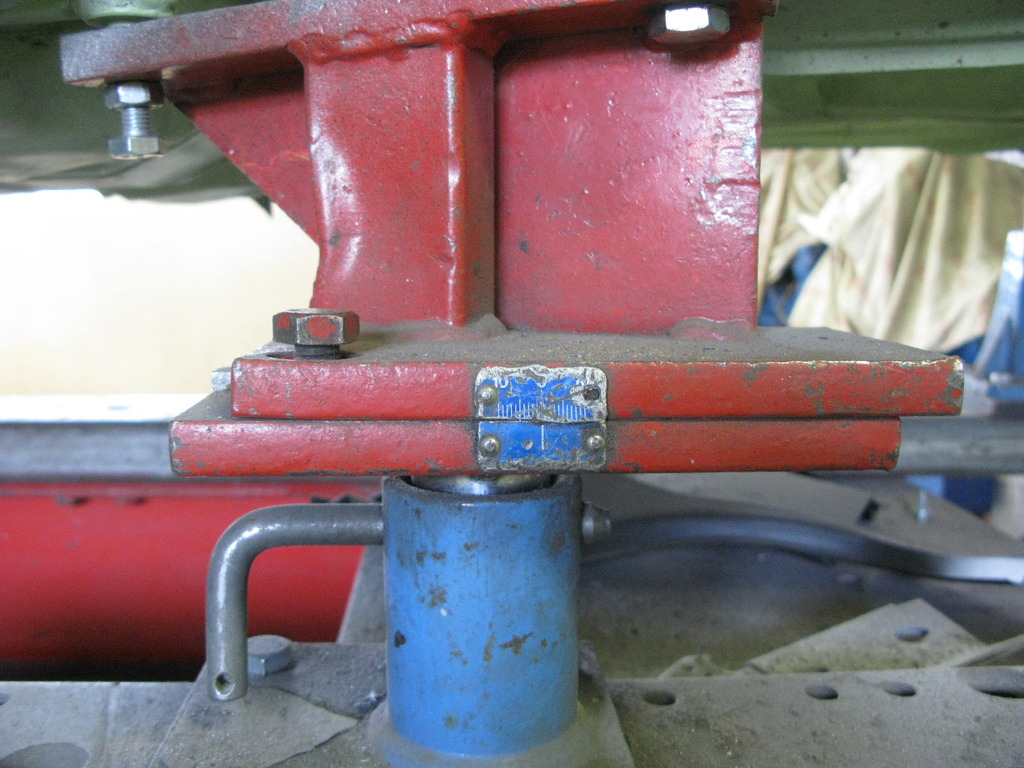
 13. Torsion tube mount cover area.
That's all for tonight, News Night's about to start....


 l]
l]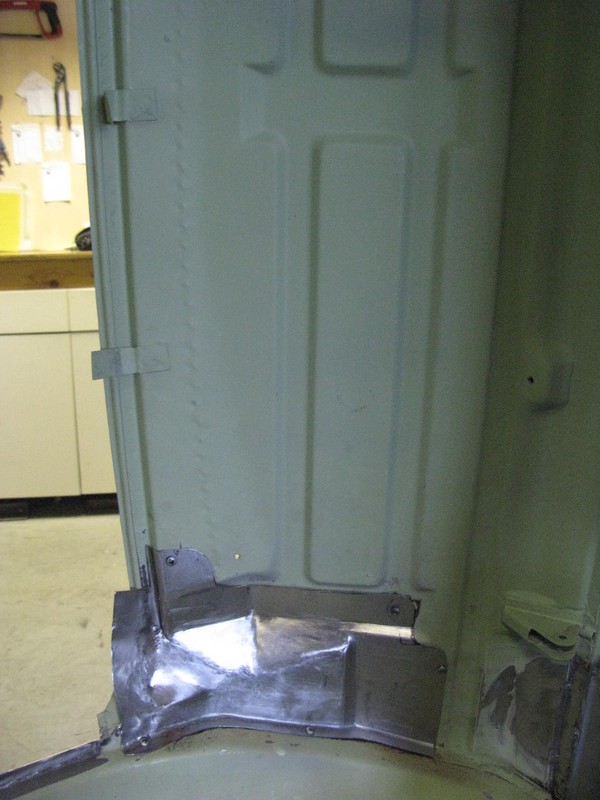

 ]
]