Parts washer project
Posted: Fri Feb 27, 2009 3:07 pm
A friend asked if I wanted an old gas station parts washer, all I had to do was send someone to pick it up. It was exactly what I remember working at while working at my uncle's gas station while paying off my fluid swap mishap on my mother's 63 Tempest.
My crew picked it up and stashed it in my storage building for about a year before I decided I wanted to get it functional again. Unfortunately, none of us remembered to take the fluid out of it before storing it. More unfortunately, it appears that the fluid was mostly water that had fostered the conditions for a major biological science experiment to take place. Kind of a primordial soup, so to speak.
After removing the lid and power washing it it was still pretty disgusting, but it didn't leak, and that was a plus. It really needed to be sandblasted and refinished.
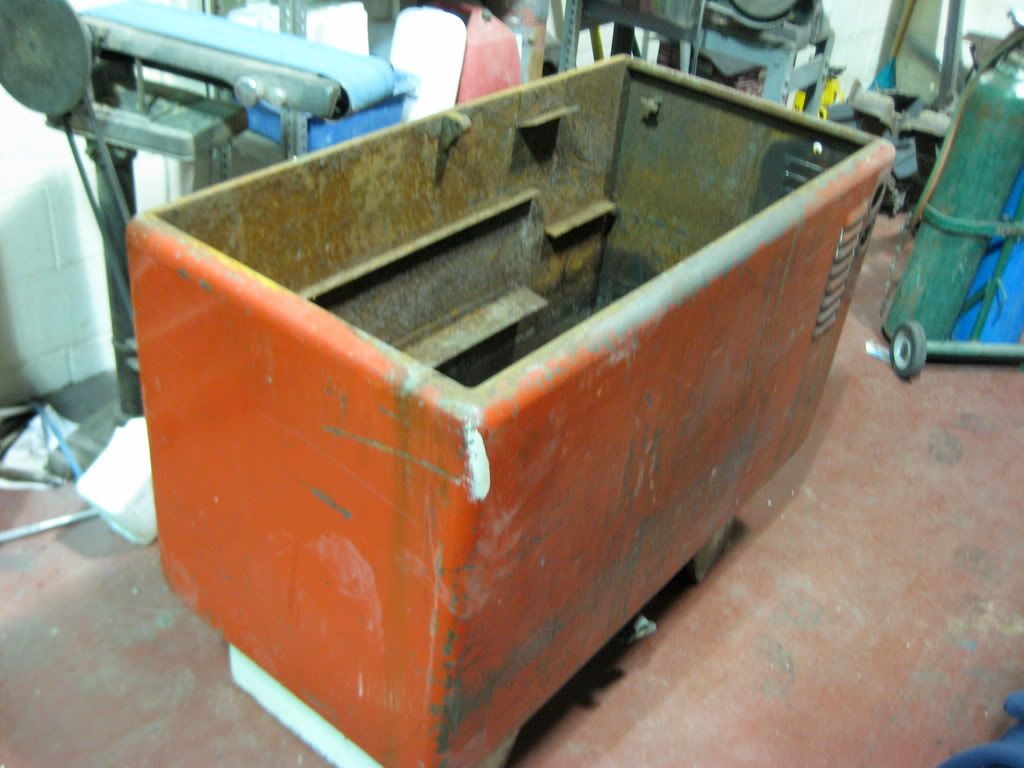
Since the cabinet was to big for my sandblaster booth I took it to Michigan Sandblasting where I got an estimate to blast it to white metal for $225.00, which I reluctantly agreed to. I thought that that was pretty expensive. I got back to my shop and did a web search and found that new power washers were only $150 from Harbor Freight or Northern Tool. I called and cancelled the job and went back to pick up the cabinet. I figured I'd put a plywood top on it and use it as a rolling workstation.
I told my friend Shawn that I had killed the restoration project in favor of getting a new one. He asked me which one I had selected and I sent him a link. Little did I know that my wife had been bugging him for ideas about what to get me for my birthday, which was two days away. I came home to have my wife greet me with an envelope in hand. Inside was $150 in cash and the printout of the link I had sent Shawn. Glynette's always desperate for birthday gift ideas since my compulsive nature makes me just buy what I want with little time to mull over the purchase.
I went to look at a couple of parts washers and was not impressed. They were mostly knock-offs of commercial units made of very lightweight materials. Basically, one of those cases where you get what you pay for. It was then, with $150 in hand, that I decided that I could buy a whole bunch of blast media and pay Shawn's son James to do the blasting for me at $10 hr. The day he started was warm and he wore some lightweight clothing, refusing the throw-away body suit I offered. That night he found sand in places he didn't know he had. In the second session he took my advice and covered up sensitive areas. It took him 8 hours total and used 6 bags of sand at $15. each. I now had a clean cabinet for $170.
I used POR-15 to coat the inside back and legs of the cabinet.
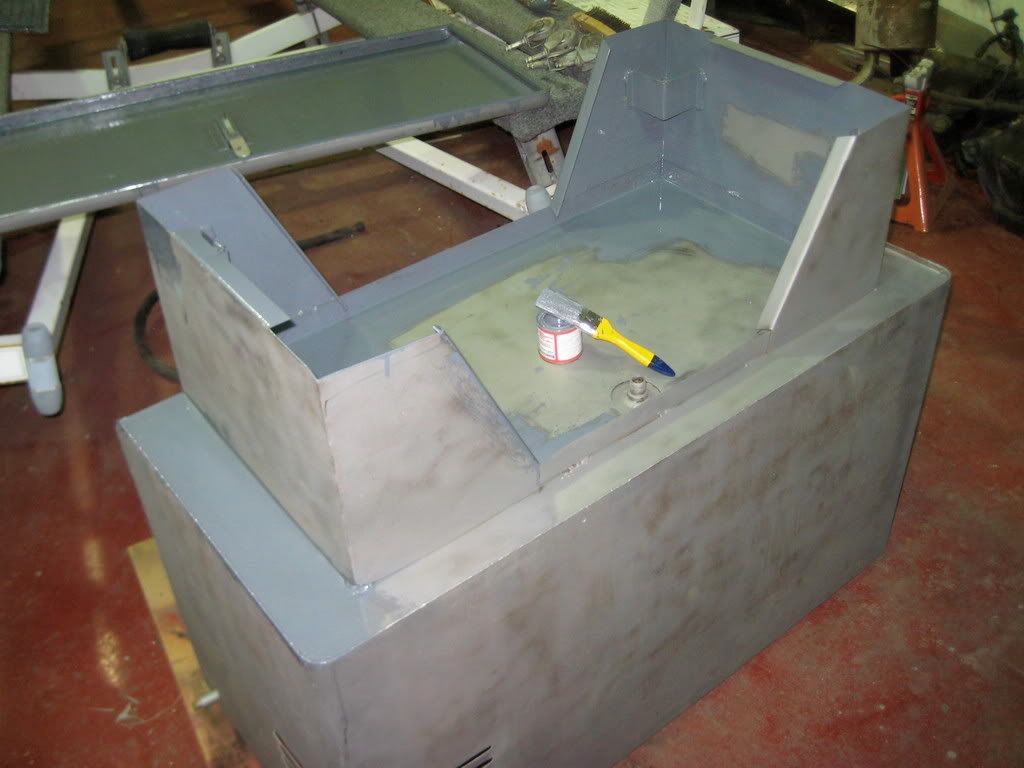
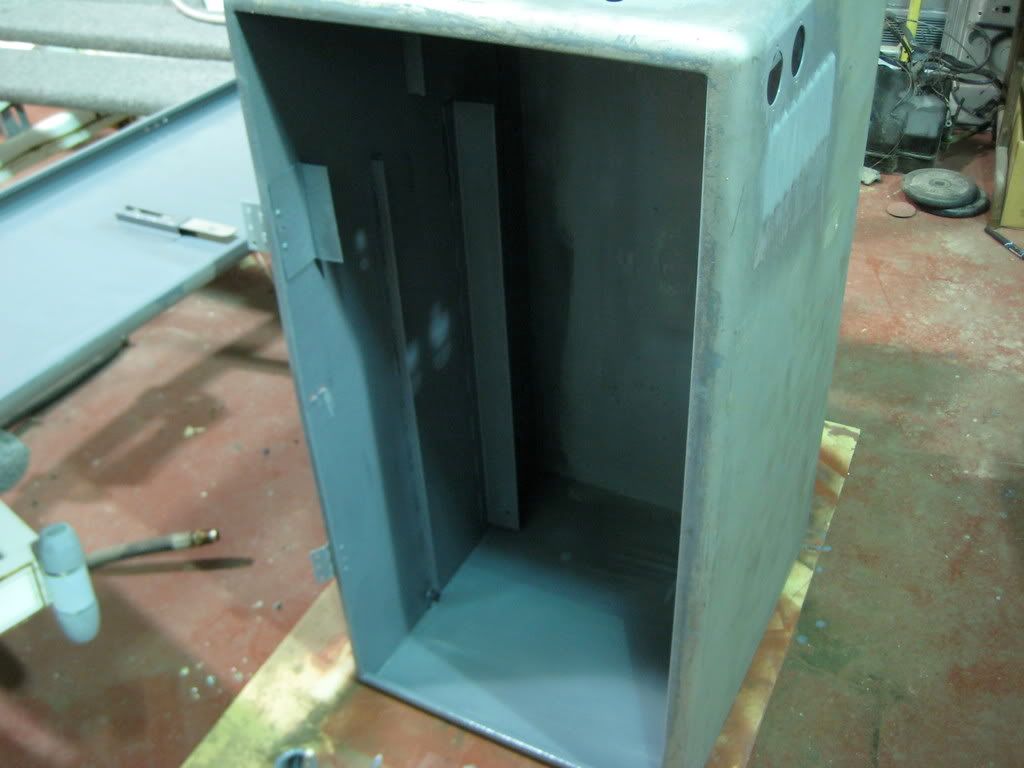
After letting it sit overnight I masked off the sections previously painted and sprayed the rest of the exposed metal with Eastwood's self-etching primer.
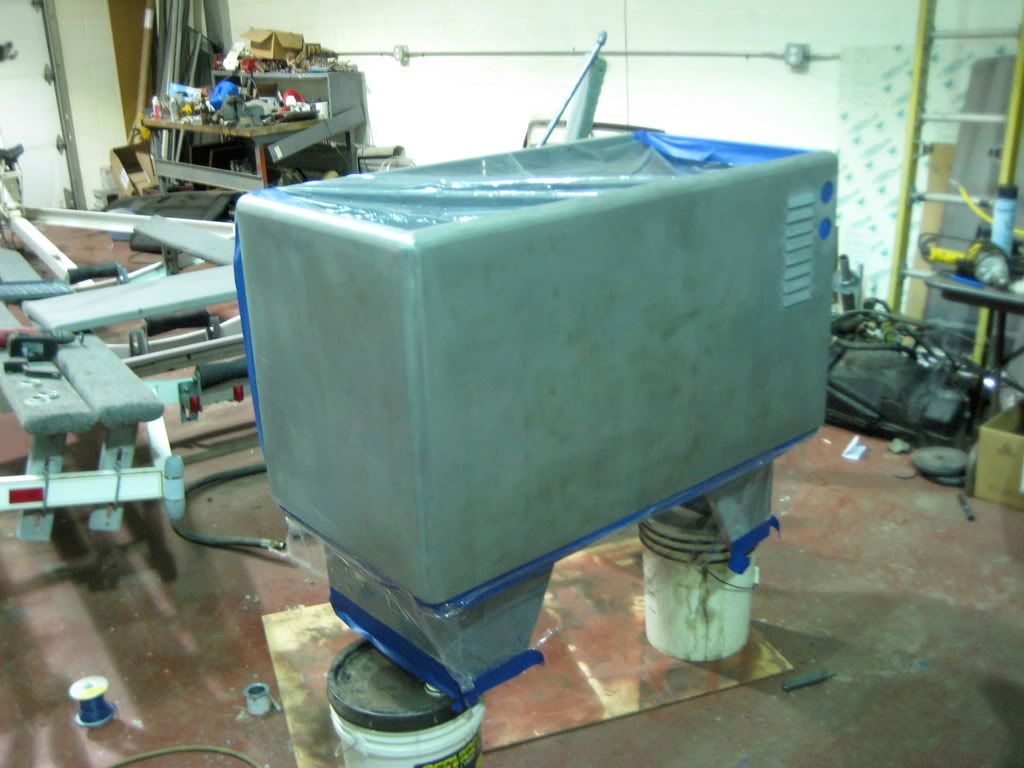
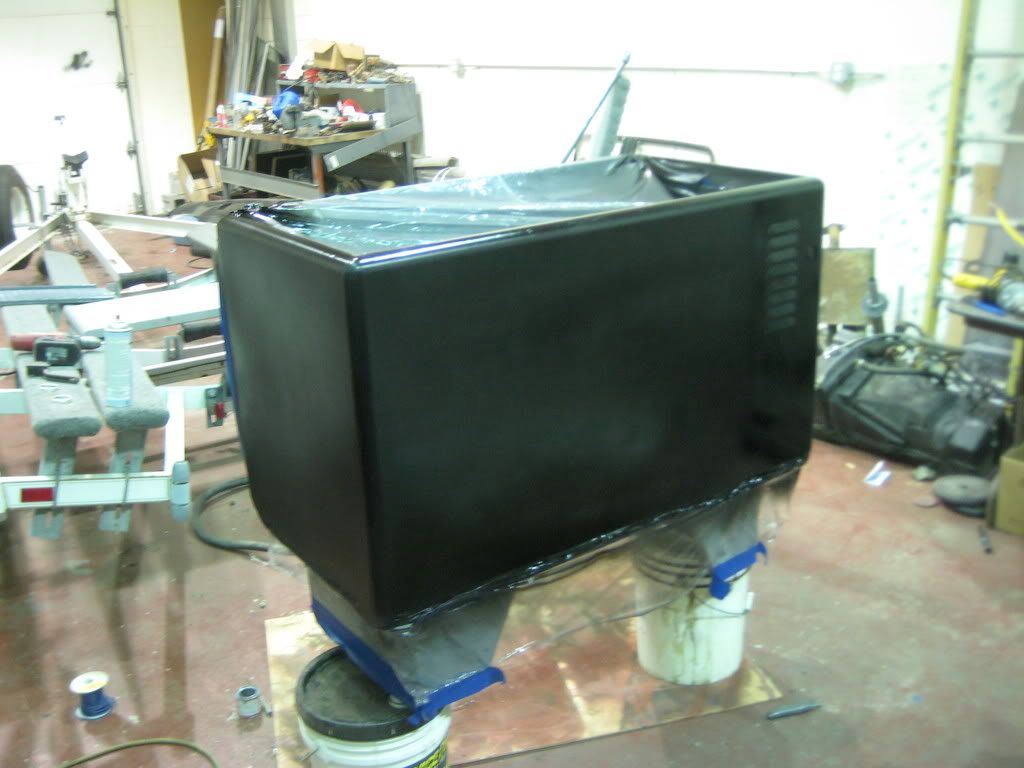
I took a paint chip to the local auto parts store and got spray paint that closely matched the original colors of Creme and Candyapple Red.
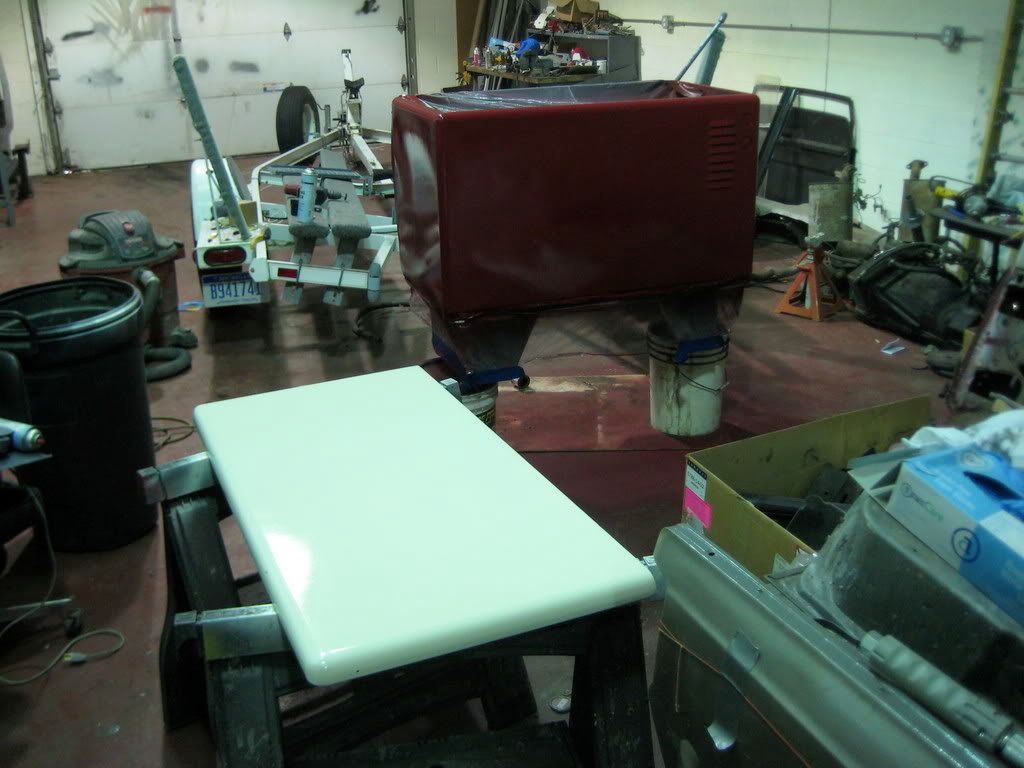
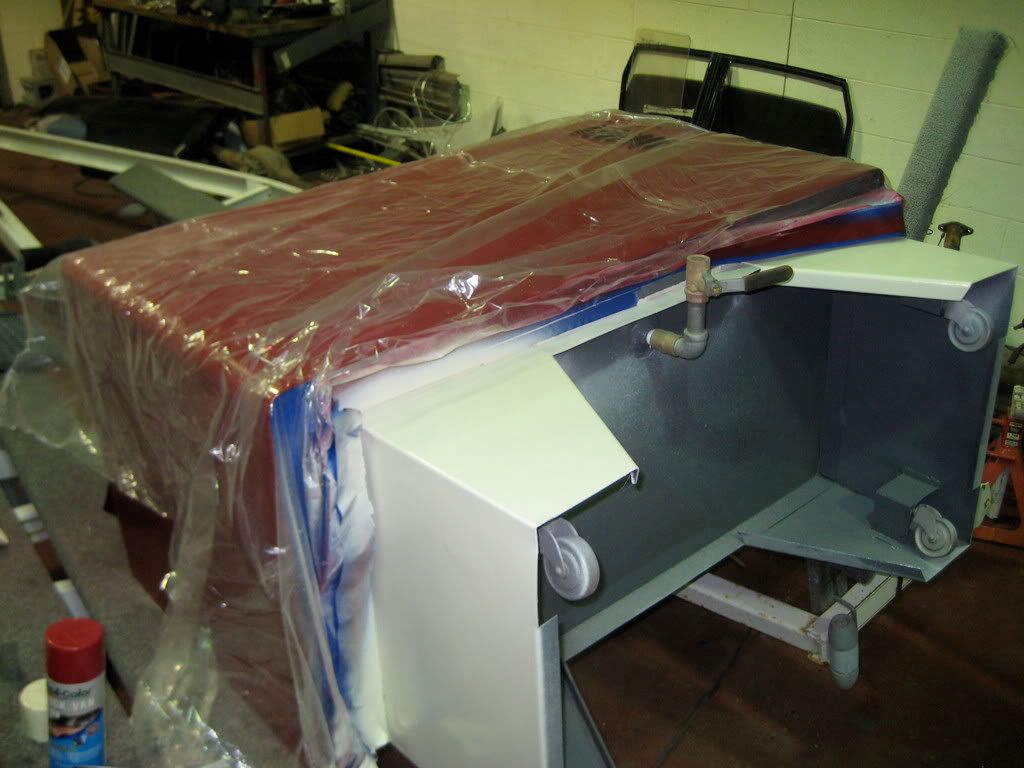
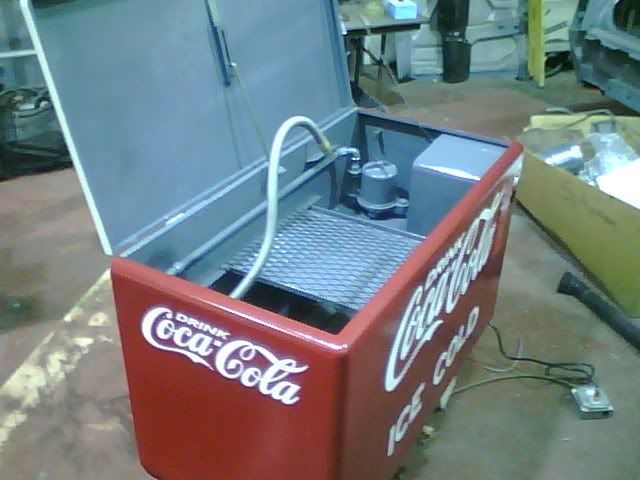
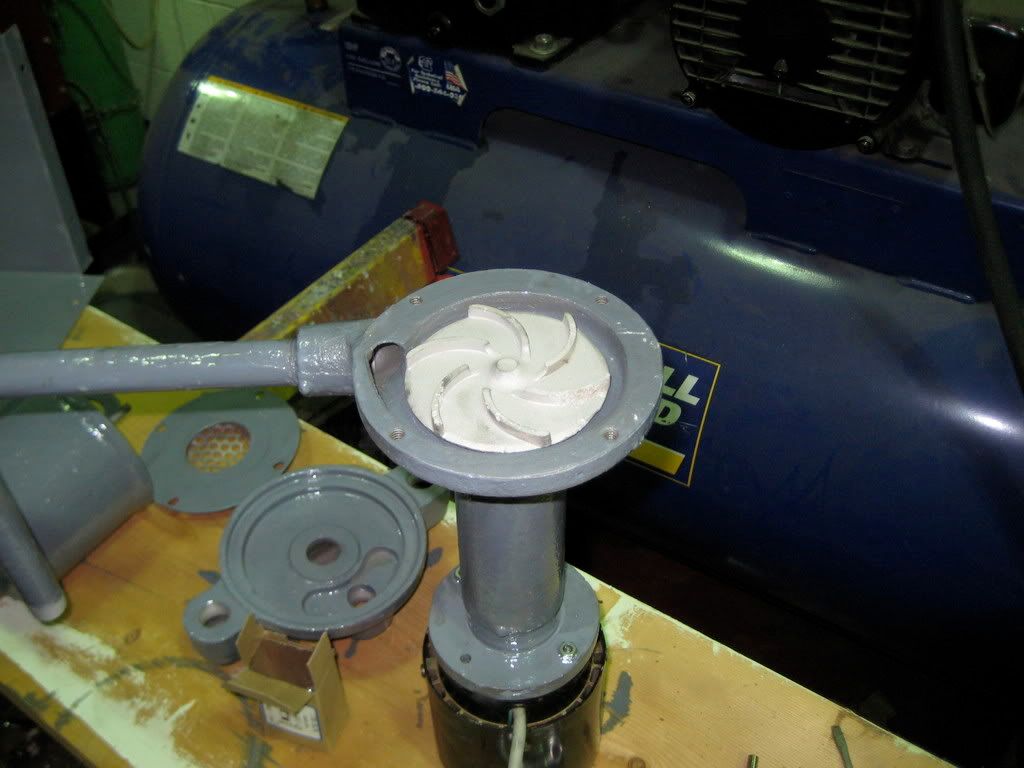
Now that it was painted, the Art Deco cabinetry really reminded me of something, but I couldn't put my finger on it. I then started working on the mechanical bits. What a mess. I had a very difficult time getting the motor and pump to come apart. When I did I found that the motor was seized. After soaking the bearing overnight I was able to hammer it apart. I found that, due to lack of lubrication, a fiber bushing had worn away, dropping the vertical motor's armature partially our of the windings and lowering the pump's impeller onto the bottom suction plater, wearing off about 1/16" of the vanes where they made contact.
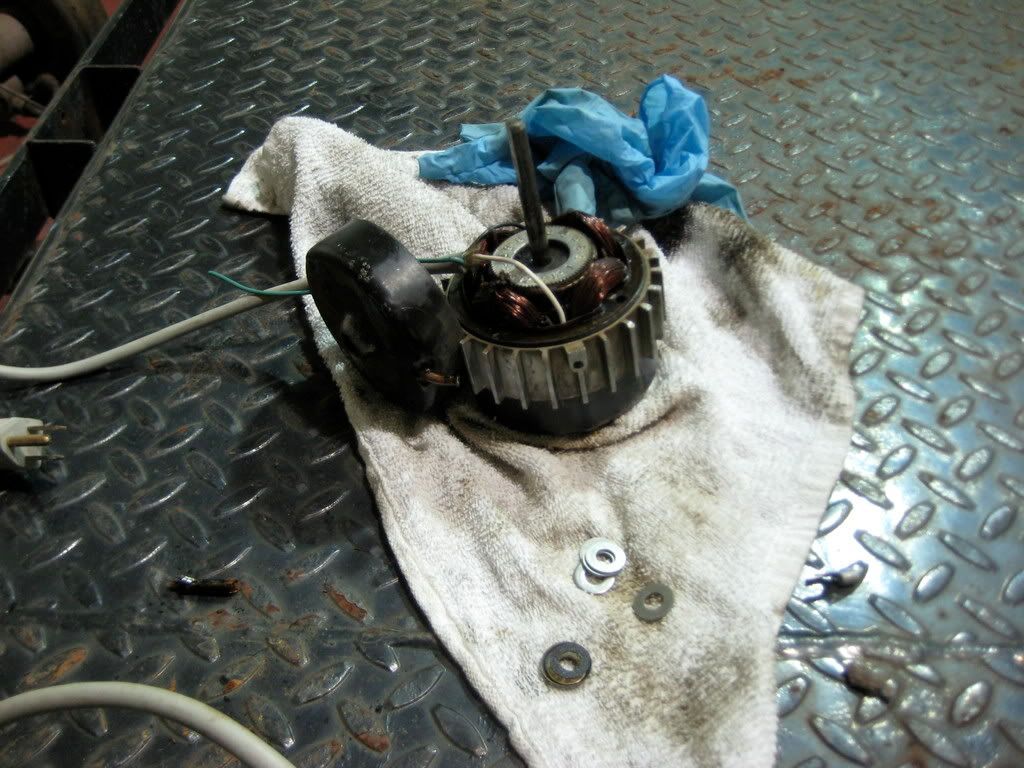
Sand-blasting the mechanical bits revealed that this was a quality piece of equipment simply suffering from a lack of maintenance.
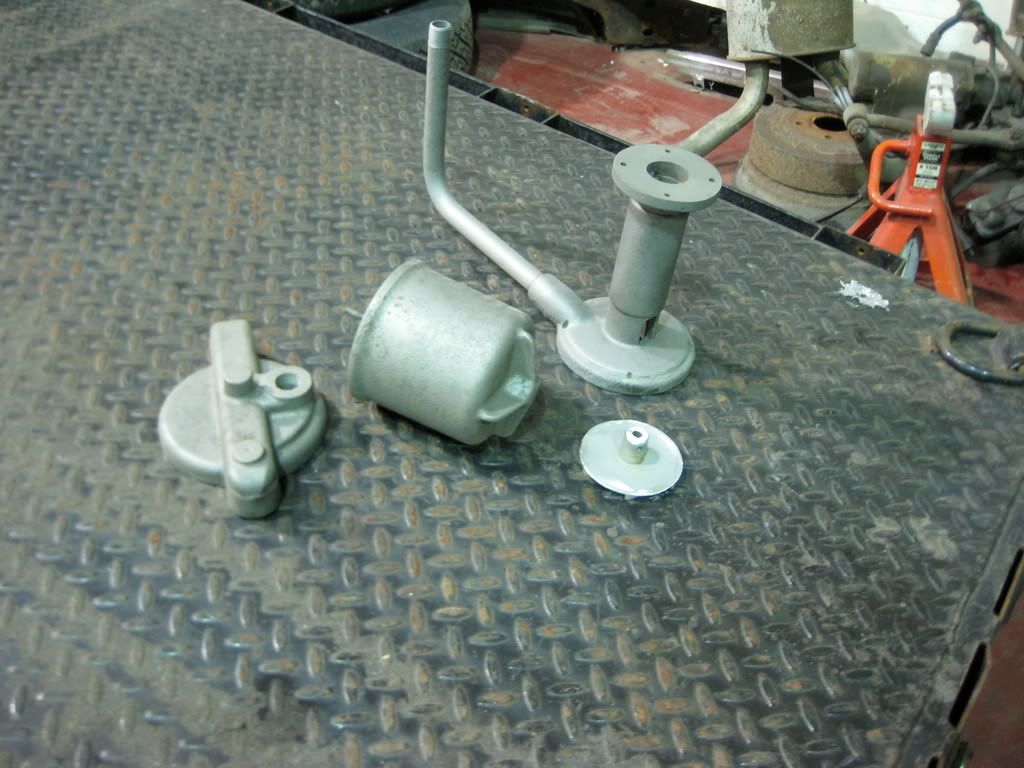
After a liberal coat of POR-15 I ran a tap through all the threaded holes to ease reassembly.
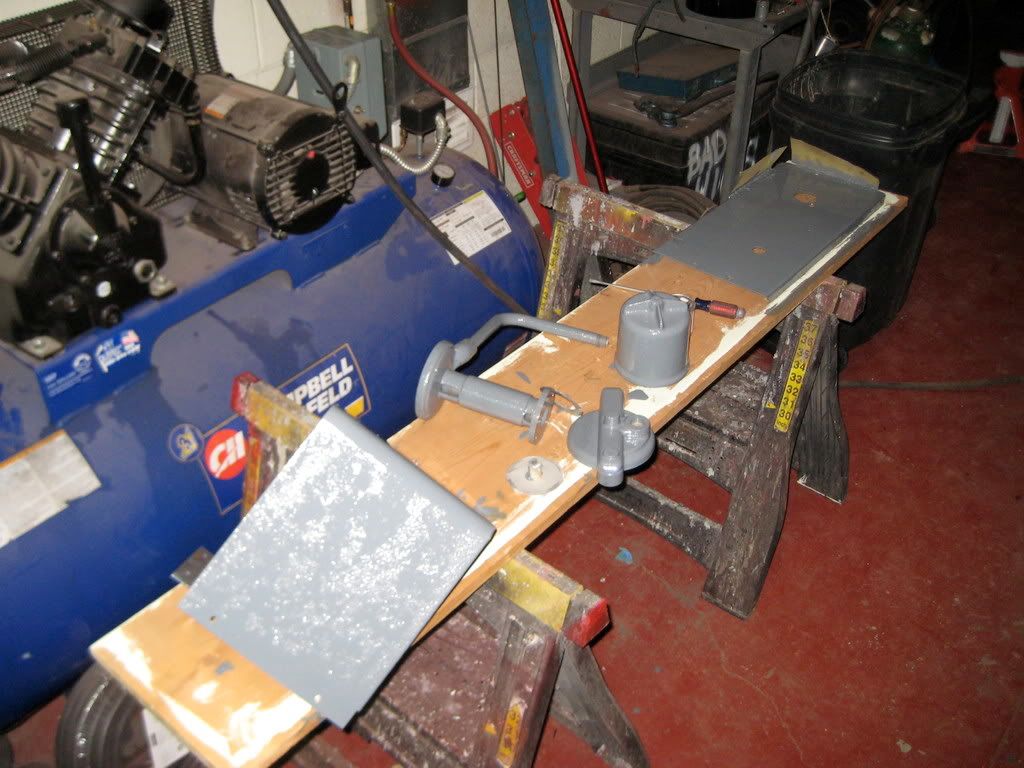
The pump's aluminum impeller looked odd to me but it turns out that it is proper for the application.
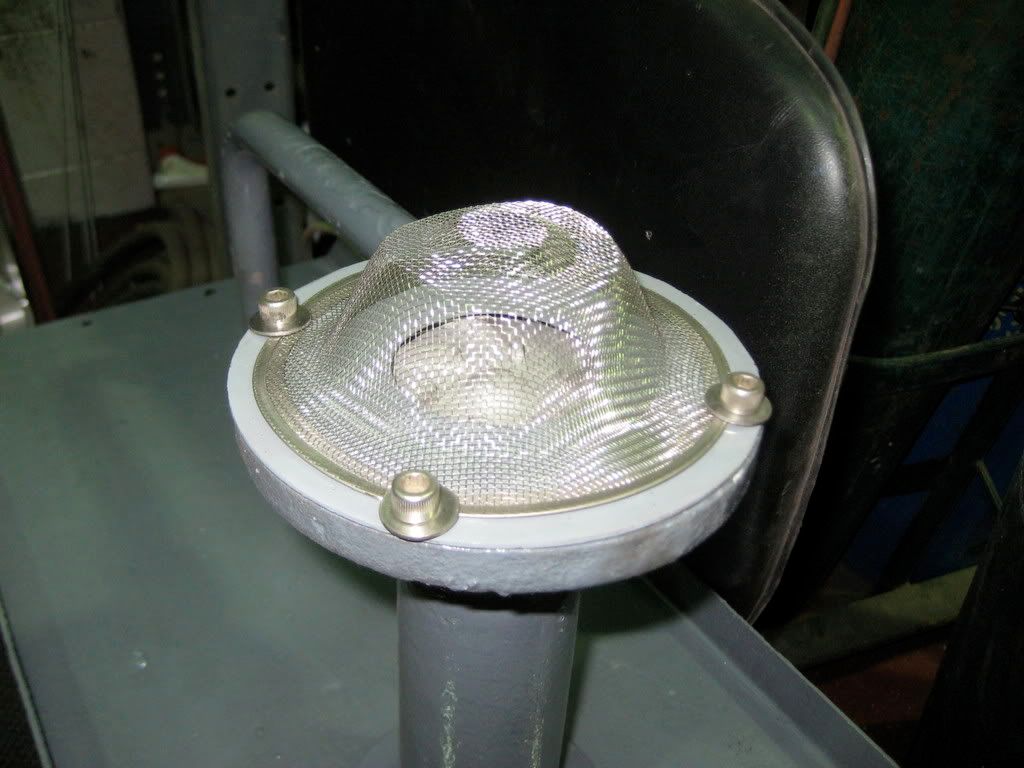
The suction plate originally had a piece of perforated metal over the opening with a bronze screen over that. The screen was gone and the perforated metal had broken away in places. I went to the local ACO and they had the perfect solution in the plumbing aisle. It's basically a strainer that goes in the sink opening.
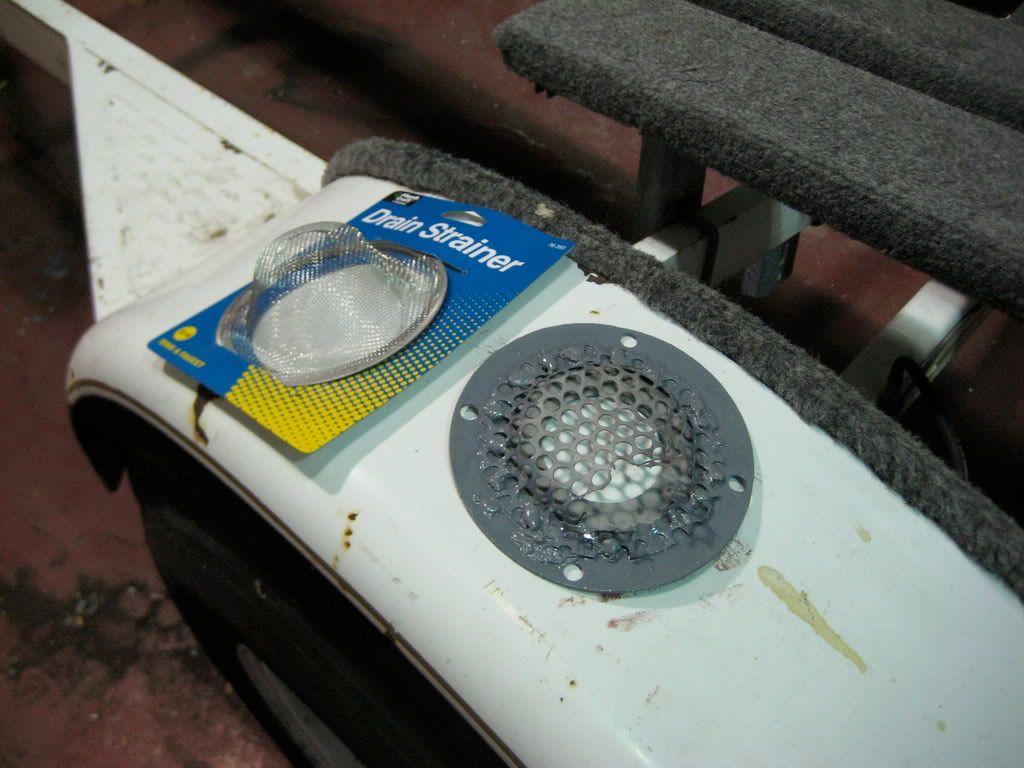
It worked perfectly, with little modification.
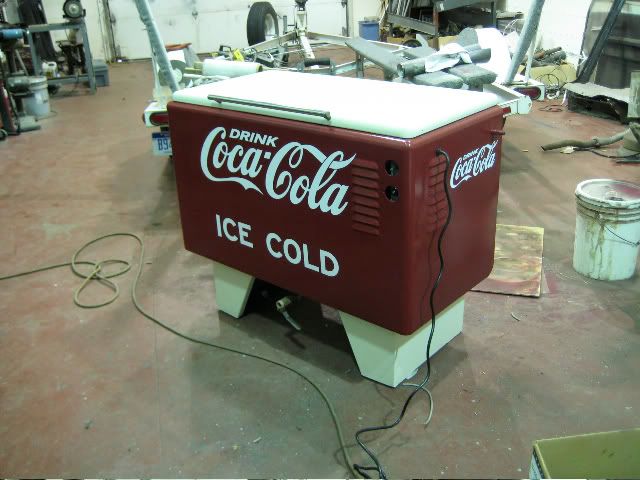
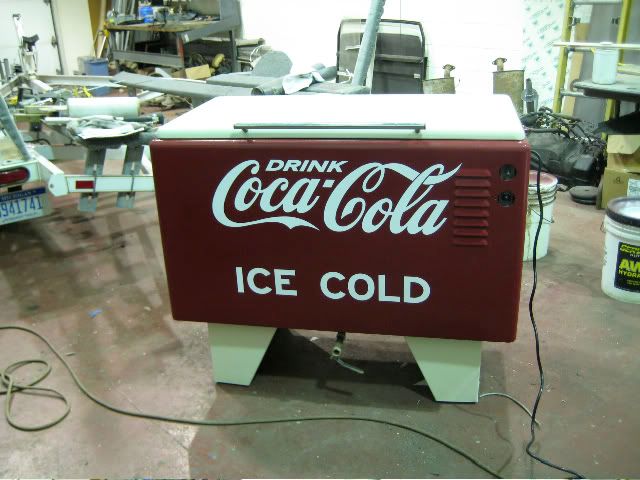
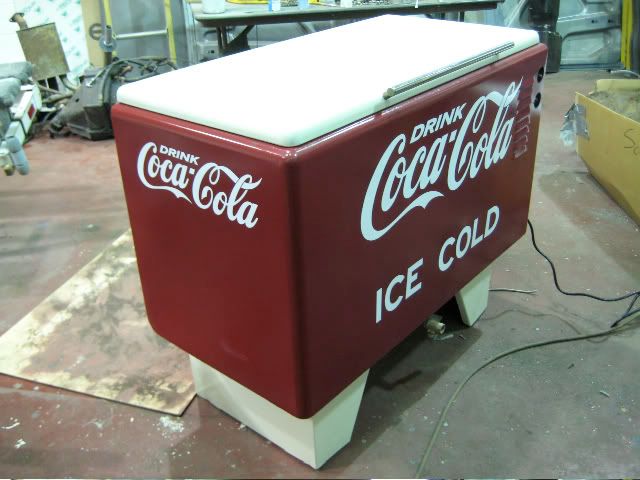
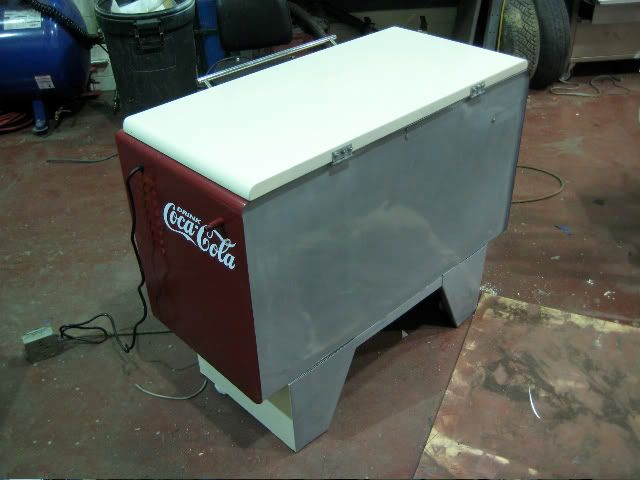
When I finally reassembled everything, I realized what the cabinet really reminded me of.
My crew picked it up and stashed it in my storage building for about a year before I decided I wanted to get it functional again. Unfortunately, none of us remembered to take the fluid out of it before storing it. More unfortunately, it appears that the fluid was mostly water that had fostered the conditions for a major biological science experiment to take place. Kind of a primordial soup, so to speak.
After removing the lid and power washing it it was still pretty disgusting, but it didn't leak, and that was a plus. It really needed to be sandblasted and refinished.
Since the cabinet was to big for my sandblaster booth I took it to Michigan Sandblasting where I got an estimate to blast it to white metal for $225.00, which I reluctantly agreed to. I thought that that was pretty expensive. I got back to my shop and did a web search and found that new power washers were only $150 from Harbor Freight or Northern Tool. I called and cancelled the job and went back to pick up the cabinet. I figured I'd put a plywood top on it and use it as a rolling workstation.
I told my friend Shawn that I had killed the restoration project in favor of getting a new one. He asked me which one I had selected and I sent him a link. Little did I know that my wife had been bugging him for ideas about what to get me for my birthday, which was two days away. I came home to have my wife greet me with an envelope in hand. Inside was $150 in cash and the printout of the link I had sent Shawn. Glynette's always desperate for birthday gift ideas since my compulsive nature makes me just buy what I want with little time to mull over the purchase.
I went to look at a couple of parts washers and was not impressed. They were mostly knock-offs of commercial units made of very lightweight materials. Basically, one of those cases where you get what you pay for. It was then, with $150 in hand, that I decided that I could buy a whole bunch of blast media and pay Shawn's son James to do the blasting for me at $10 hr. The day he started was warm and he wore some lightweight clothing, refusing the throw-away body suit I offered. That night he found sand in places he didn't know he had. In the second session he took my advice and covered up sensitive areas. It took him 8 hours total and used 6 bags of sand at $15. each. I now had a clean cabinet for $170.
I used POR-15 to coat the inside back and legs of the cabinet.
After letting it sit overnight I masked off the sections previously painted and sprayed the rest of the exposed metal with Eastwood's self-etching primer.
I took a paint chip to the local auto parts store and got spray paint that closely matched the original colors of Creme and Candyapple Red.
Now that it was painted, the Art Deco cabinetry really reminded me of something, but I couldn't put my finger on it. I then started working on the mechanical bits. What a mess. I had a very difficult time getting the motor and pump to come apart. When I did I found that the motor was seized. After soaking the bearing overnight I was able to hammer it apart. I found that, due to lack of lubrication, a fiber bushing had worn away, dropping the vertical motor's armature partially our of the windings and lowering the pump's impeller onto the bottom suction plater, wearing off about 1/16" of the vanes where they made contact.
Sand-blasting the mechanical bits revealed that this was a quality piece of equipment simply suffering from a lack of maintenance.
After a liberal coat of POR-15 I ran a tap through all the threaded holes to ease reassembly.
The pump's aluminum impeller looked odd to me but it turns out that it is proper for the application.
The suction plate originally had a piece of perforated metal over the opening with a bronze screen over that. The screen was gone and the perforated metal had broken away in places. I went to the local ACO and they had the perfect solution in the plumbing aisle. It's basically a strainer that goes in the sink opening.
It worked perfectly, with little modification.
When I finally reassembled everything, I realized what the cabinet really reminded me of.