Page 3 of 3

Posted: Sun Jun 03, 2007 8:39 am
by Ian Gunney
Car looks great

re belts, probably worth trying Quick fit (I think they offer DDK discount) - they offer a good range of belts and I found them to be very helpful.

Posted: Sun Jun 03, 2007 4:33 pm
by Racecraft76
Thanks Ian, I'll give em a bell.

Posted: Sun Jun 03, 2007 11:16 pm
by fourteener
I reckon those front grills are 'brill'. They give the car a different look. Of course if you want to add driving lights it will still look great

Posted: Wed Feb 20, 2008 6:07 pm
by Racecraft76
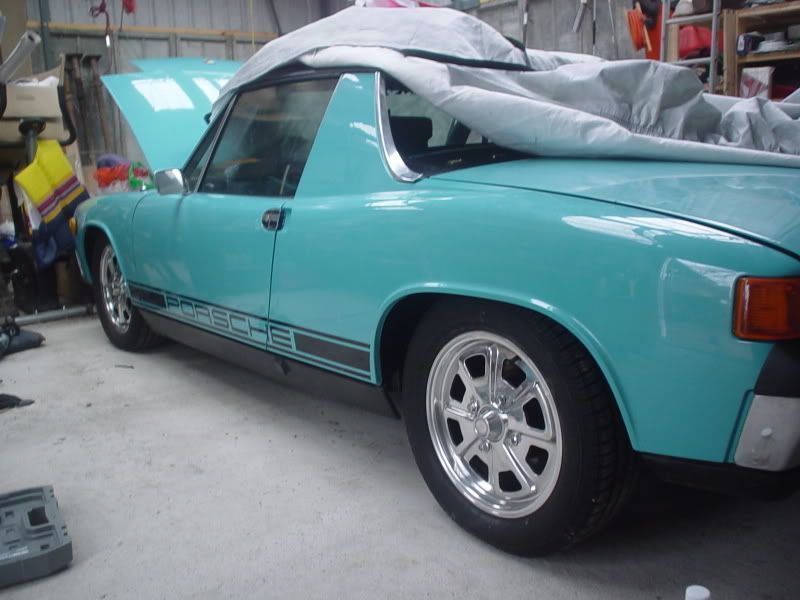
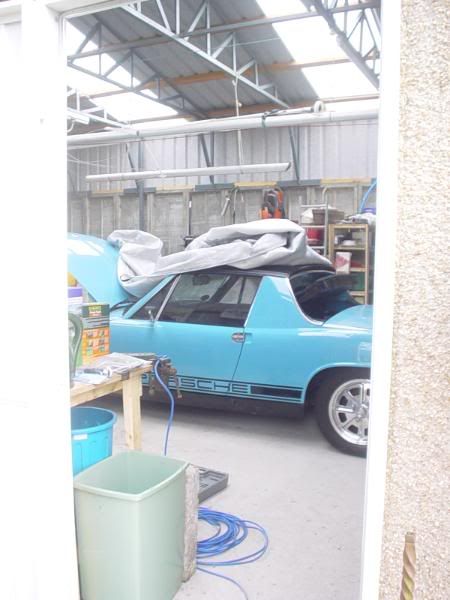
Well today I decided to uncover the 14 and set about doing the little cosmetic jobs that needed doing.

Polish mirror, wheels and nuts (ooer :oops: :lol: ).............

Image


Fitted ali rollers for trunk over the weekend ....................

Image

The car is almost shiney enough to venture out into the world again 8)

Image

Image

Posted: Wed Feb 20, 2008 10:47 pm
by Derek
Looking good 8) .

Posted: Thu Feb 21, 2008 10:35 pm
by Robster
That is a lovely looking car and a great colour

Posted: Sat Feb 23, 2008 11:19 pm
by Racecraft76
So it was back up to the garage today to get more done.

I had noticed this last time i was up. :(

Image

Its the secondary front targa seal. The new one arrived today and was fitted.

Image

I also replaced the top rollbar side trim as it was looking tired.

Image

Then the rest of the roll bar brightwork was polished to match them.

Image

To finish off today I replaced the interior side padding on the roll bar as my old ones had started to crack.

Thankfully I had someone there to check all my work was up to standard :lol:

Image

Posted: Sun Feb 24, 2008 8:04 am
by abm914
Looking good, one question, where are you buying all your new trim parts from?

Ad.

Posted: Sun Feb 24, 2008 5:55 pm
by Racecraft76
abm914 wrote:Looking good, one question, where are you buying all your new trim parts from?

Ad.
A mixture of many places realy. Fot these parts I used Roger Bray, but I have been using Auto Atlanta a fair bit as one of my freinds lives in Atlanta. She can pick the parts up and send them cheaper :wink: . Also use Mittelmotor and scour ebay.

The interior padding was sourced from another DDK member.

Posted: Wed Apr 09, 2008 8:59 pm
by Racecraft76
Spent last 2 days at the garage tidying up and fixing some odds and sods. Since i was in a "can do" mood I decided to try and fix my speedo which had started to not to read correctly (especially as i had been quoted silly money for a professional refurb, plus im scottish and tighter than two coats of paint).

The speedo was showing speed but not correctly, speed shown was inconsistent and way out when compared to sat nav, and sometimes not registering speed at all. My trip and odometer had decided to pack in too. On a cosmetic note, the speedo needles paint had flaked which meant when you were driving all you saw was a glint of metal. Very distracting.

Firstly I checked speedometer cable was ok and all was well.

After a removing it from the dash and cleaning lots of black grease from the back of it, It started like this:

Image

To get into it you first have to remove the top ring. The top ring is bent over the top lip of the housing. The only way to do this is to tease the edge with a flat head screwdriver, carefully, untill there is enough clearance for it to pop off.

Image

this means the two top rings (inner and outer), glass, and glass ring can be removed.

Image

To get the insides out, undo the two screws on the back and slide internals out.

Image
Image

After cleaning all the heavy deposits off the gears The mechanism was split.

Image
Image

All that was wrong with the speedo was a small plastic locator on the drive had unstuck meaning there was freeplay in the speedo drum section. Easy fix

The gears for the trip and odometer were caked in dried out grease and other deposits (dust, dead insects, flaked paint etc) these were cleaned and regreased with teflon grease.

Next up was to paint the needle. Plasticote luminous orange was the closest i could find. turned out ok.

Image


After i painted the needle i noticed the housing was in a sorry state, all the paint was like dust and rubbing off on my hands. It should be white in there so the light reflects. This will be one of the reasons I couldnt make out my speedo at night.

Image


After a rub down and a clean with some meths it got three coats of white hammerite. Should be nice and bright now.

Image

After a quick sand of the top trim rings and a coat of matt black, it was time for reassembly and refit into the dash.

Image

Image

Only problem is now the other dials look even tireder than they did before. Guess i'll have to do them all now.


On the plus side I did manage to get out in the car for a short while.
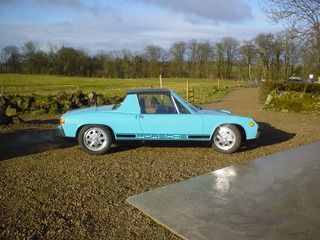
Image

Managed a mini cruise with my mate in his 911 at the weekend.........

Image
Image

Posted: Wed Apr 09, 2008 10:19 pm
by Gary71
Looking good 8)

Reminded me of this: :lol:

Image

Posted: Wed Apr 09, 2008 11:22 pm
by fourteener
Ka Jigga Ka chow!
Nice job on the speedo, not seen inside one before so really interesting to see inside. How did it go with re-crimping the outside bezzel back into position?

Posted: Wed Apr 09, 2008 11:53 pm
by Racecraft76
fourteener wrote:Ka Jigga Ka chow!
Nice job on the speedo, not seen inside one before so really interesting to see inside. How did it go with re-crimping the outside bezzel back into position?
I used the flat of a large flat head screwdriver, rolling it over the outside edge to underneath the lip. I just worked my way round slowly a couple of times to make sure it was tight on the lip, with as few high points as possible. Its all pretty easy, just need to do things methodically, slowly and firmly.