Part 30
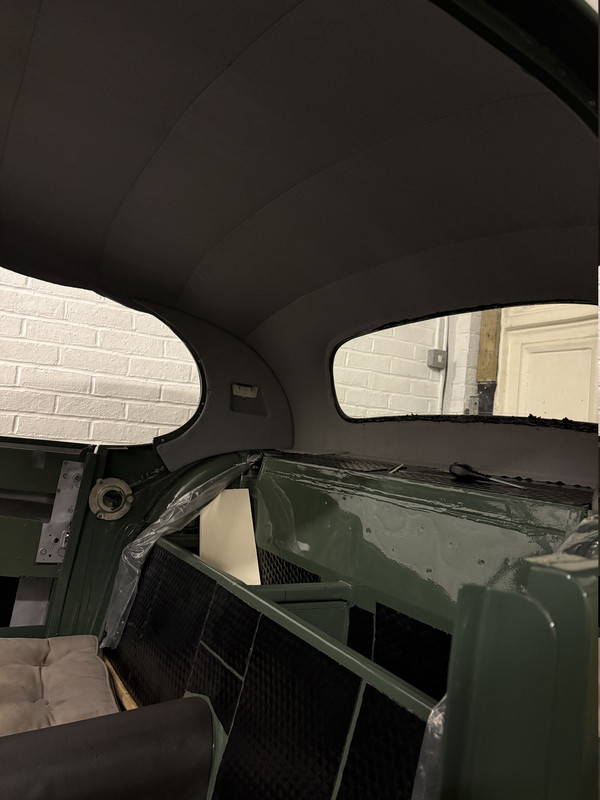
Cant rails
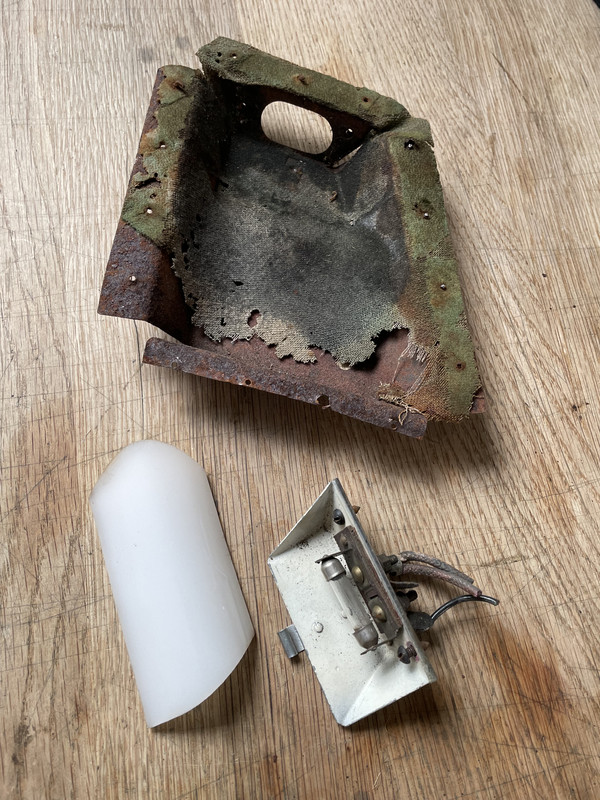
Having made the decision to not use a veneered dash…there was then the question of how to finish the cant rails…on the E Type these were/are wrapped in vinyl…which with a black dash…seemed eminently possible to repeat for this car…however in the spirit of mission creep I then found myself wanting to improve upon the multi part original design
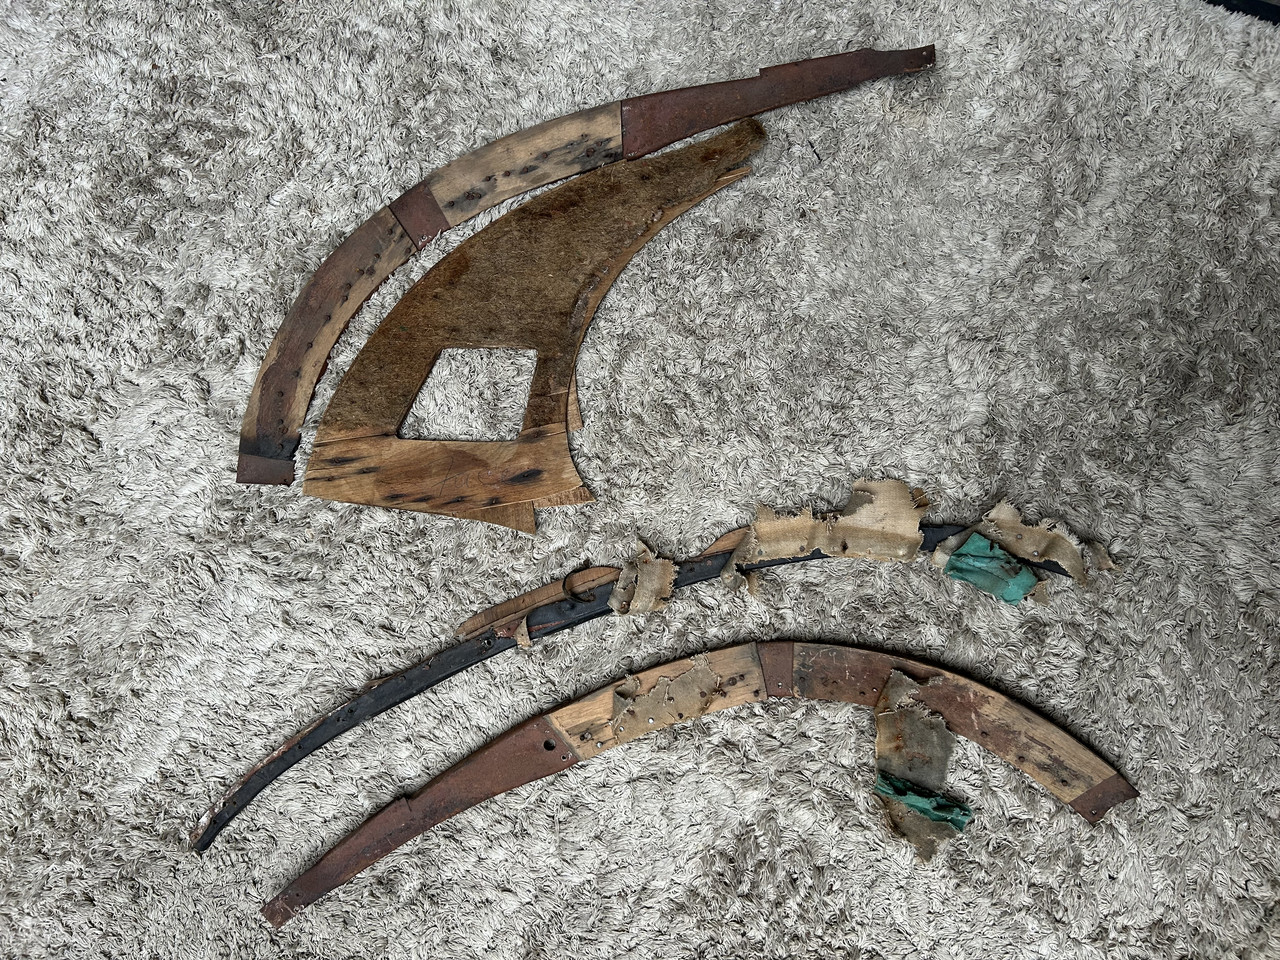
Why there are so many small sections of aluminium and veneered timber was and still is a mystery….was it simply the cost of a single large veneered section being too difficult to produce…?….however by the time I got to the end of remaking my own I had another theory…namely that the cars are hand built and the multi part approach gave jaguar an opportunity to make adjustments on the production line for variations in the build
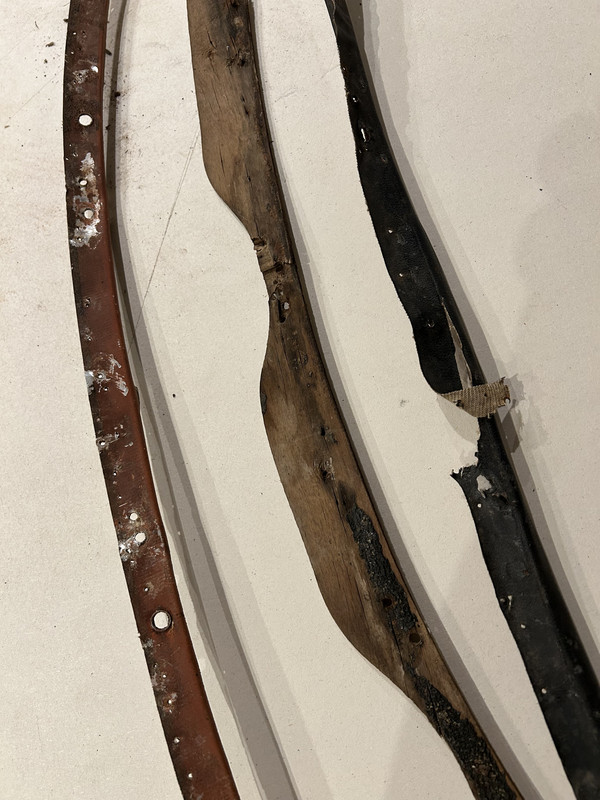
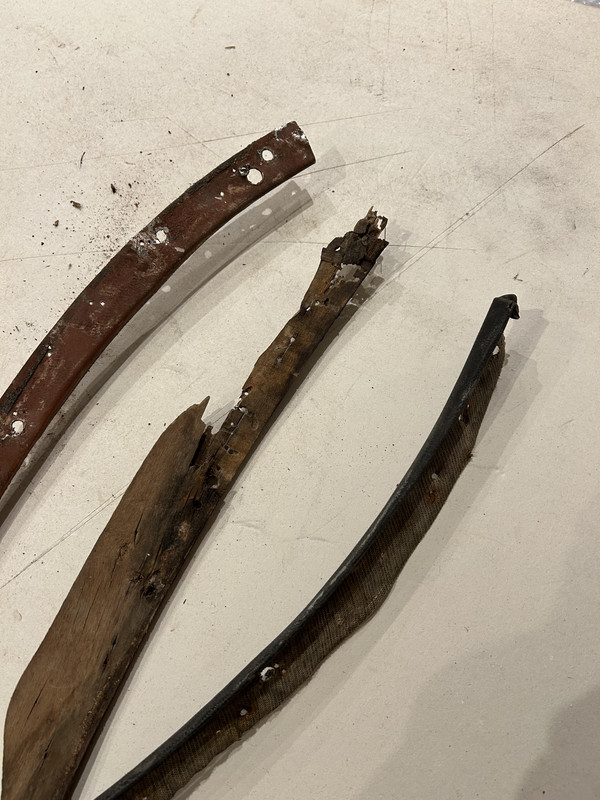
Whether that is true or not I guess I will never know, but it could explain the fact…
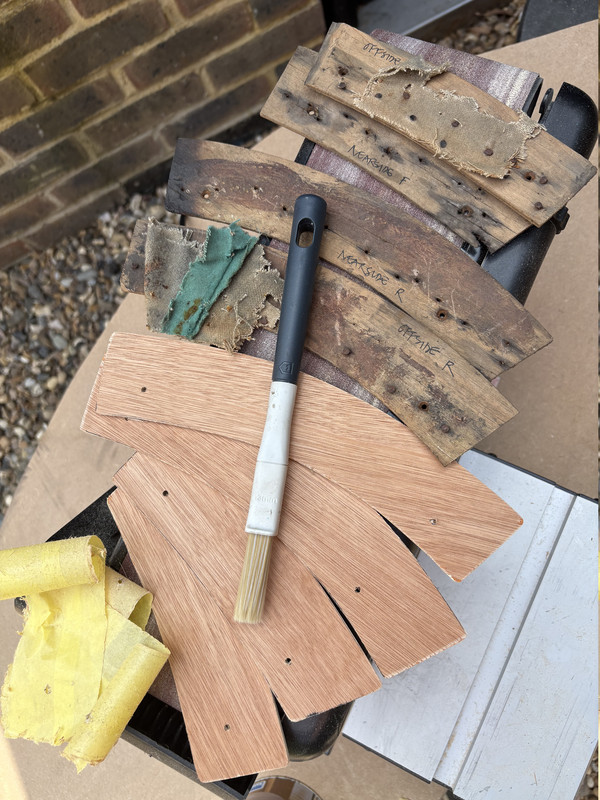
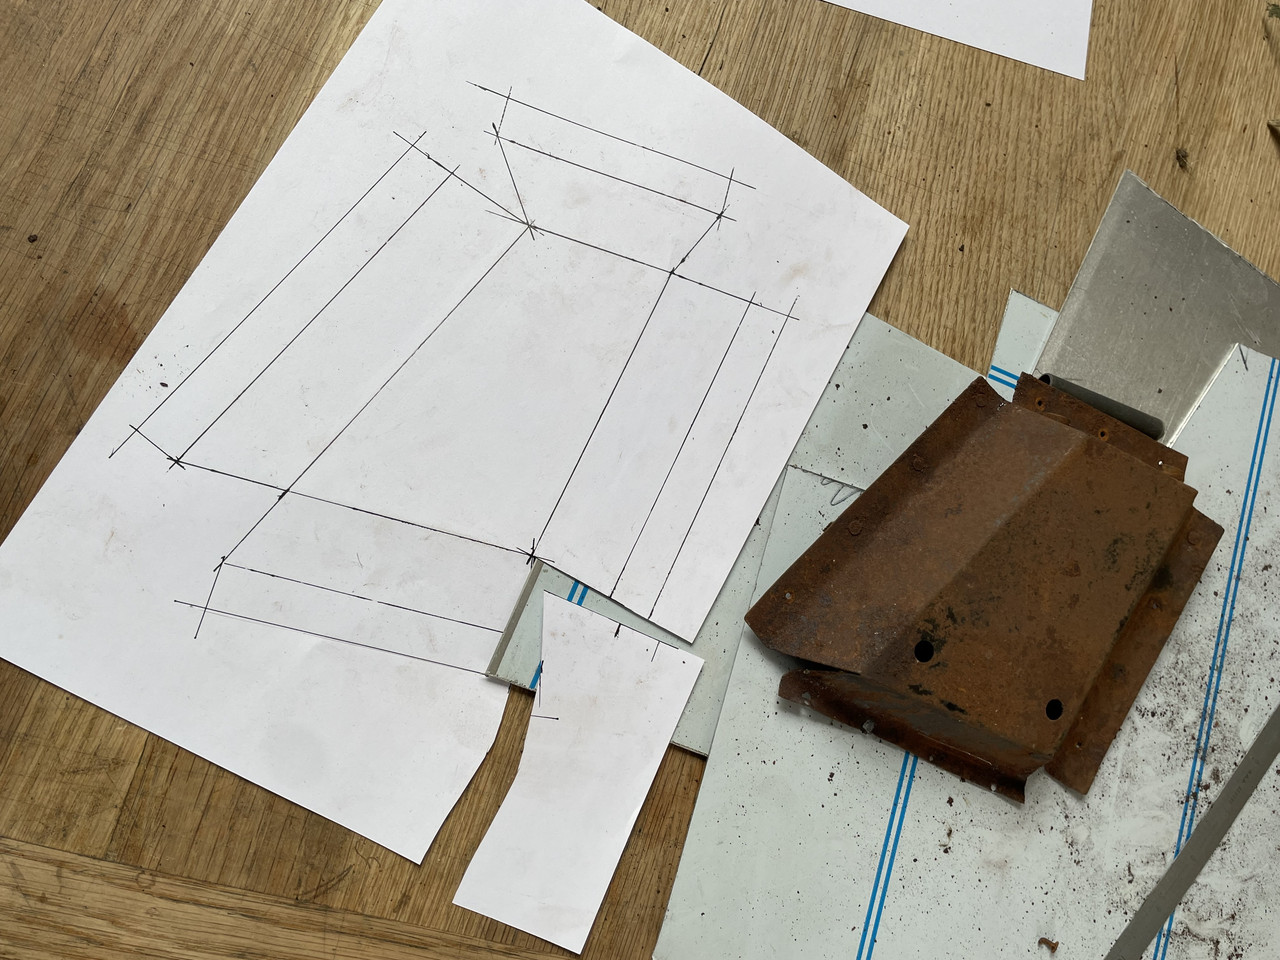
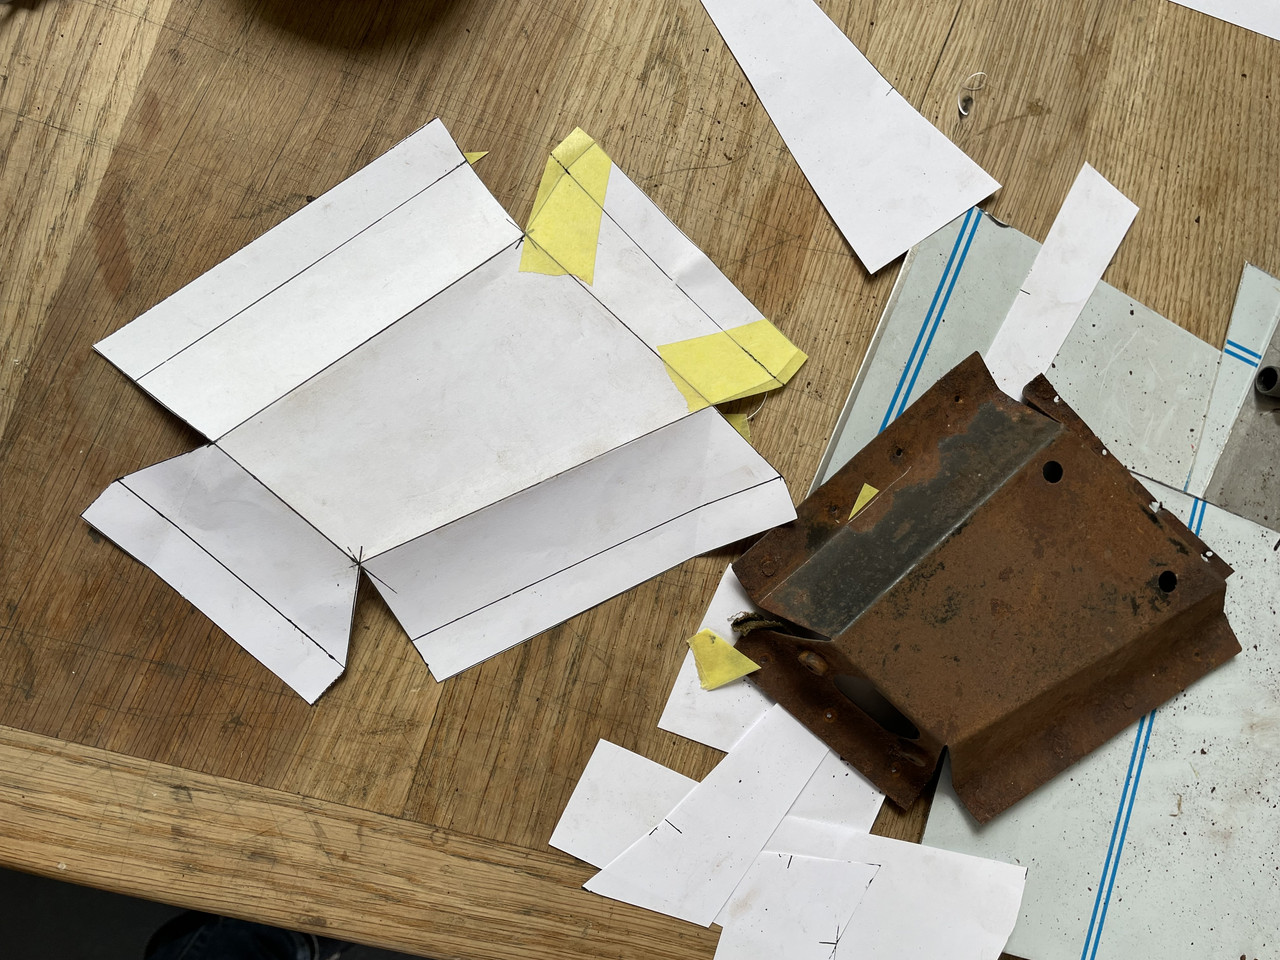
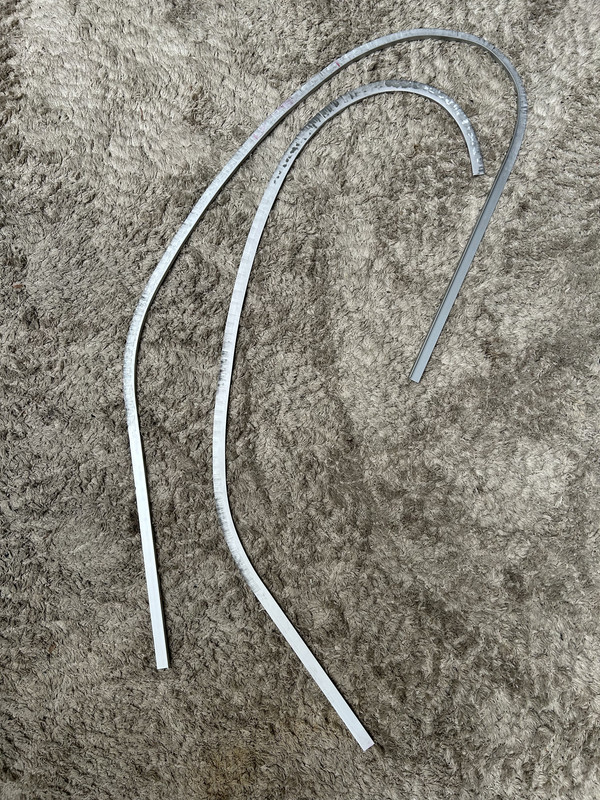
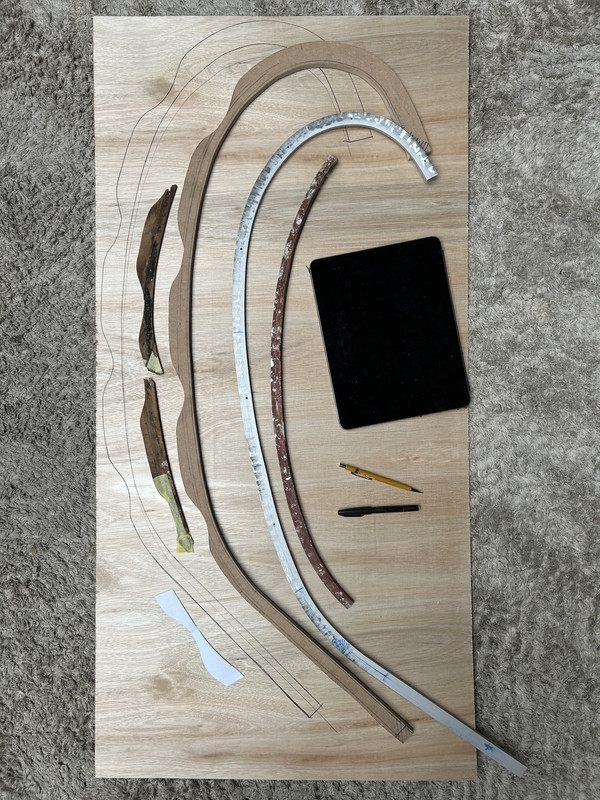
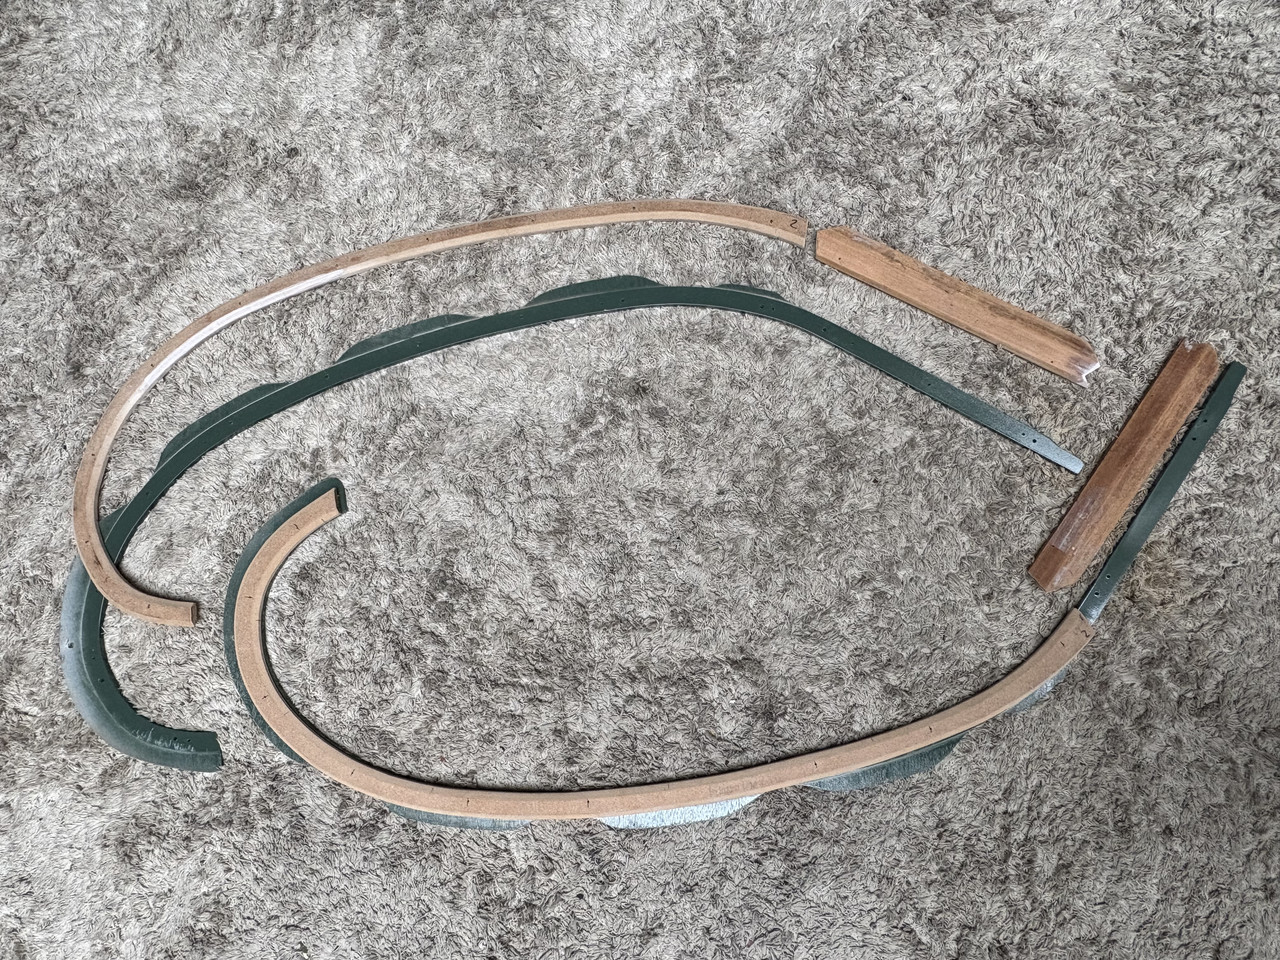
First off I needed to make a template as a constant base reference form, so I didn’t need to continually compare the extrusions to the car as i shaped them…once both were made to this shape I was then able to fine tune the profile as true to form each side was slightly different …..
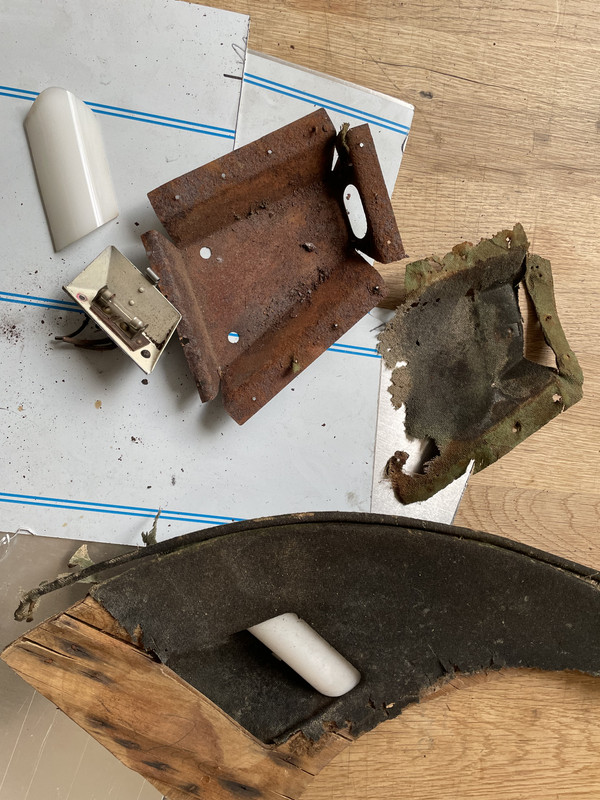
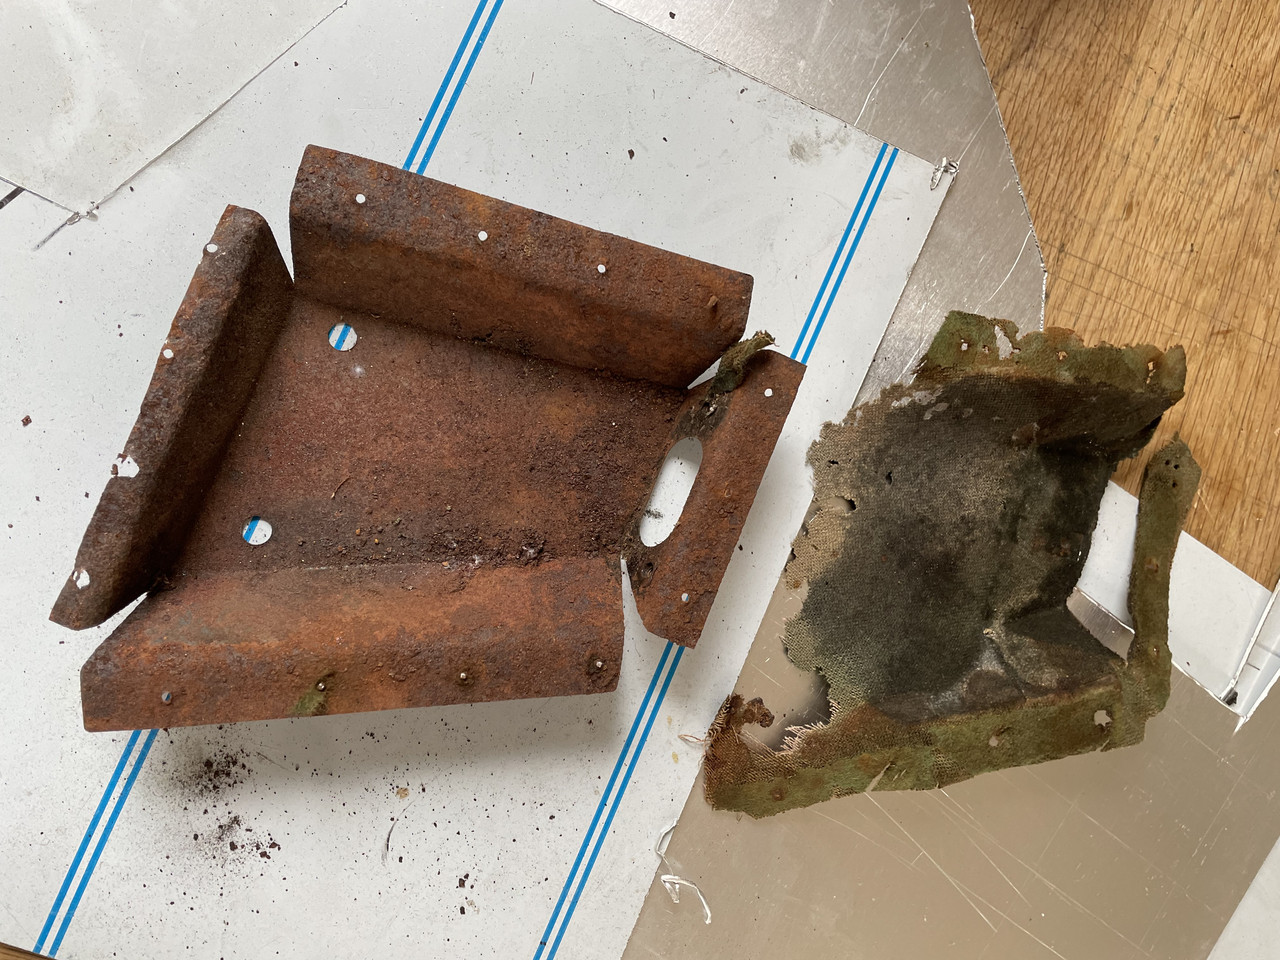
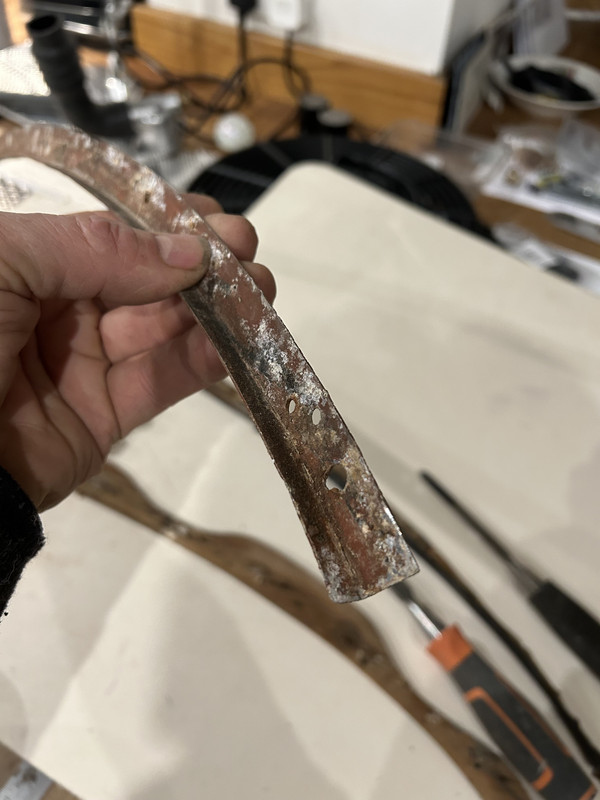
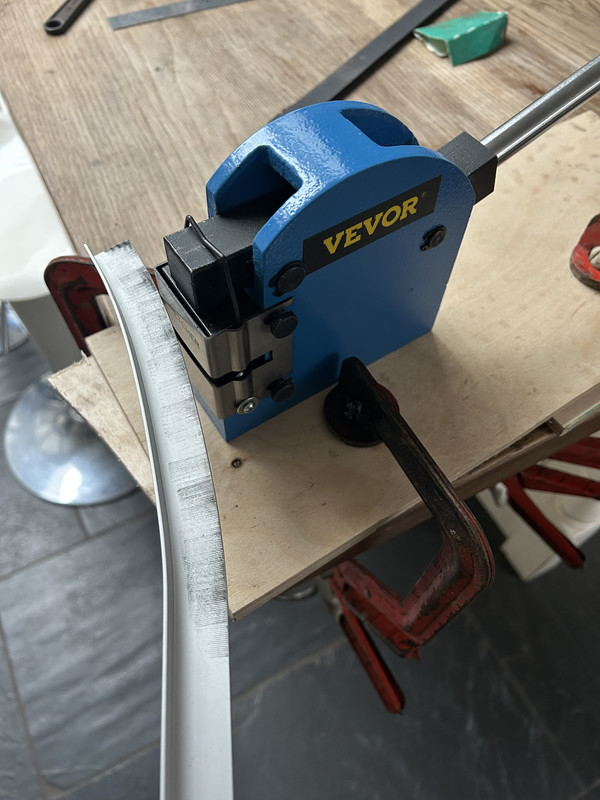
For me however the cant rails could not remain a multi part assembly…the original collection of folded aluminium trims were about as crude as one could imagine so I elected to buy standard 10 x 20mm aluminium extrusions and invested in a shrinker/stretcher kit….(a fun exercise…but need to be careful on the tight curves as it is not difficult to over stretch the aluminium and split it….also watch how the metals curves out of plane…do the stretching in sections and tap it back flat as you go….if it gets out of shape too much it becomes tricky to re-flatten….)

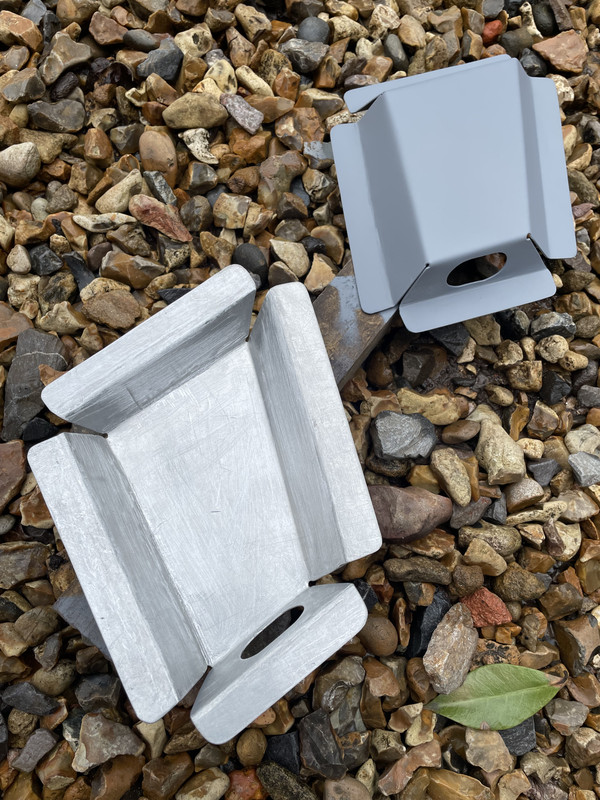
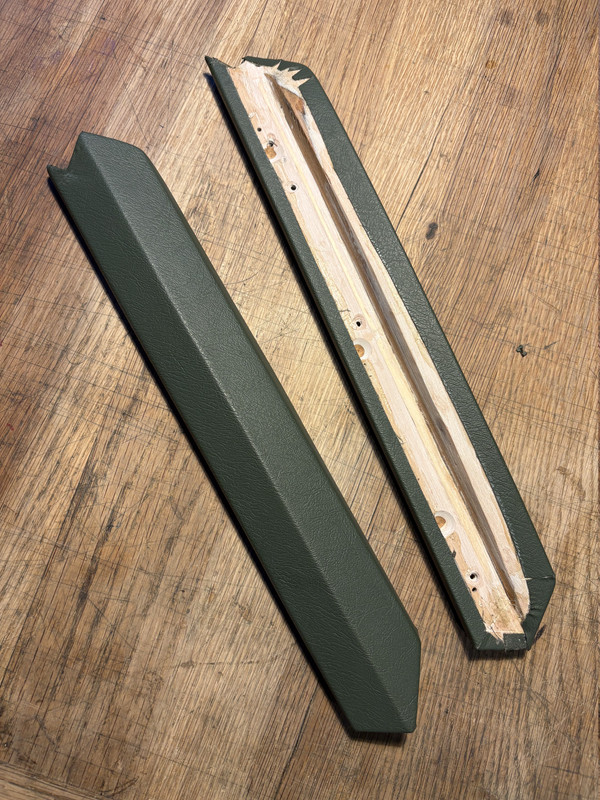
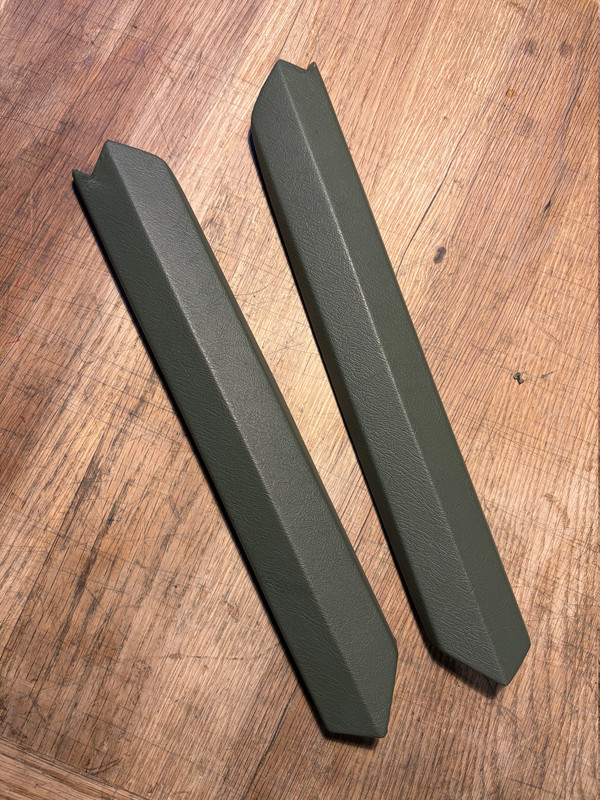
I also decided to change the finish of the aluminium trims.
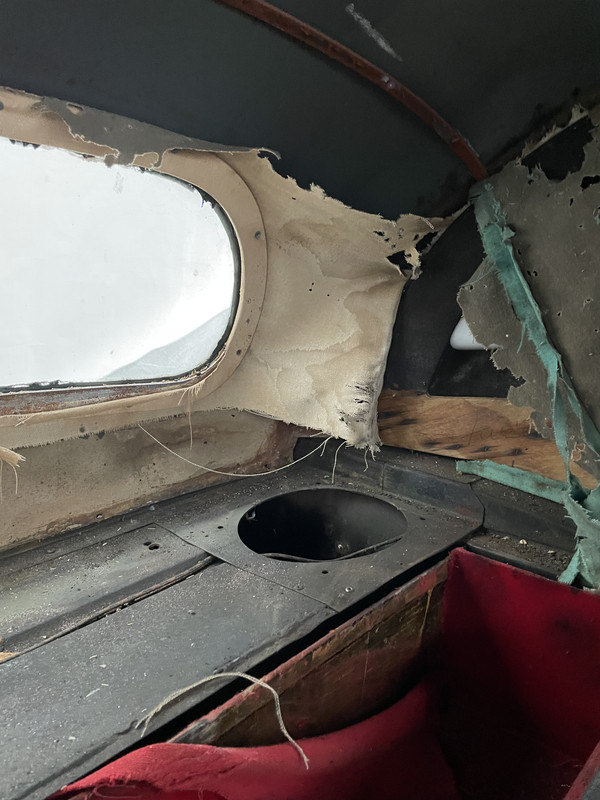
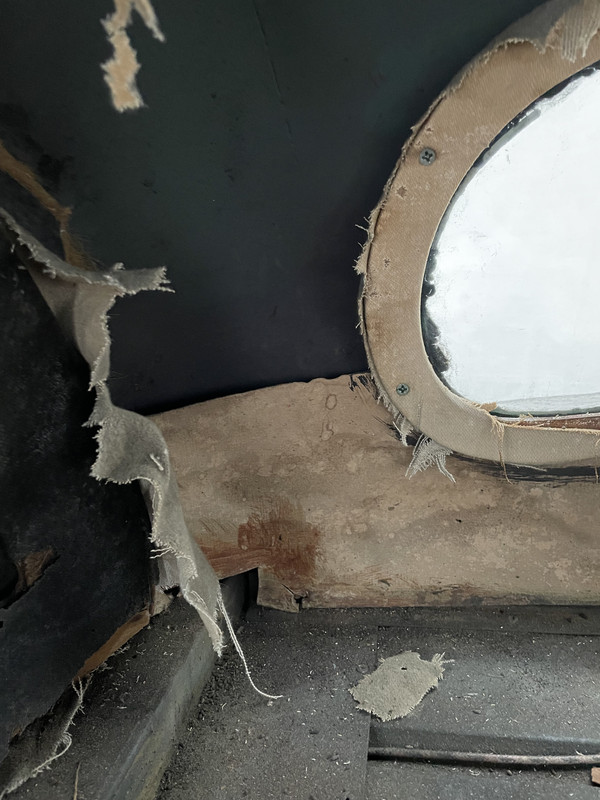
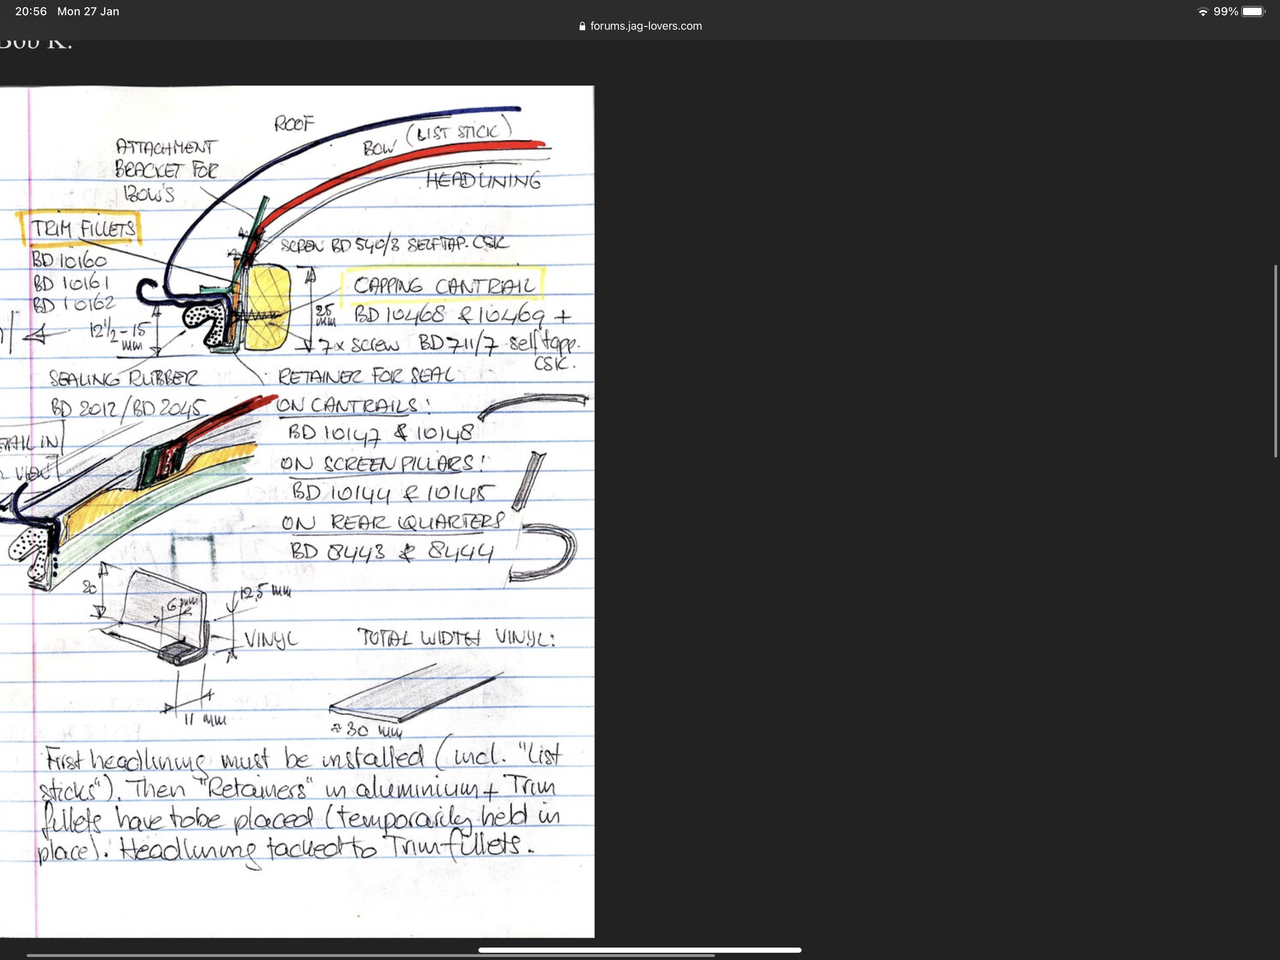
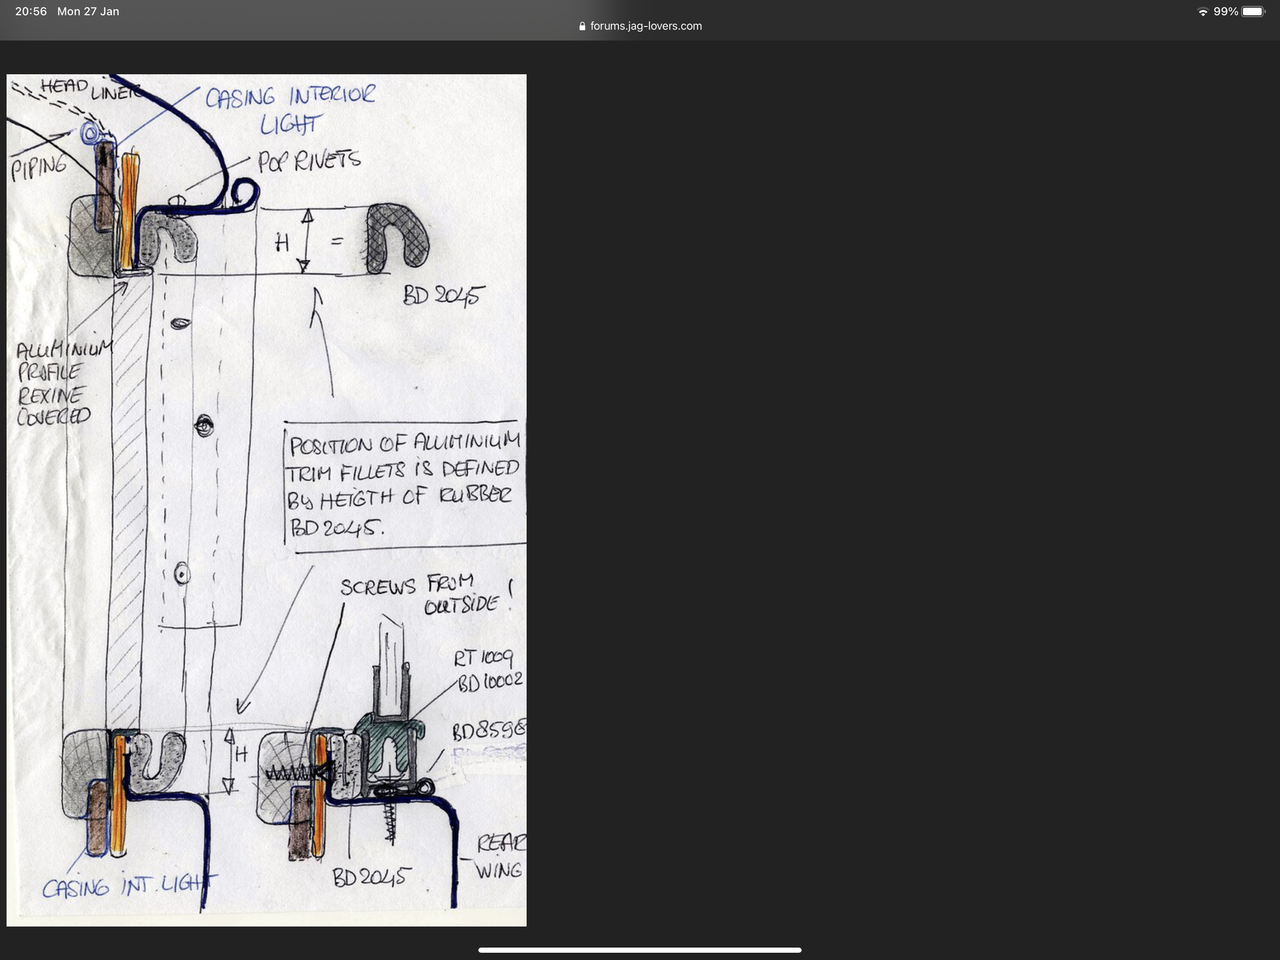
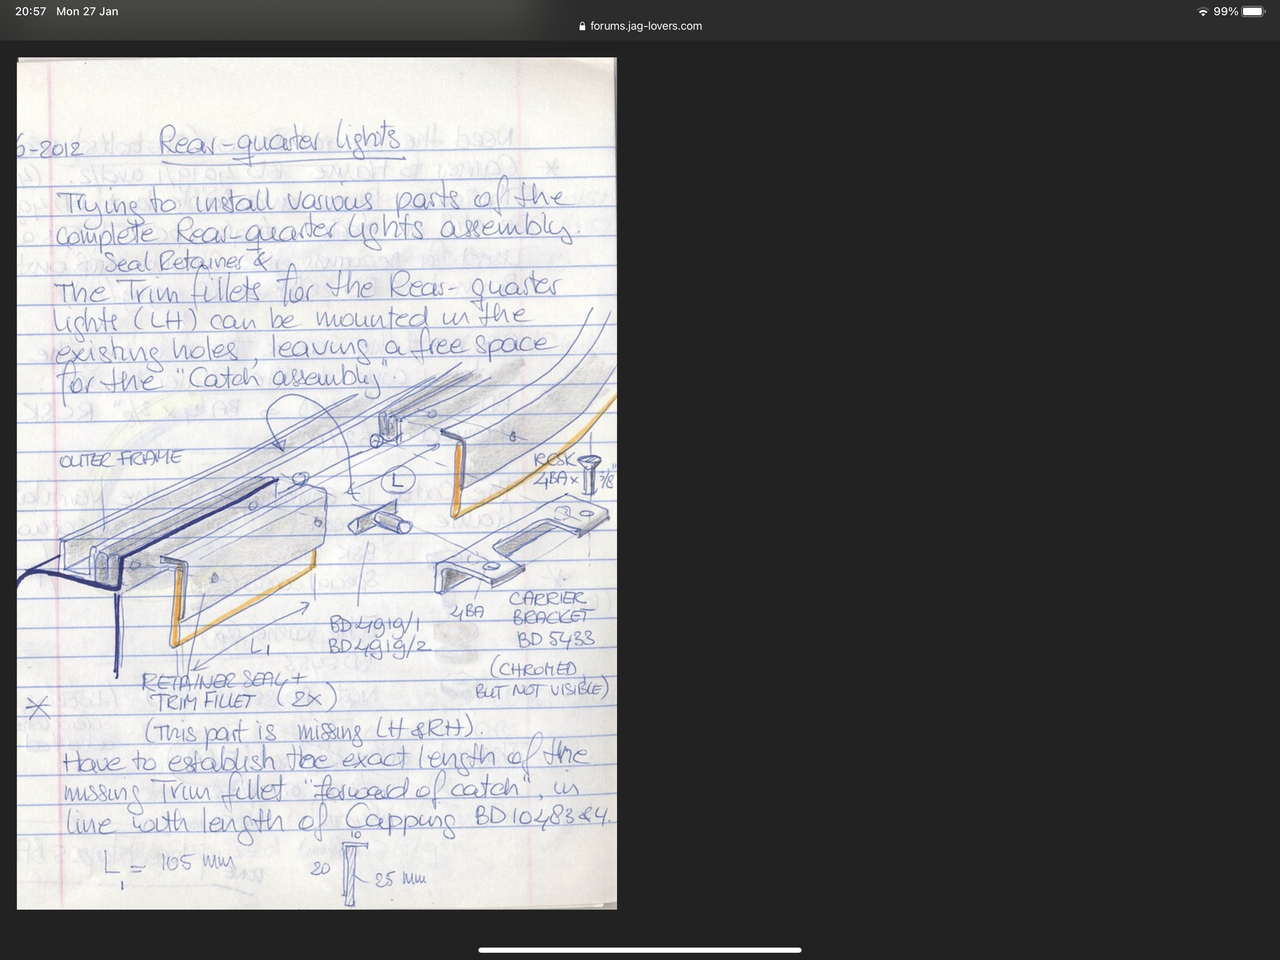
If you look closely at these sketches from another XK owner the multi part assembly is self evident, but also the fact that the aluminium was originally covered in Rexine…which is NLA but is almost a very thin type of vinyl….always done in black in period so it was not body colour specific. I wasn’t too impressed with that so I etched primed and top coated in green so the whole edge assembly is a single calmer attitude towards colour…and a far superior and cleaner continuous edge
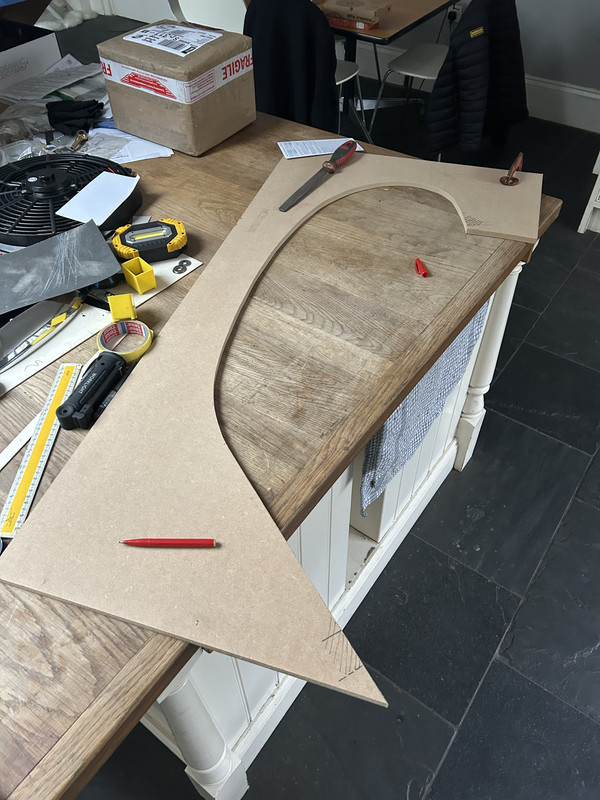
With the aluminium formed I then duplicated the inner curve onto 9mm MDF by copying the aluminium profile and then freehand I marked a 25mm offset width which I cut close to before finally shaping by eye on the belt/disc sander I also invested in
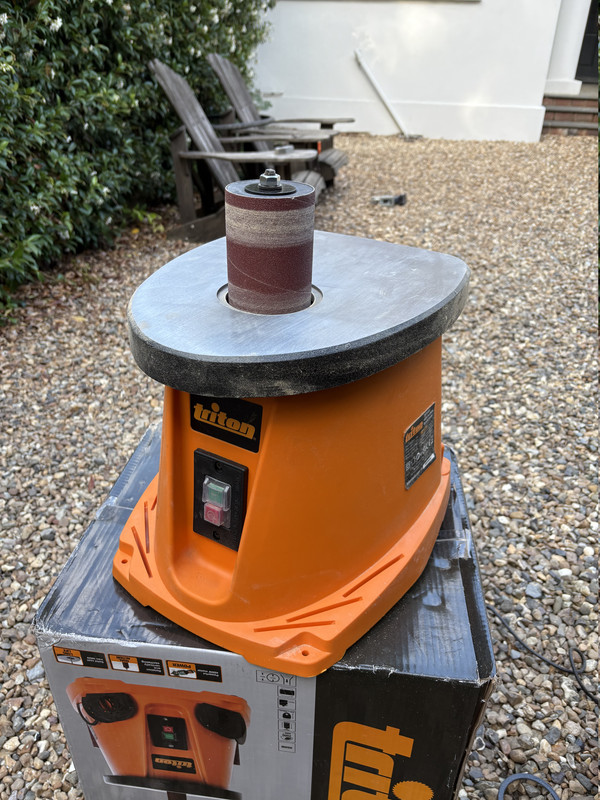
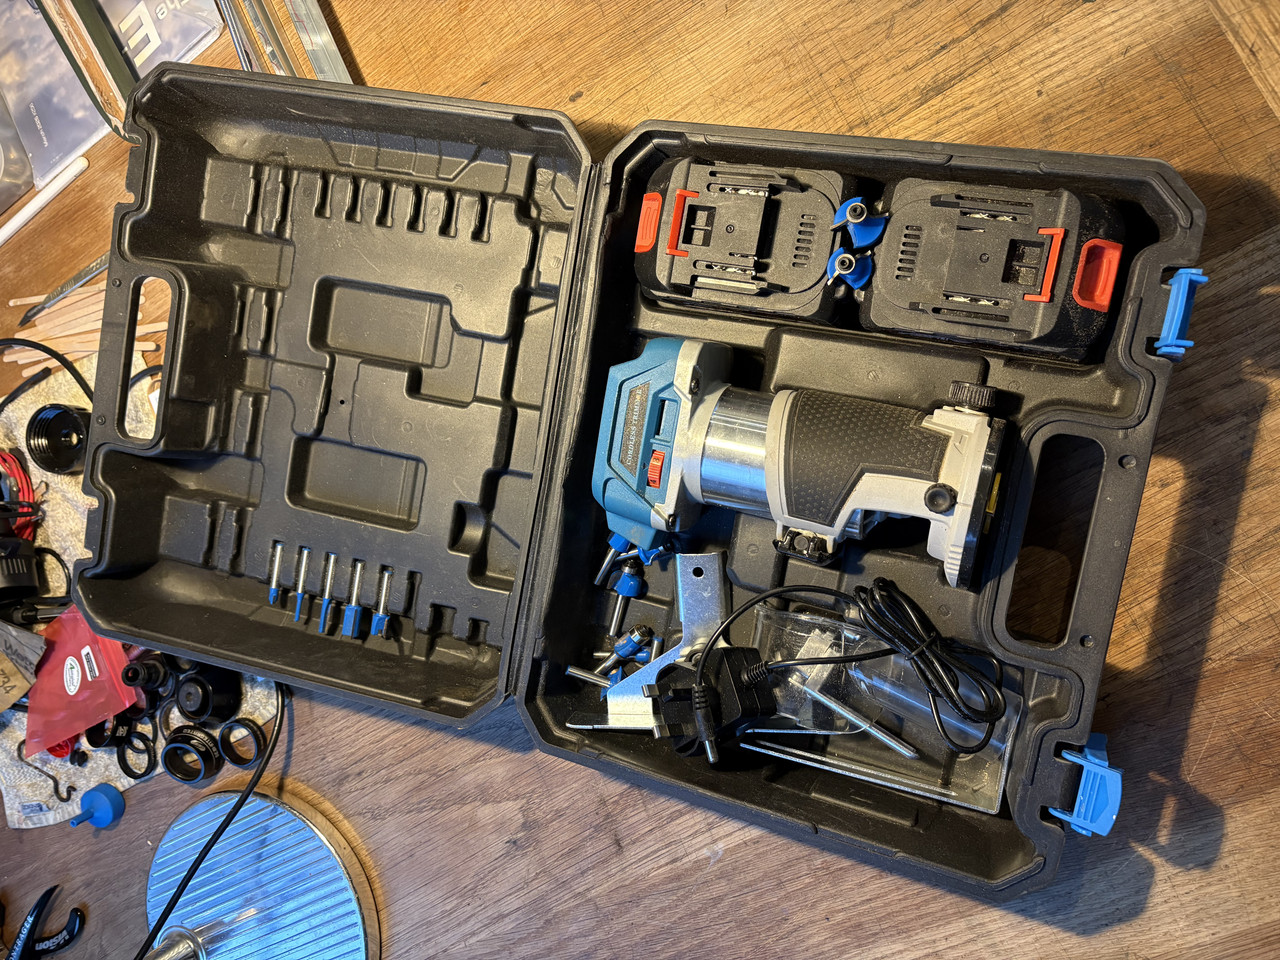
Once this profile was completed I then chamfered the outer edges with the final investment….a mini router kit

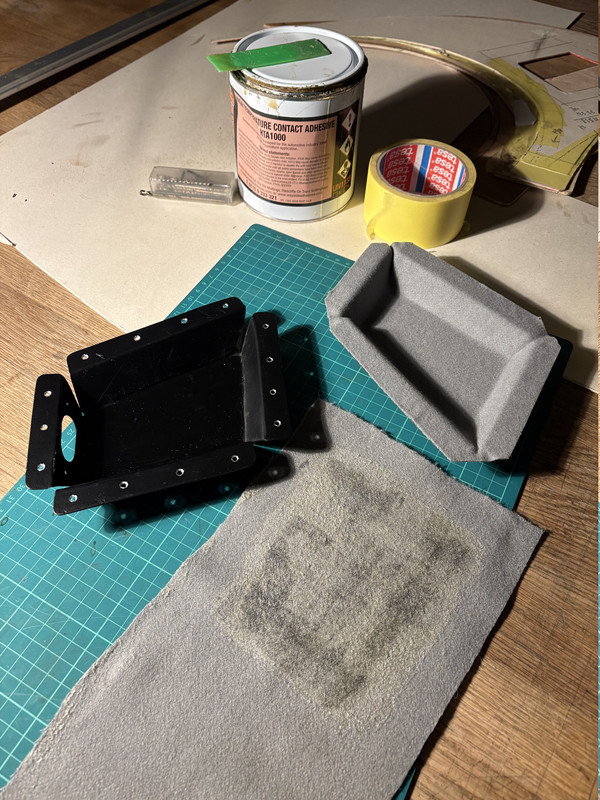
And then covered in vinyl….not an easy task to stretch around a curving form…….
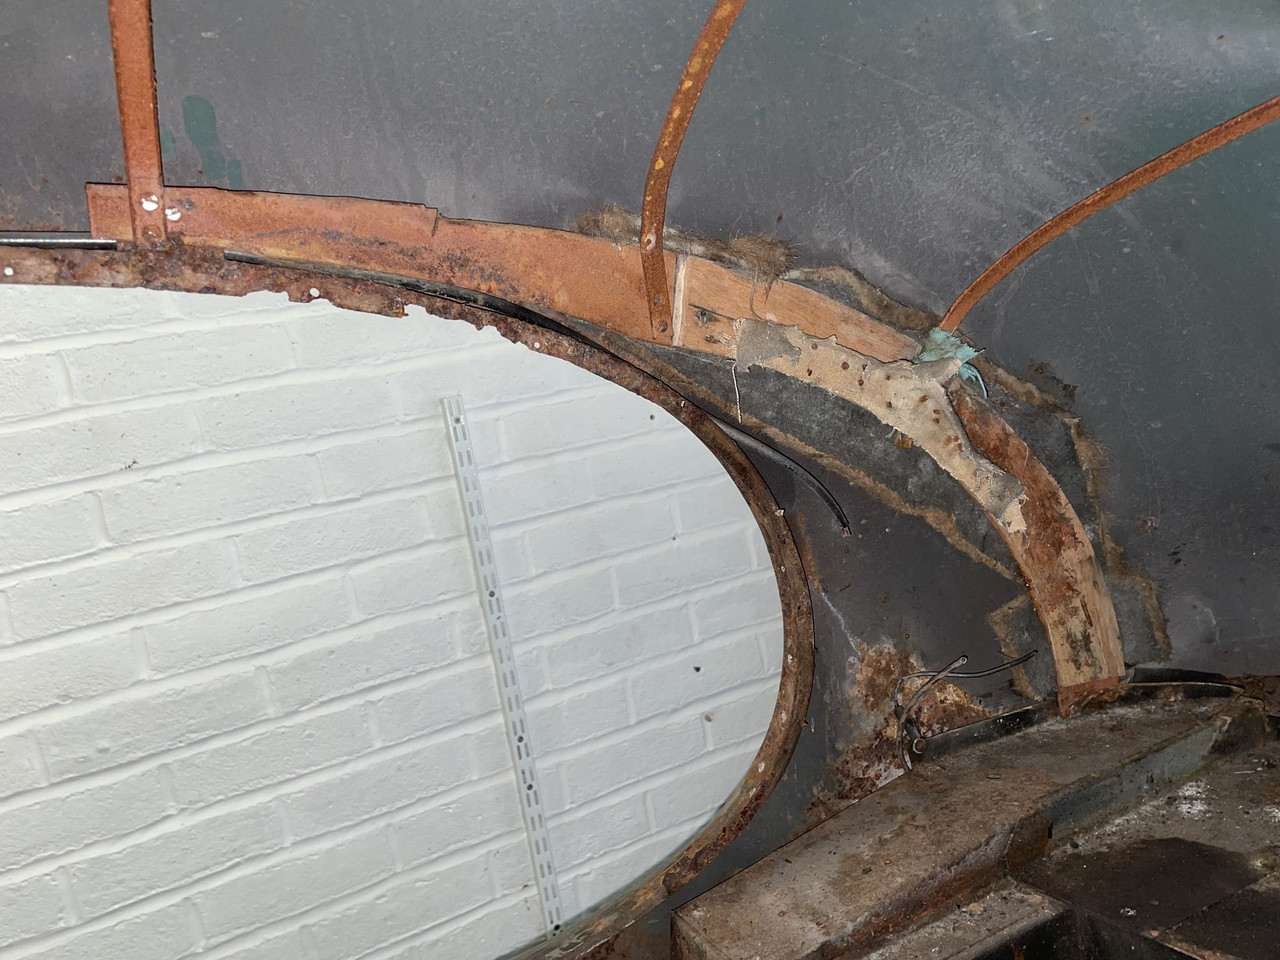
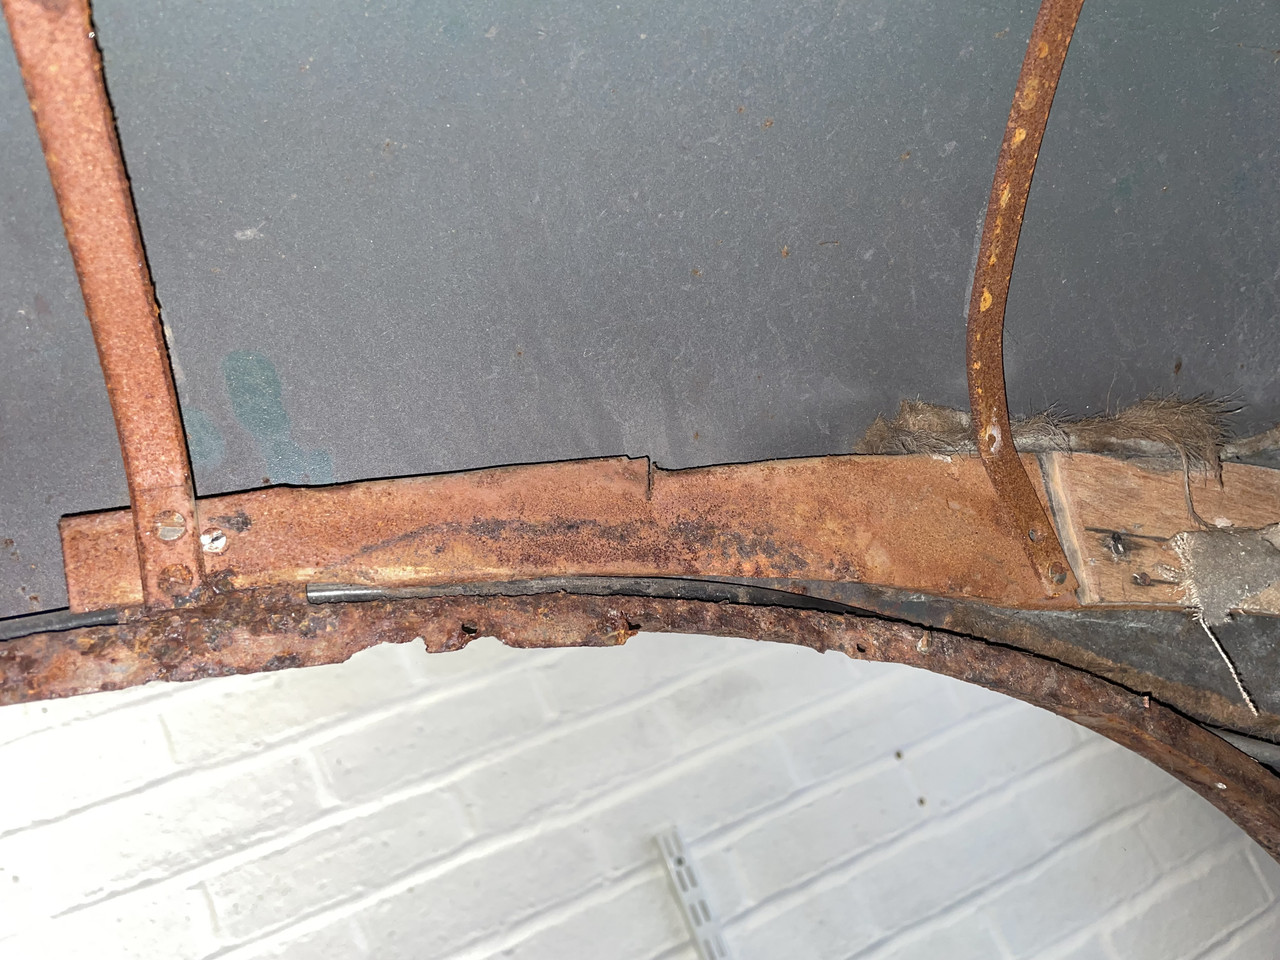
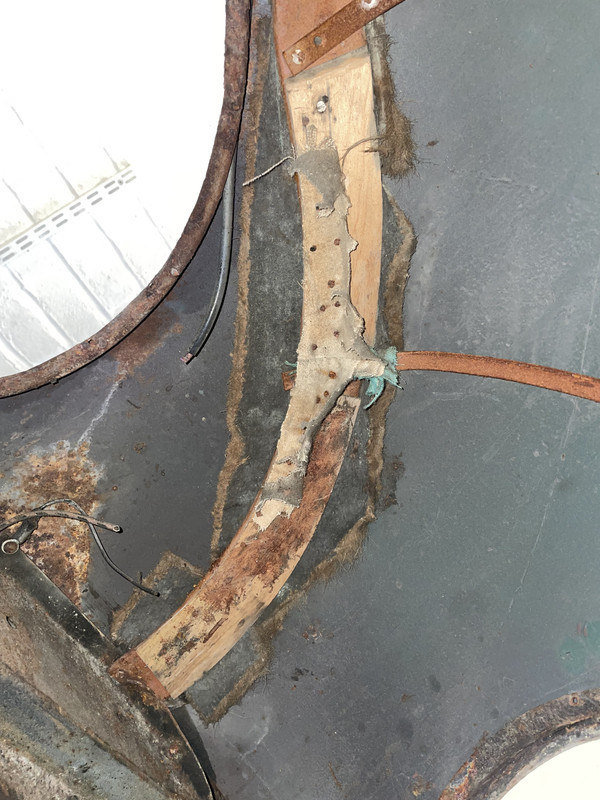
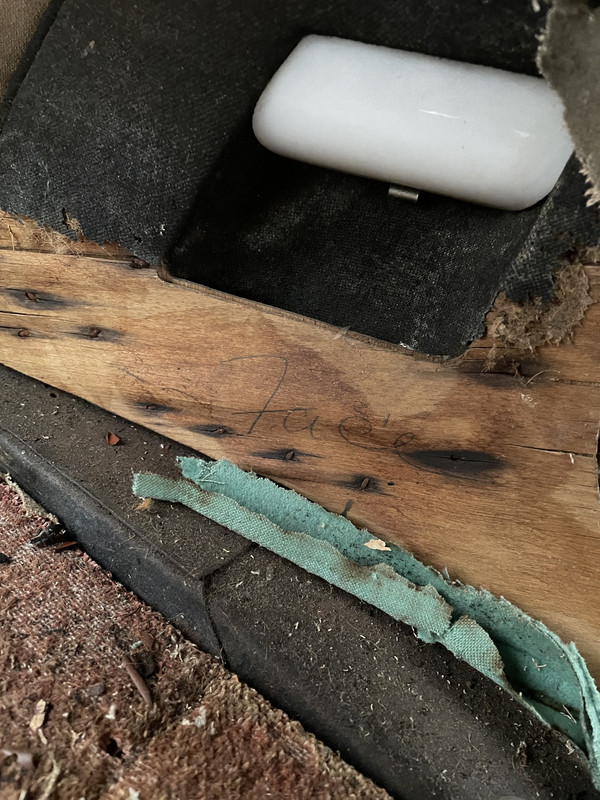
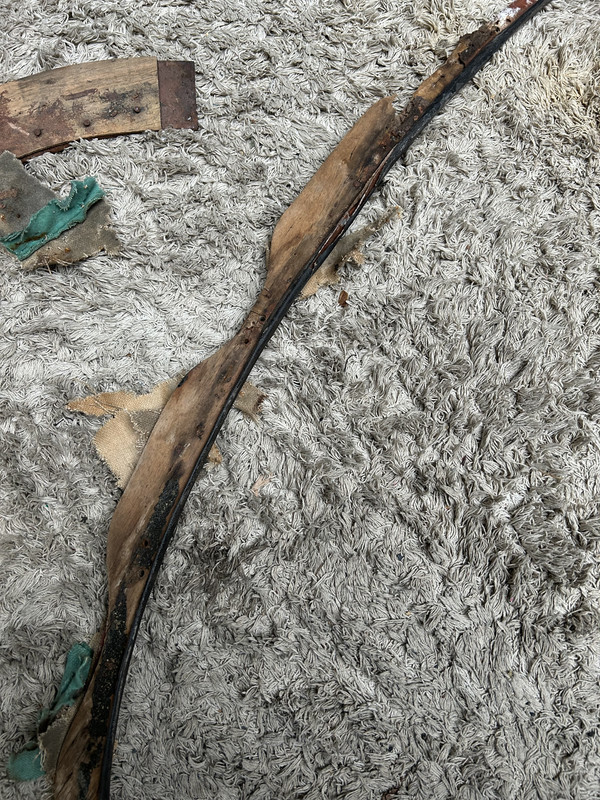
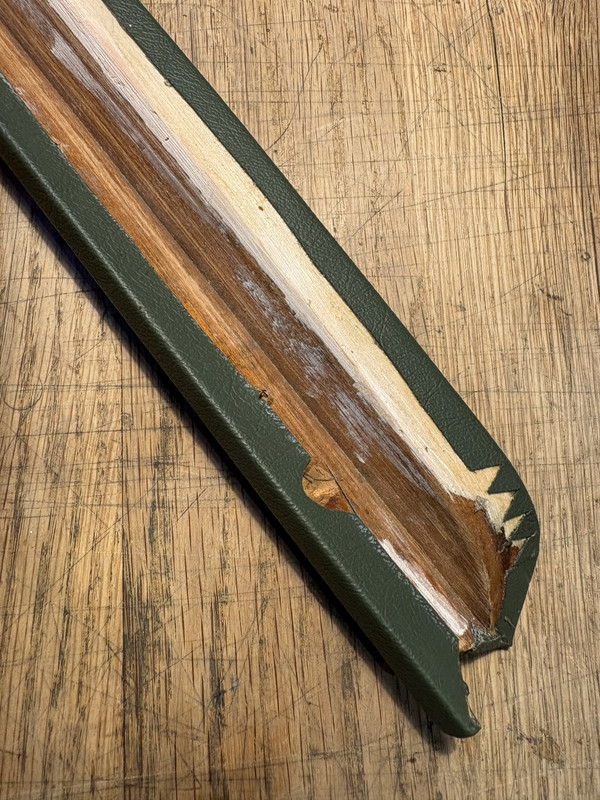
The cant rails also continue down the A pillar/edge of the windscreen…the timber was in decent condition, but didn’t fit as well as I thought possible, so naturally I had to modify it…..car body filler….what a wonderful product
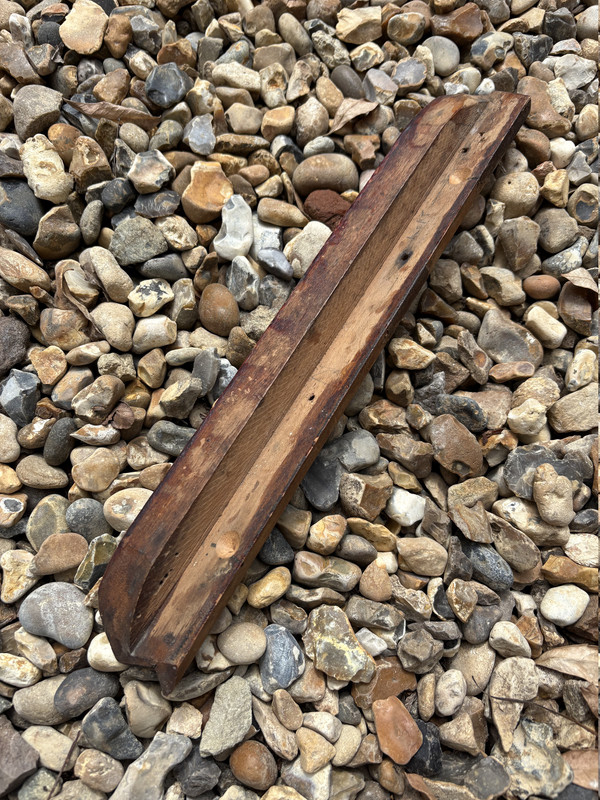
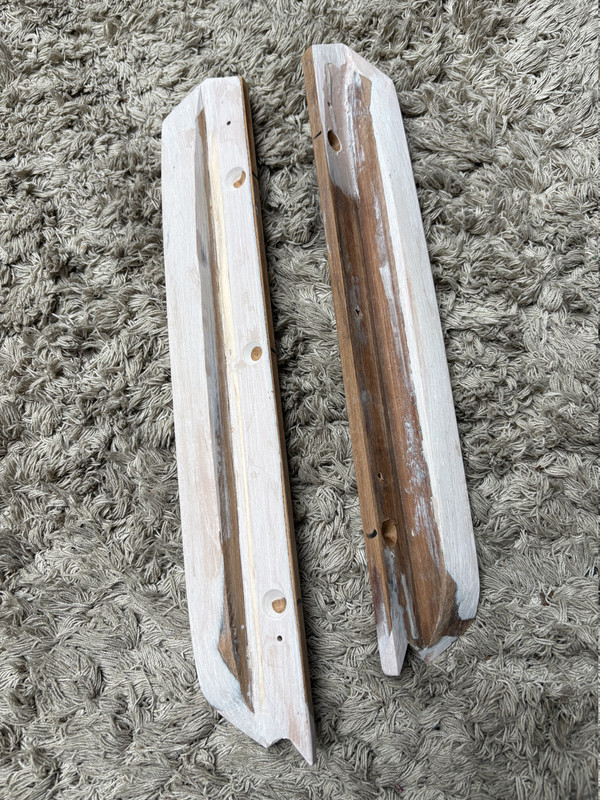
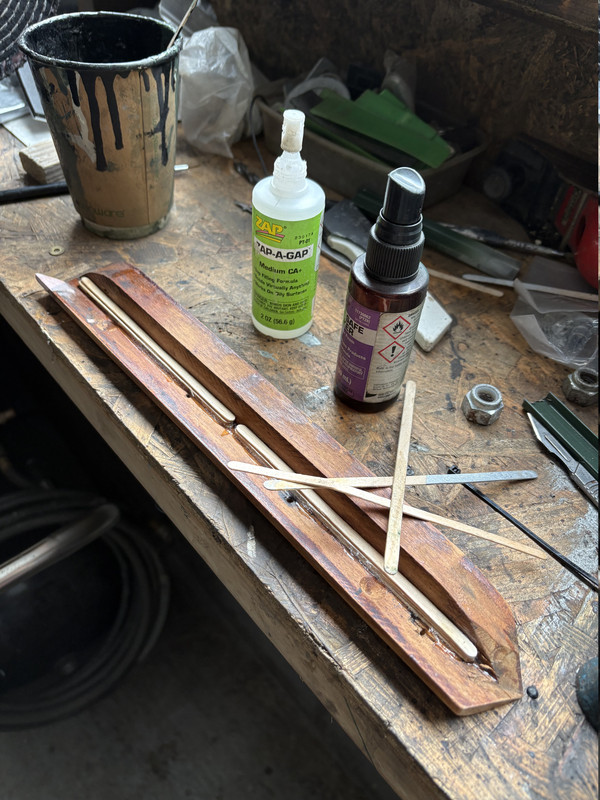
In this picture I am using super glue to bond these pre made timber sticks (from the cafe in my office) to alter the angle of the back face of the timber profile….this gave me the correct depth which I then infilled with body filler to suit
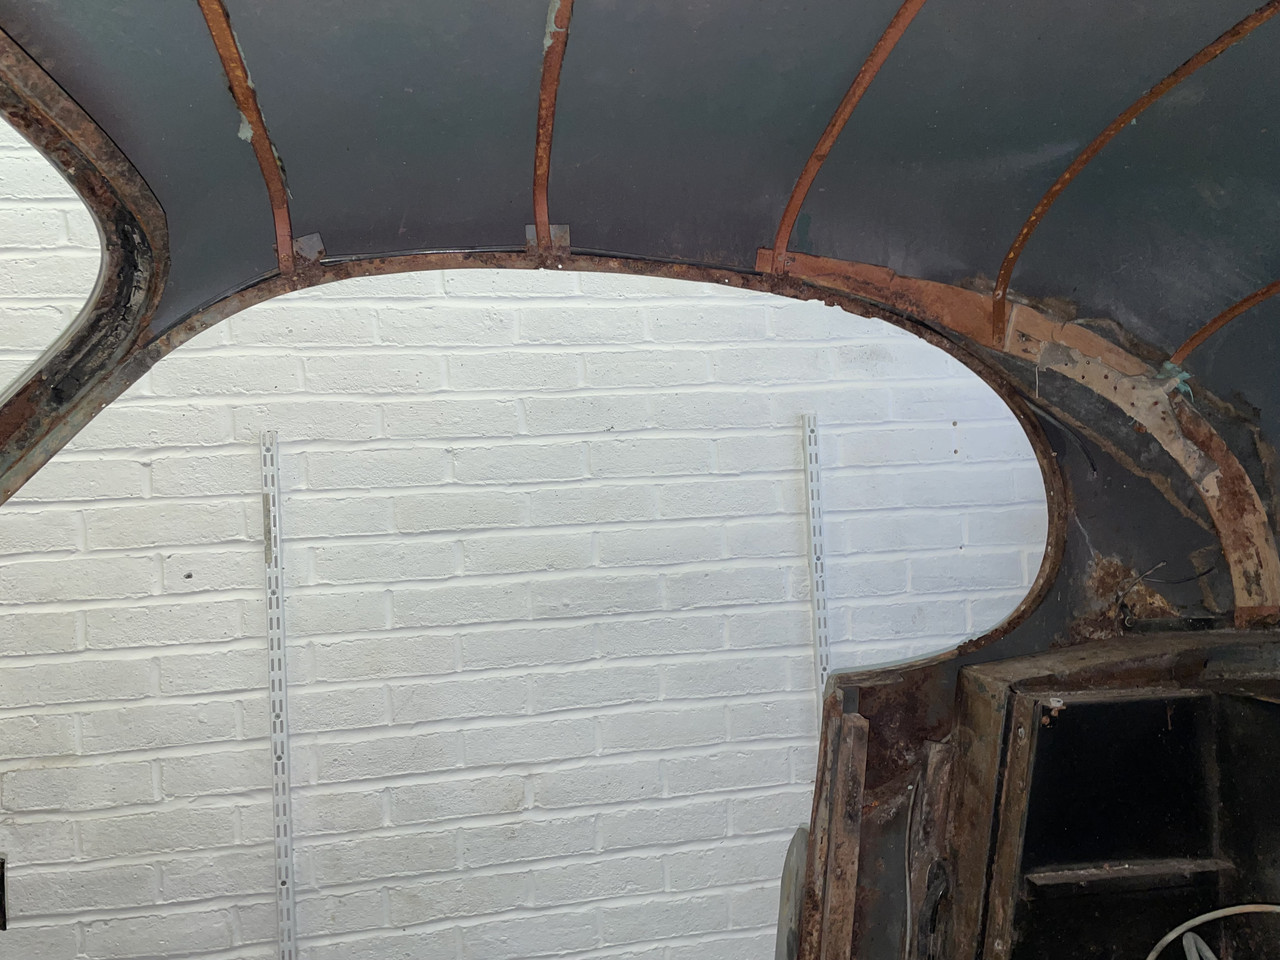
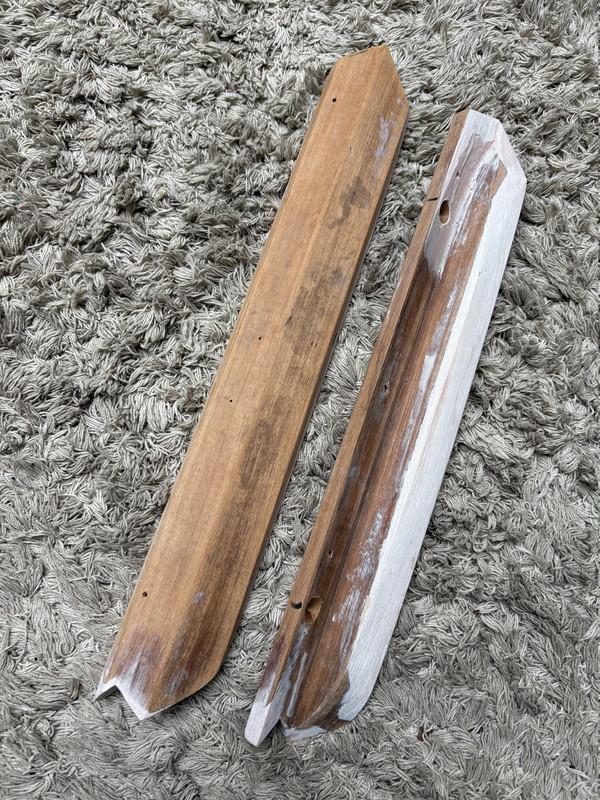
I also increased the curvature of the edge of the panel so it more closely followed the shape of the windscreen when viewed from outside..in this photos hopefully you can see the difference between the straight and curved edges
All of these sections are fixed with tiny screws (stainless in my case) from the outside, through a flange in the bodywork…drilling these on a painted car was not much fun as the danger of scuffing the paint with the drill was ever present
I will post more pictures of the completed works later on in the build……