Ok I've been crackin on a bit more so here's a quick update.
This is a shot of my n/s front fuch which has been painted like a replica for far too long. I decided it was time I removed the paint from the side walls of the spokes and got it looking like the others. Here it is masked up and ready to be attacked with some 120 grit.
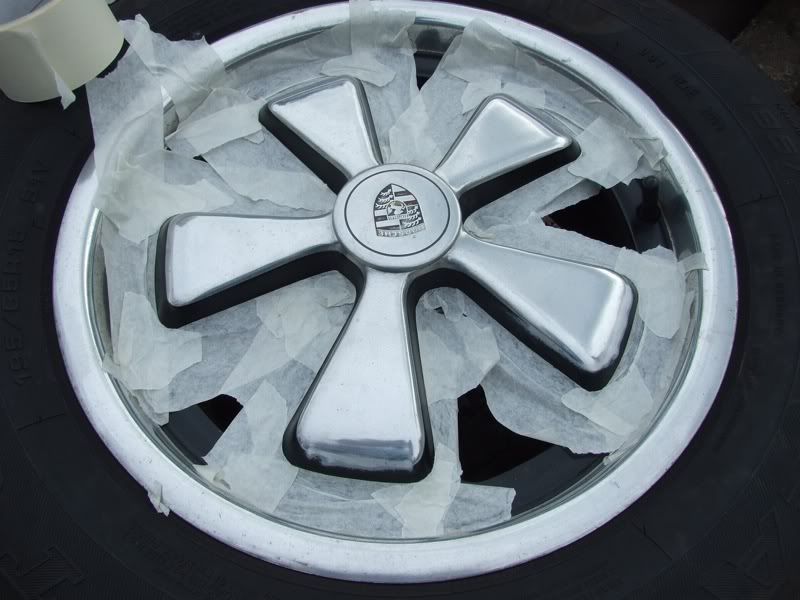
and here it is back on the car. Not fully polished again yet but at least it s a massive improvement on what it was.

So next I decided to sort out my speaker grille. Having removed the wrecked dash that came with the car and replaced it with a muchly improved version the old cracked speaker grille was really looking a mess.
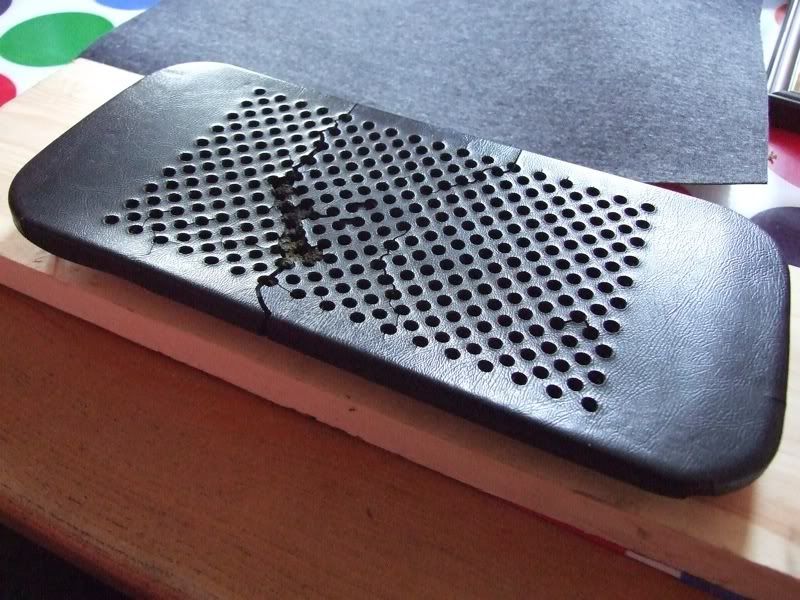
so I sourced some of the original style black vinyl and set about restoring the crusty minger. I clamped up the old grille and used it as a jig to stamp out the hole pattern in the new material.
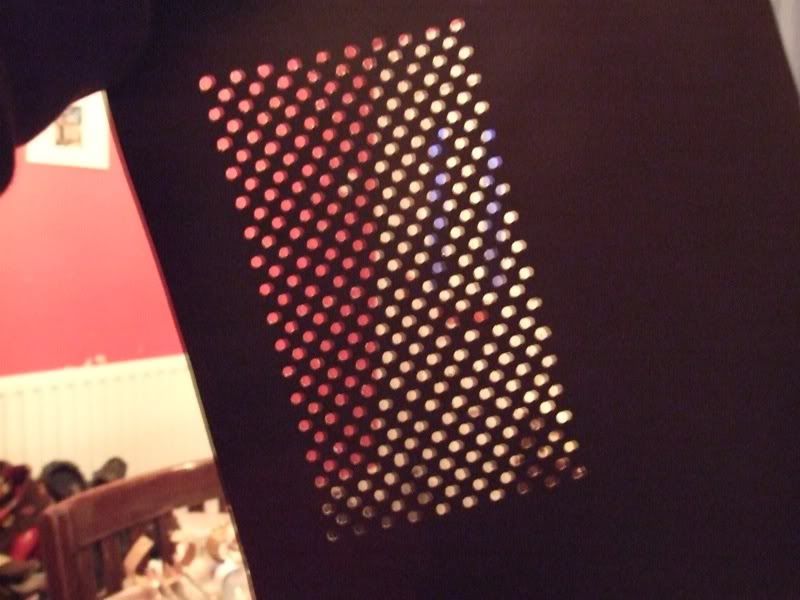
The hole pattern has come out spot on and now I just need to remove the old vinyl from the grille and trim it with the new material. This is still a work in progress at the mo as I got distracted by other jobs such as...
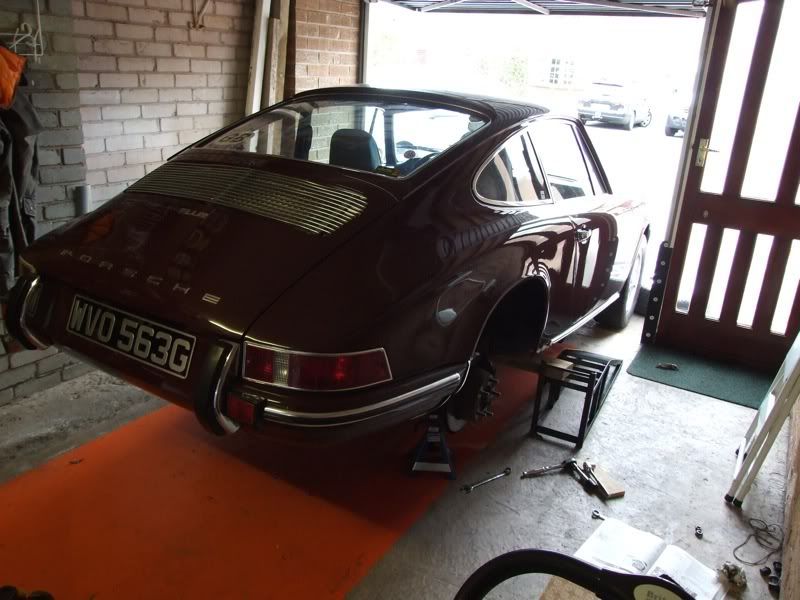
Lowering the rear end - When I first bought my car it was sporting a very 4x4 stance, I had already taken the edge off by winding the front end down a touch but it was never gonna look right until the rear end came down to match.

So I decided it was time I got rid of the Baja ride height of my rear end and bring the front end down a touch more whilst I was at it. When we started the car sat at 26" front and back (top of the wheel arch to the floor) I decided I wanted to bring the car down by about an inch at the rear and 1/2 an inch at the front. I had worked out how many splines would give me an inch drop at the rear and decided 4 inner and 4 outer splines would be perfect
So I got its rear end up in the air and removed the spring plates being careful to mark up the spring plate position with white paint before I removed anything this way at least I'd have some clue as to the camber and tracking settings come reassembly time.
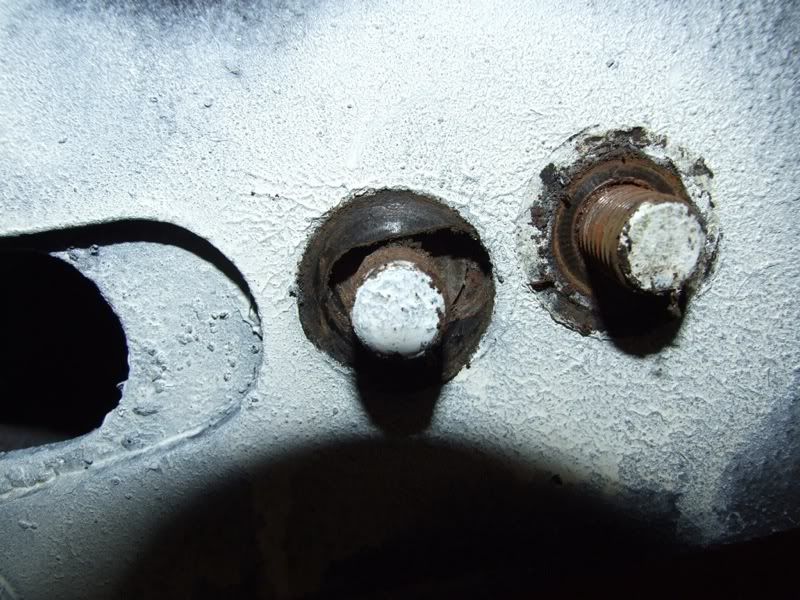
Once everything was removed it was clear to see the old bushes had ovaled and were scrap so these were removed which was a really fun job! Due to the fact that they are bonded on meant that we had to cut off the majority bit by bit with a hack saw and then the remaining bits were burnt off with a heat gun!
Whilst the spring plates were off we decided it was a good idea to clean them up and repaint them. We sanded them back to bare metal treated the rust inside the splined section with metal ready and then applied a grey etch primer base coat, at this point we were ready apply the satin black top coat when this happened!
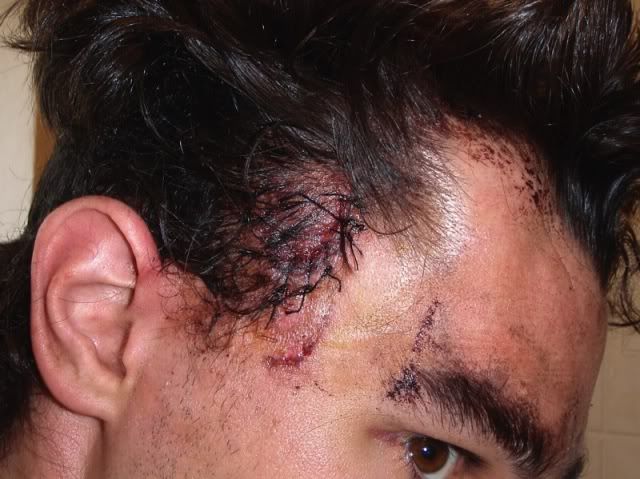
This is what happens when aerosol paint cans gets a bit too warm - they don't like it!
So 10 stitches later and considerably lighter from all the claret that decided to fall from my noggin we got the car back together and nicely lowered.

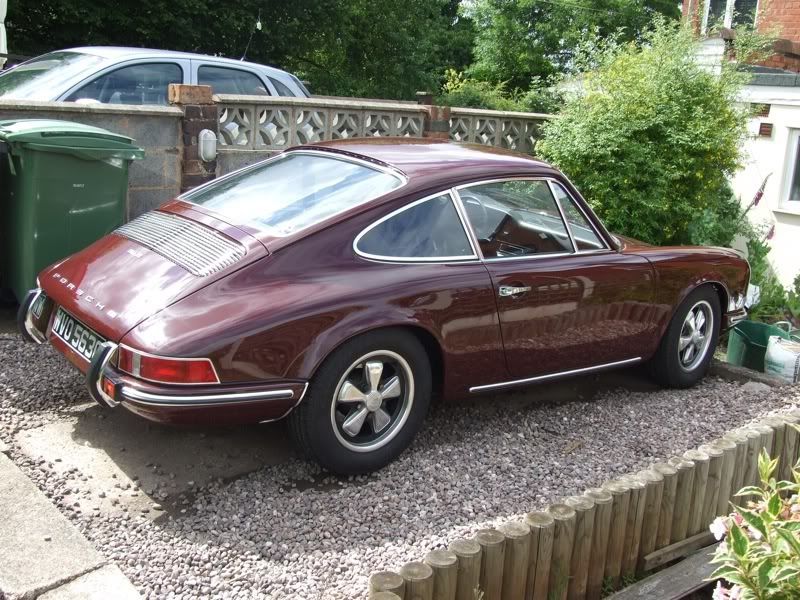
After we'd got the car back on level ground and taken it for a drive it seemed to have dropped an extra 1/2" more than we'd expected so was actually about 24.5" at the rear so we brought the front down to 25" to meet it giving it the 1/2" difference front to rear that it should of come out of the factory with.
Whether this extra drop was due to the ovaled bushes or something else I'm not sure but I'v gotta say I'm more than pleased with how it sits now. Its low enough to improve the looks and the handling without being so low that you loose ground clearance or have bump steer issues.
So finally to the fitment of my new seats last weekend. I had purchased some classic RS seats from Cobra a few months back but had been planning my base bracketry out for a while now. Due to me being a lanky bugger (6' 2") when I had first offered up the seats I'd realised that the seating position was a touch too high, also due to the fact that the seat base tilts back slightly my knees were rubbing on the steering wheel!
I decided the seats would ideally need about a 25mm drop. In order to achieve this I had to get some special Z brackets made to drop the seats down a touch.
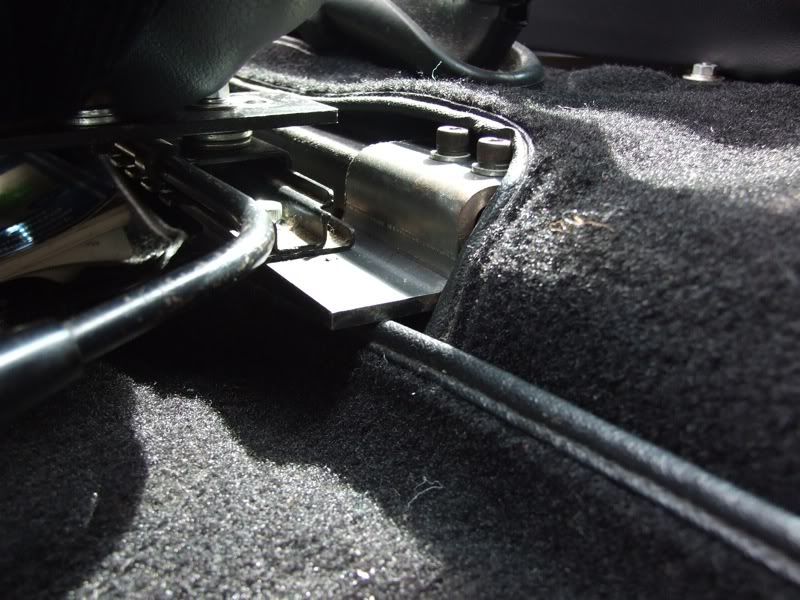
The brackets are made from 5mm thick steel and fit at each corner only so as to keep weight to a minimum. I used the slider rails from the old Porsche tombstones that I removed from the car and tied them all together with high tensile M6 socket head cap screws.

I think they look a lot more period than the old tombstones and are way more comfortable and supportive not to mention about half the weight of the old seats. I am working towards creating a full tilting version of the base so as to allow full access to the rear but this is still work in progress at the mo.