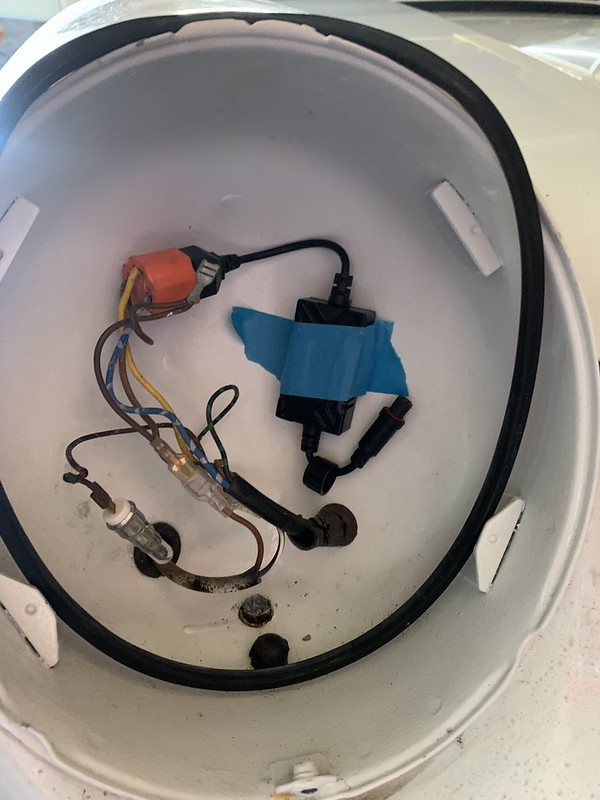
I wonder if in the past a cheap short shift kit has been fitted and the glue'weld failed (# 17 is changed)
Are the retaining clips on the shaft? # 15 x2 and 16? or #18 x 2 are not in place?


The 'Maverick' Classic Porsche Forum and Classic Porsche Club for Porsche 356, Aircooled Porsche 911, Porsche 912, Porsche 914 & Porsche Replicas
Moderator: Bootsy


Yes thanks Wayne. Good idea (bit late now though) - I use them on all my rubber pipesrhd racer wrote: ↑Thu Jan 26, 2023 5:19 pm Good work Peter.
I don’t know if you have come across them, but I find mikalor clamps much more reliable for structural jobs (like holding that guide in place) or pipes that need to be really tight. Might be worth looking at one for that (sorry if teaching you to suck eggs, but I only discovered them a couple of years ago…)
Cheers
Wayne